How to Add and Customize Captions in Adobe Premiere Pro
Learn how to add captions to your videos in Adobe Premiere Pro and customize their style, placement, and timing for accessibility and a professional finish.
Step 1: Import Your Video
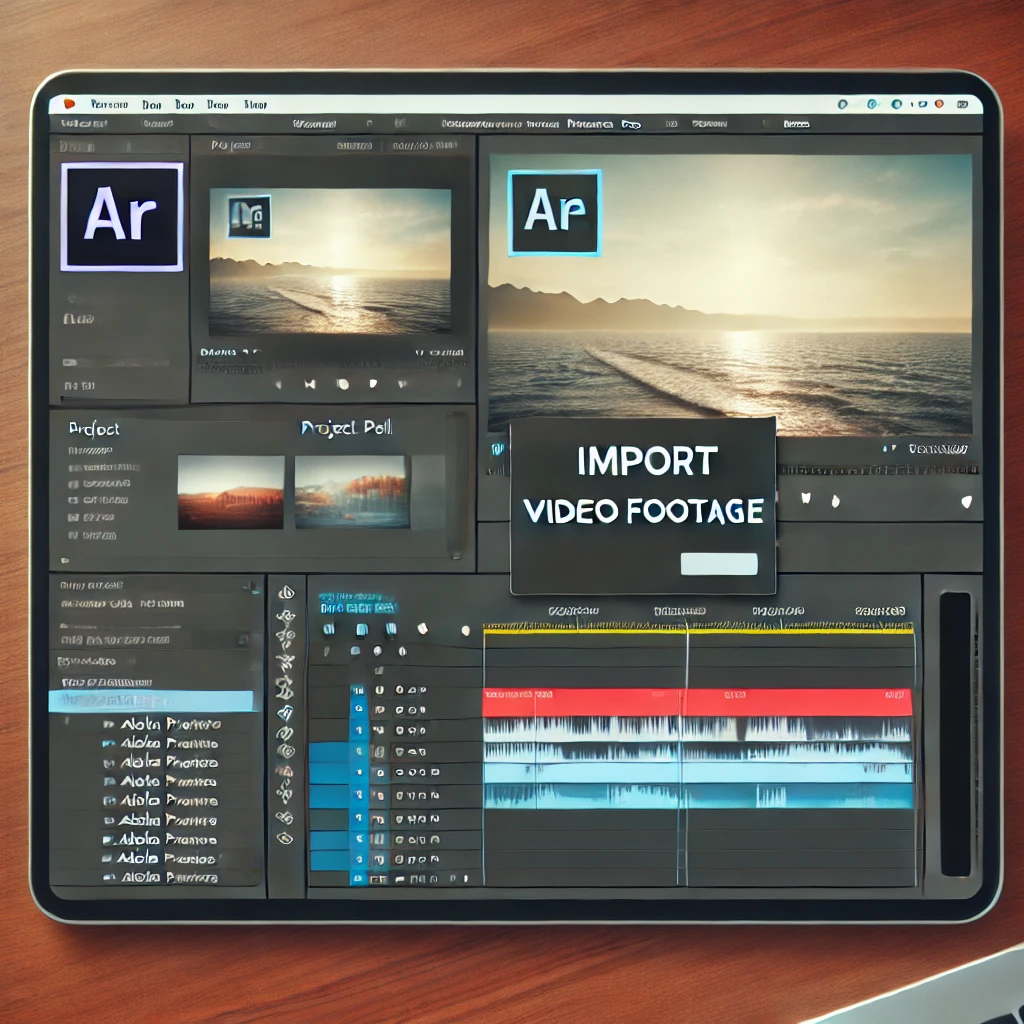
Start by importing the video you want to add captions to. Organize it in the Project Panel and place it on the timeline.
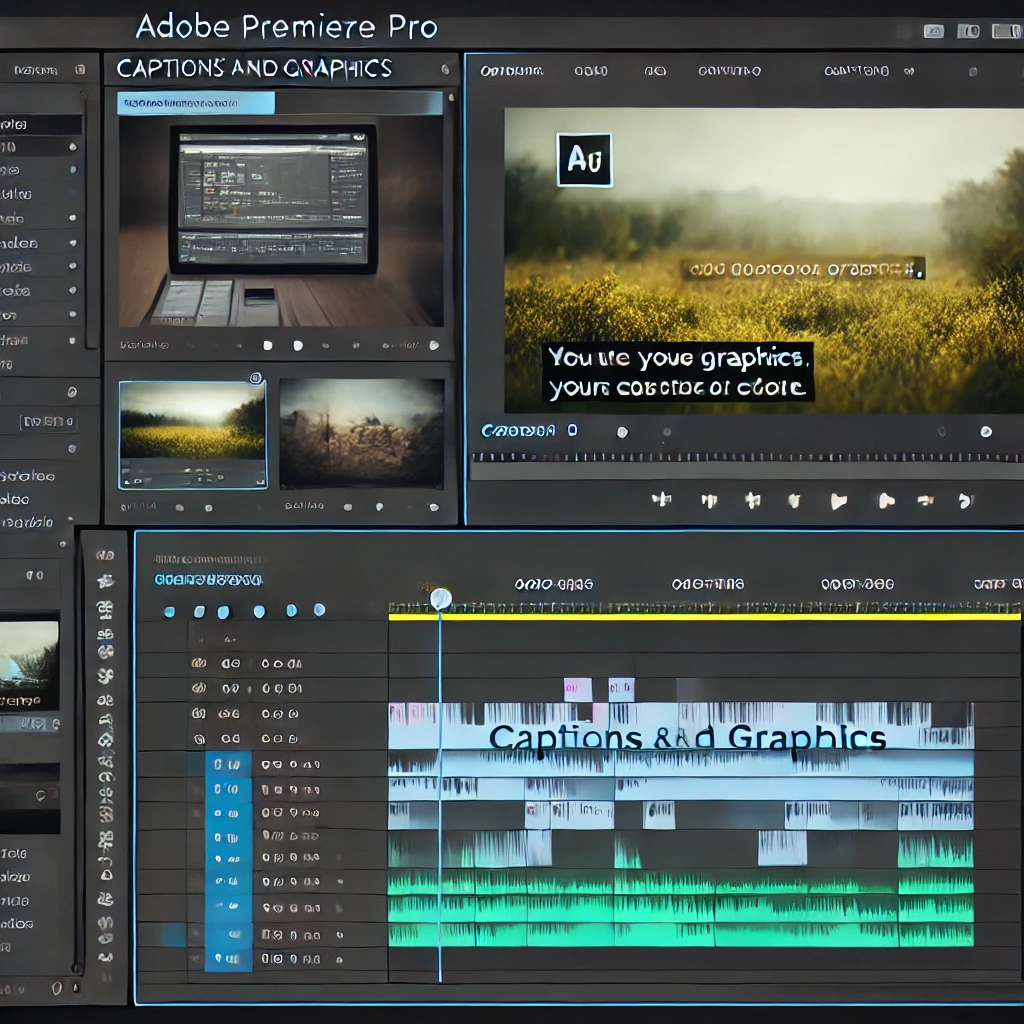
Step 2: Open the Captions Workspace
Access the Captions and Graphics workspace to use tools like the Text Panel and Essential Graphics Panel for caption editing.
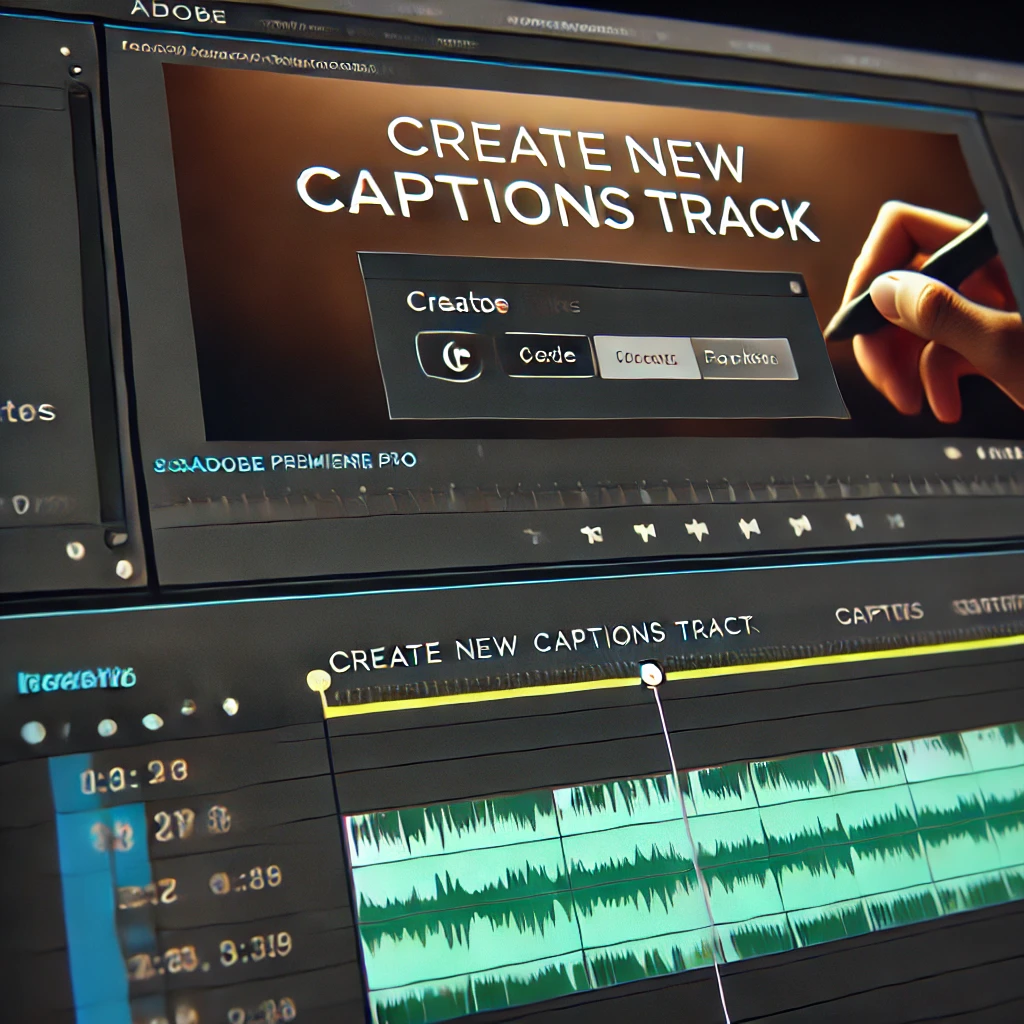
Step 3: Create a New Captions Track
Add a captions track to your sequence using the Text Panel. Choose the desired format (e.g., Open Captions) and confirm.
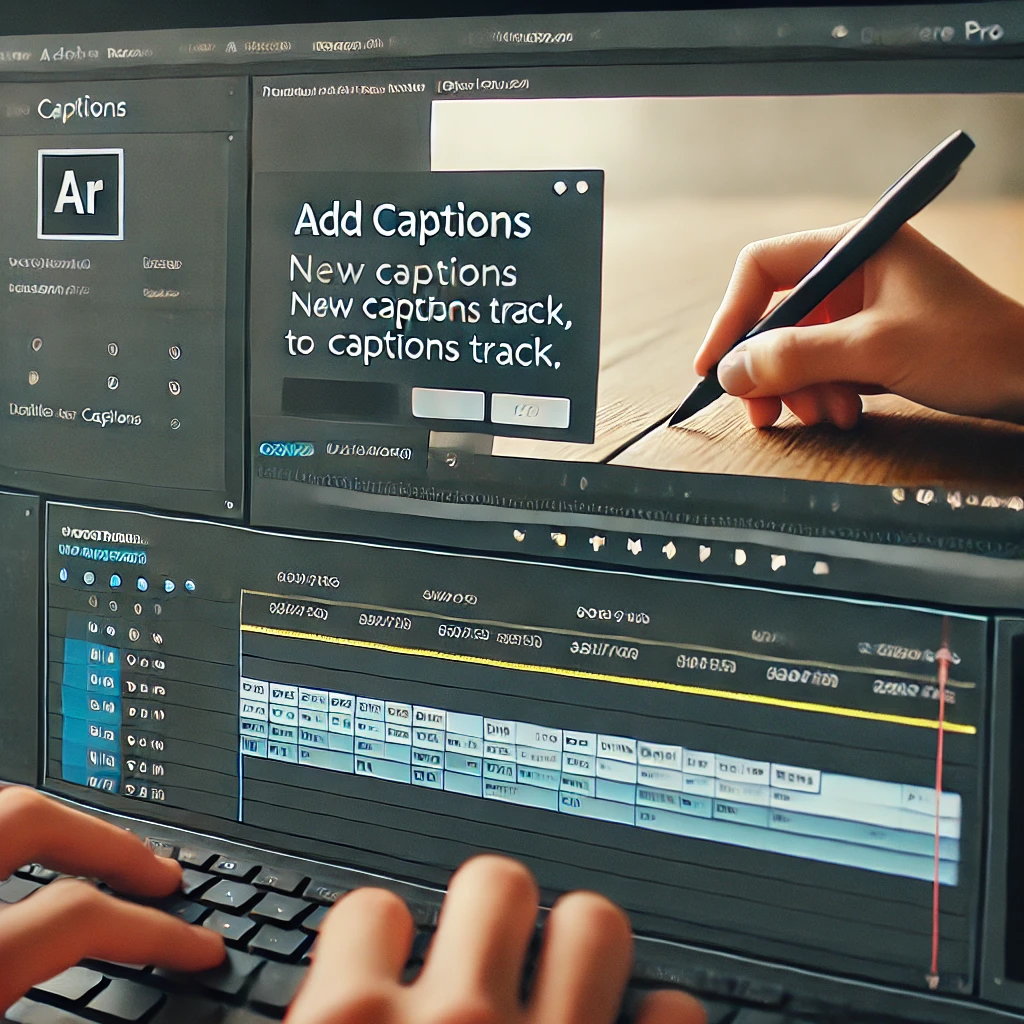
Step 4: Add Captions
Insert captions for dialogue and other audio cues. Use the Text Panel to type the text and adjust the timing on the timeline.

Step 5: Customize Caption Style
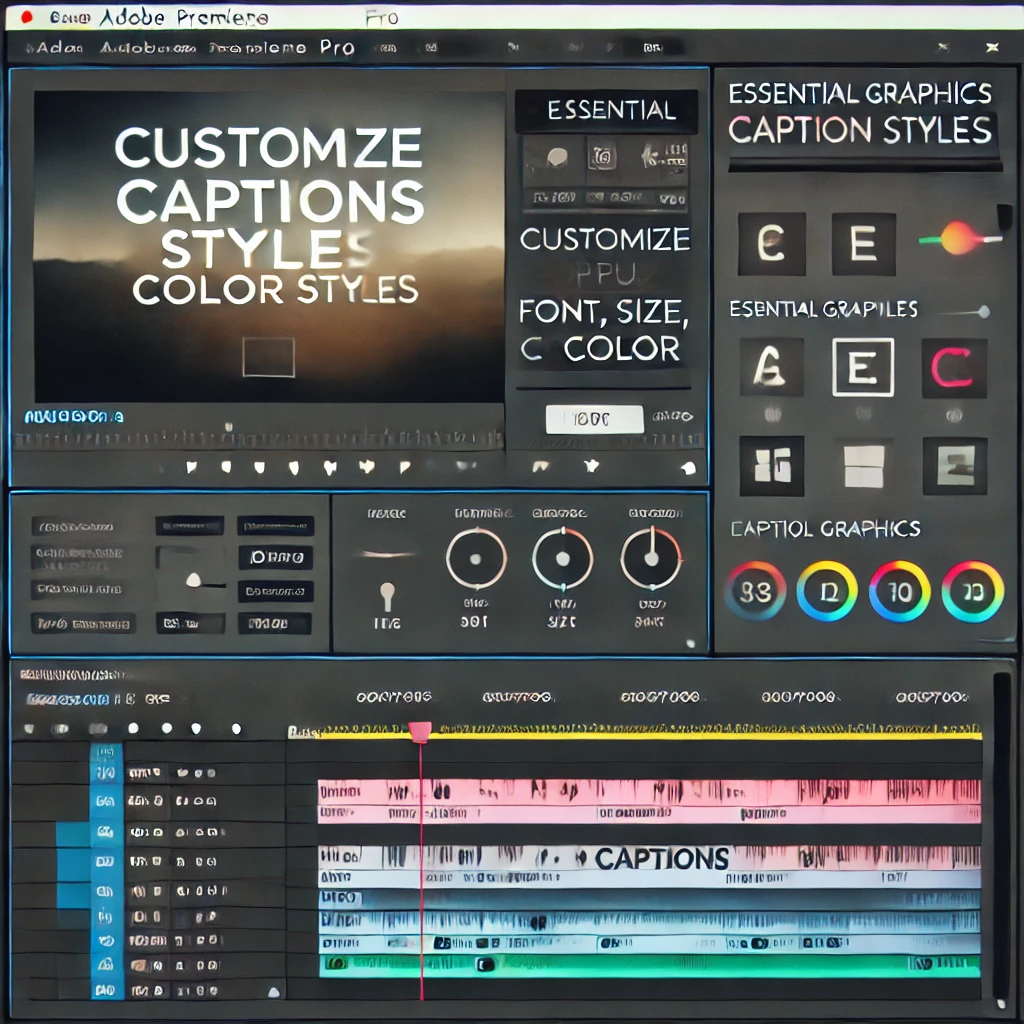
Make your captions visually appealing using the Essential Graphics Panel. Adjust font, size, color, and alignment for better readability.

Step 6: Sync Captions with Audio
Ensure your captions are perfectly aligned with the dialogue and other sounds for an accurate viewing experience.
How to Sync:
- Drag the caption entries along the captions track in the timeline to match the audio waveform.
- Use the Program Monitor to preview your video and adjust timing for precision.
- Refine the duration of each caption by dragging its edges on the timeline.
Step 7: Export Video with Captions
Export your video with captions included or as a separate file, depending on your project requirements.
How to Export:
- Go to File > Export > Media.
- Open the Captions tab in the Export Settings Panel.
- Choose one of the following options:
- Burn Captions into Video: Makes captions a permanent part of the video.
- Create a Sidecar File: Exports captions as a .srt or .xml file that can be toggled on or off during playback.
- Adjust the export format and quality settings as needed.
- Click Export to render your video.
Conclusion
Adding and customizing captions in Adobe Premiere Pro is a straightforward process that enhances accessibility and professionalism. By following these steps, you can create visually appealing and accurately timed captions to elevate your video content.
More Stories
How to Stabilize Shaky Footage in Adobe Premiere Pro
Shaky footage can distract viewers and diminish the quality of your video. Fortunately, Adobe Premiere Pro’s Warp Stabilizer effect makes...
How to Create Split-Screen Videos in Adobe Premiere Pro
Learn how to create split-screen videos in Adobe Premiere Pro to showcase multiple perspectives or scenes simultaneously. This guide covers...
How to Blur Faces and Objects in Adobe Premiere Pro
Learn how to blur faces, objects, or sensitive information in your videos using masking and tracking tools in Adobe Premiere...
How to Use Keyframes for Dynamic Effects in Adobe Premiere Pro
Keyframes are a powerful tool in Adobe Premiere Pro, enabling you to animate properties like position, scale, opacity, and effects...
How to Remove Background Noise in Adobe Premiere Pro
Learn how to enhance audio clarity by removing background noise using the built-in tools in Adobe Premiere Pro. Achieve clean,...
How to Color Grade Footage in Adobe Premiere Pro
Master the art of color grading in Adobe Premiere Pro to create visually stunning videos. Learn how to adjust exposure,...

