How to Add Subtitles and Captions to Videos in Adobe Premiere Pro
Adding subtitles or captions to your videos improves accessibility and engagement. Adobe Premiere Pro makes it easy to create, style, and synchronize text with your video content. Here’s a step-by-step guide.
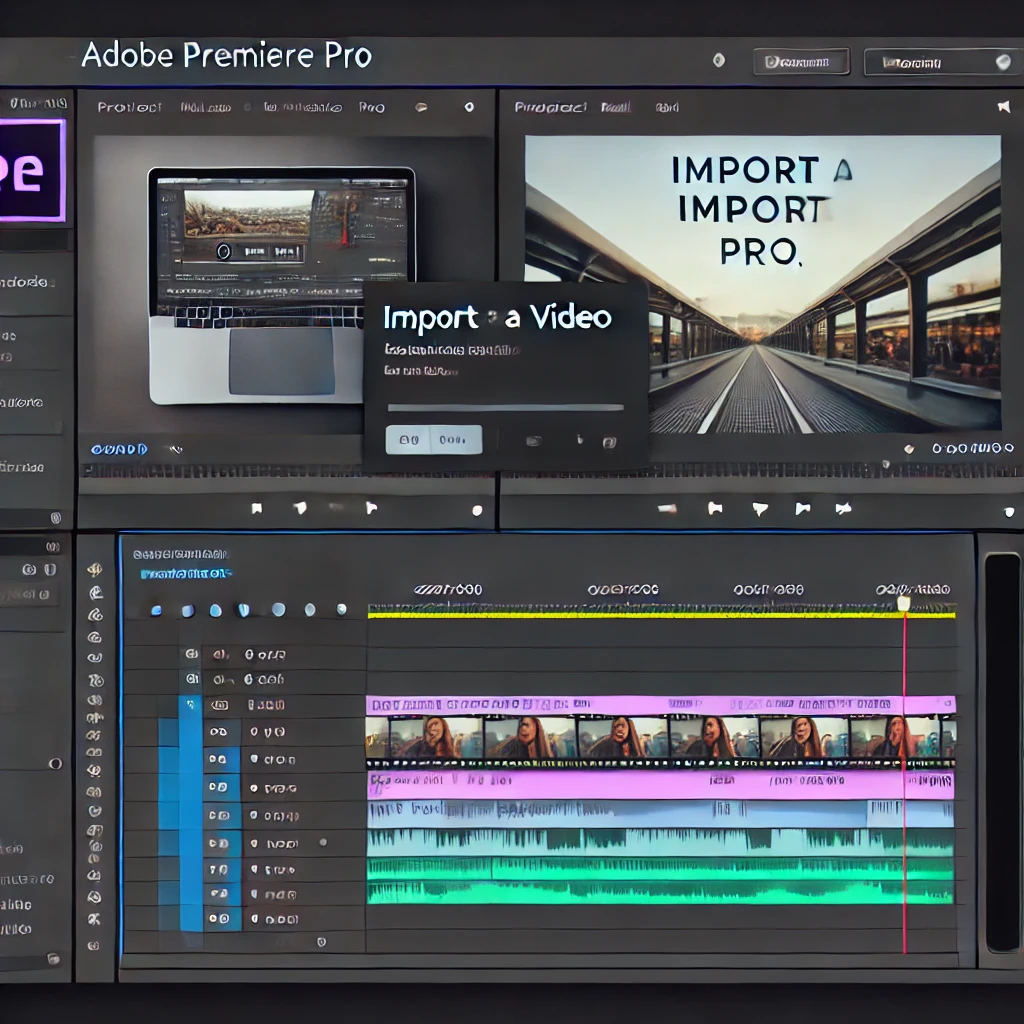
Step 1: Import Your Video
Start by importing the video you want to add subtitles to. Organize it in the Project Panel and place it on the timeline.
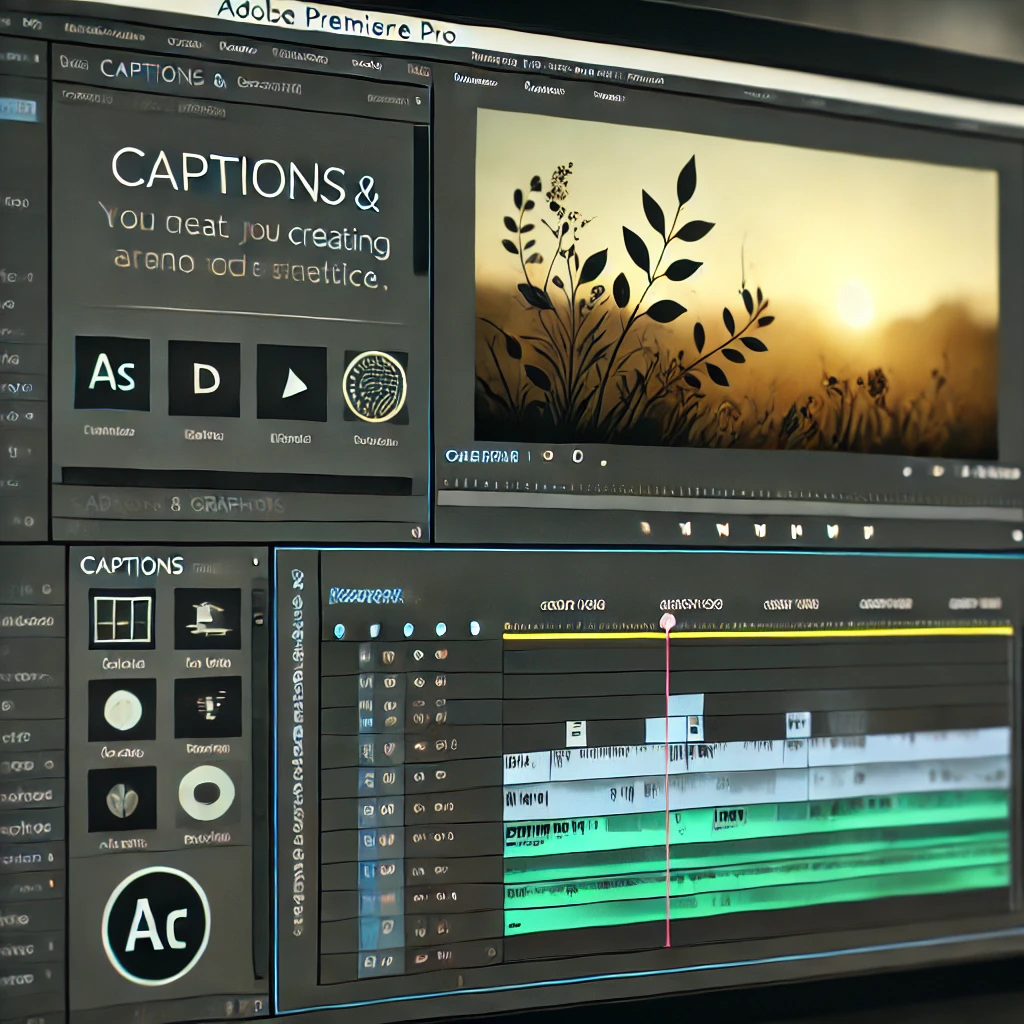
Step 2: Open the Captions and Subtitles Workspace
Access the Captions workspace to begin creating subtitles. This workspace includes all the tools necessary for managing and styling captions.
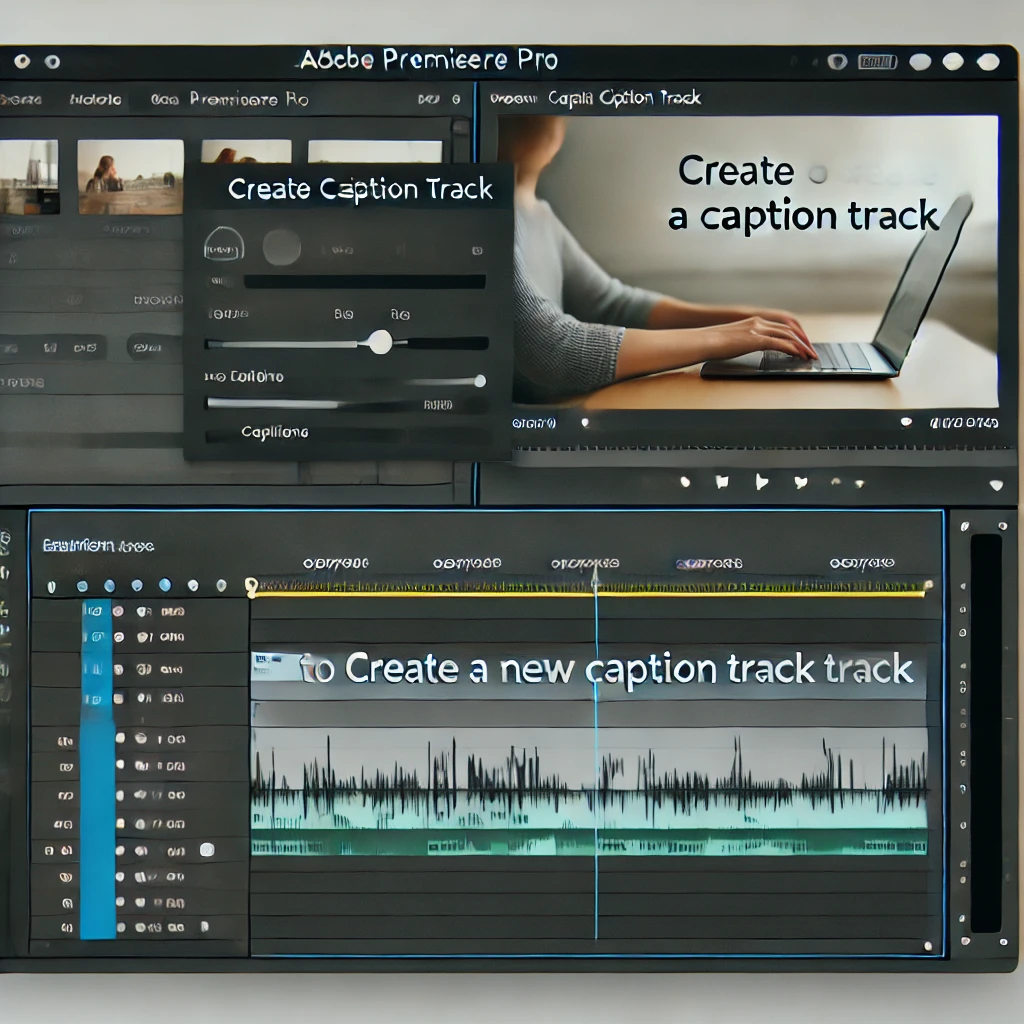
Step 3: Create a New Caption Track
Set up a dedicated track for your captions. This ensures proper synchronization and formatting of subtitles in your video.
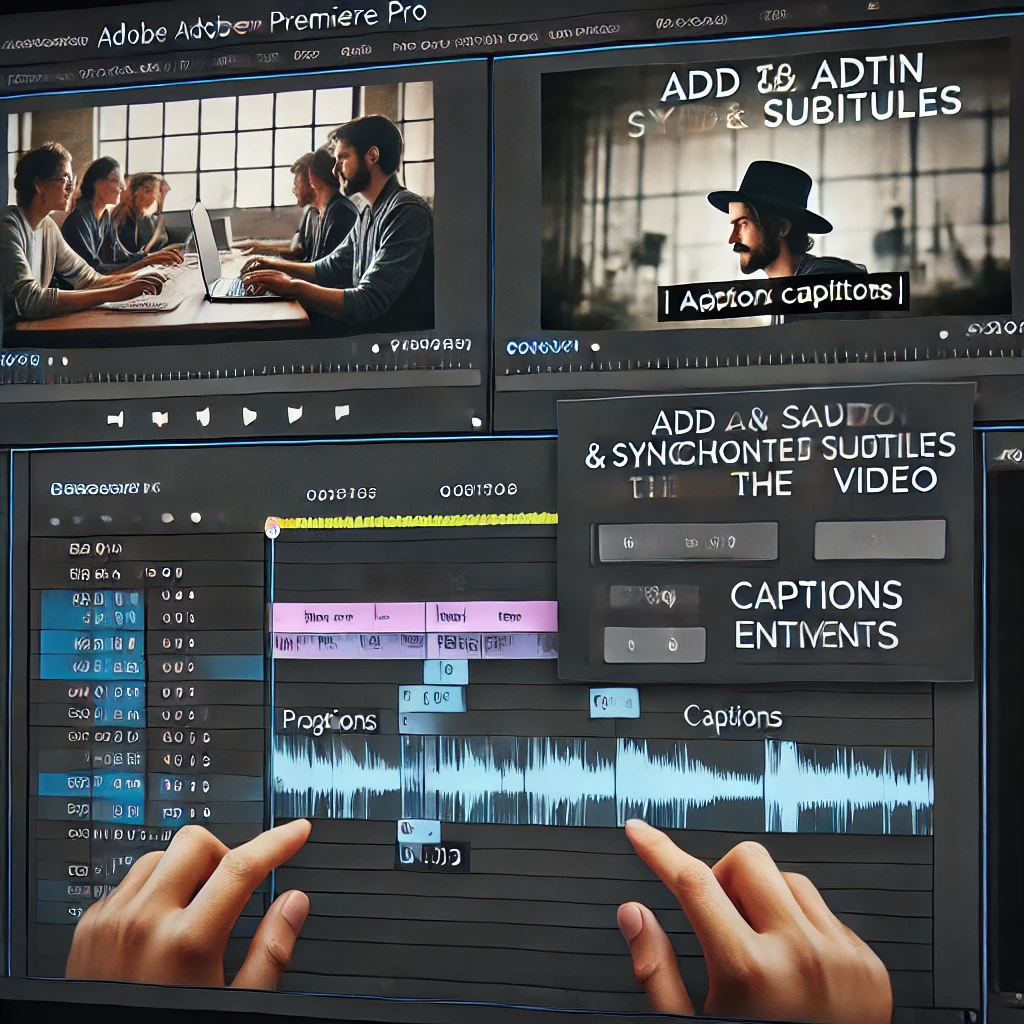
Step 4: Add and Synchronize Subtitles
Create subtitles in the Captions Panel and sync them with your video. Use the timeline to adjust the timing for each caption entry and preview the results.
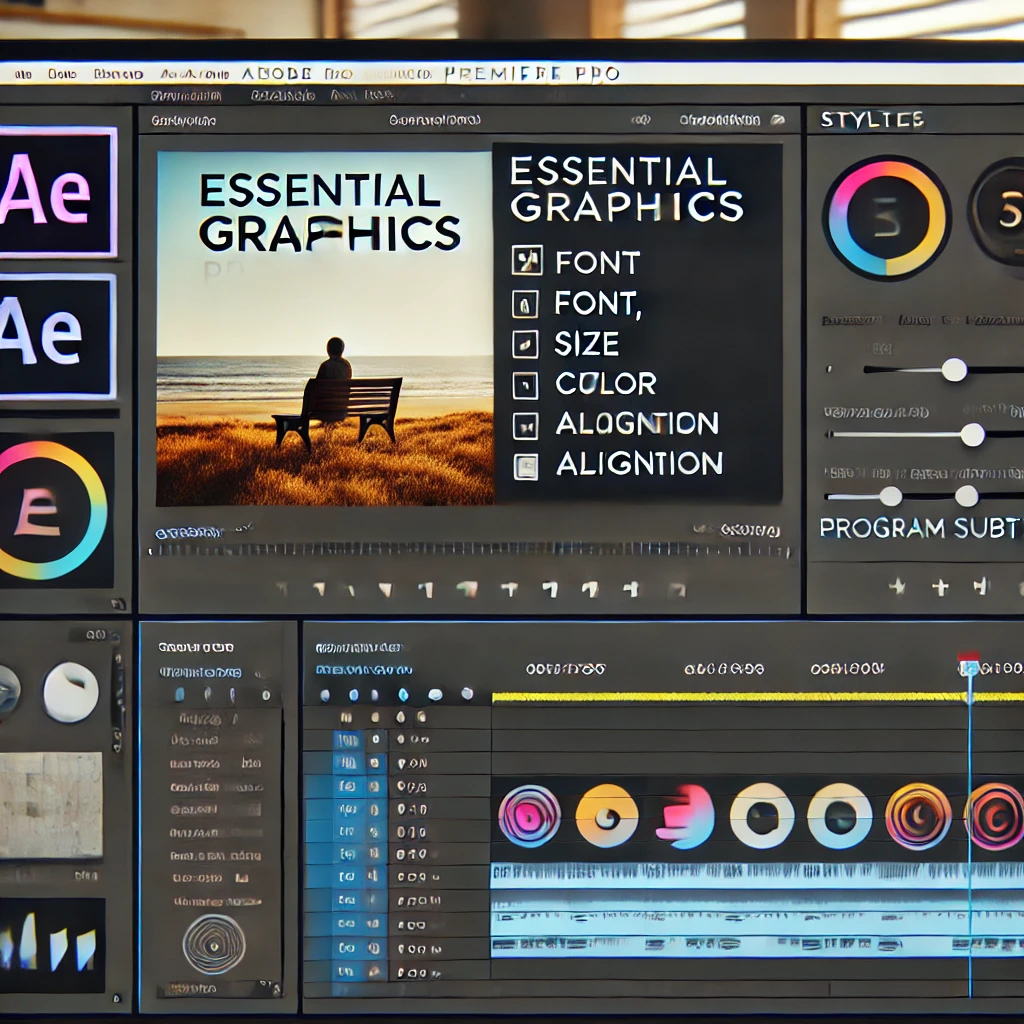
Step 5: Style Your Subtitles
Customize the appearance of your subtitles to match your video’s theme. Use the Essential Graphics Panel to adjust font, size, color, and alignment, and preview the styled subtitles in the Program Monitor.

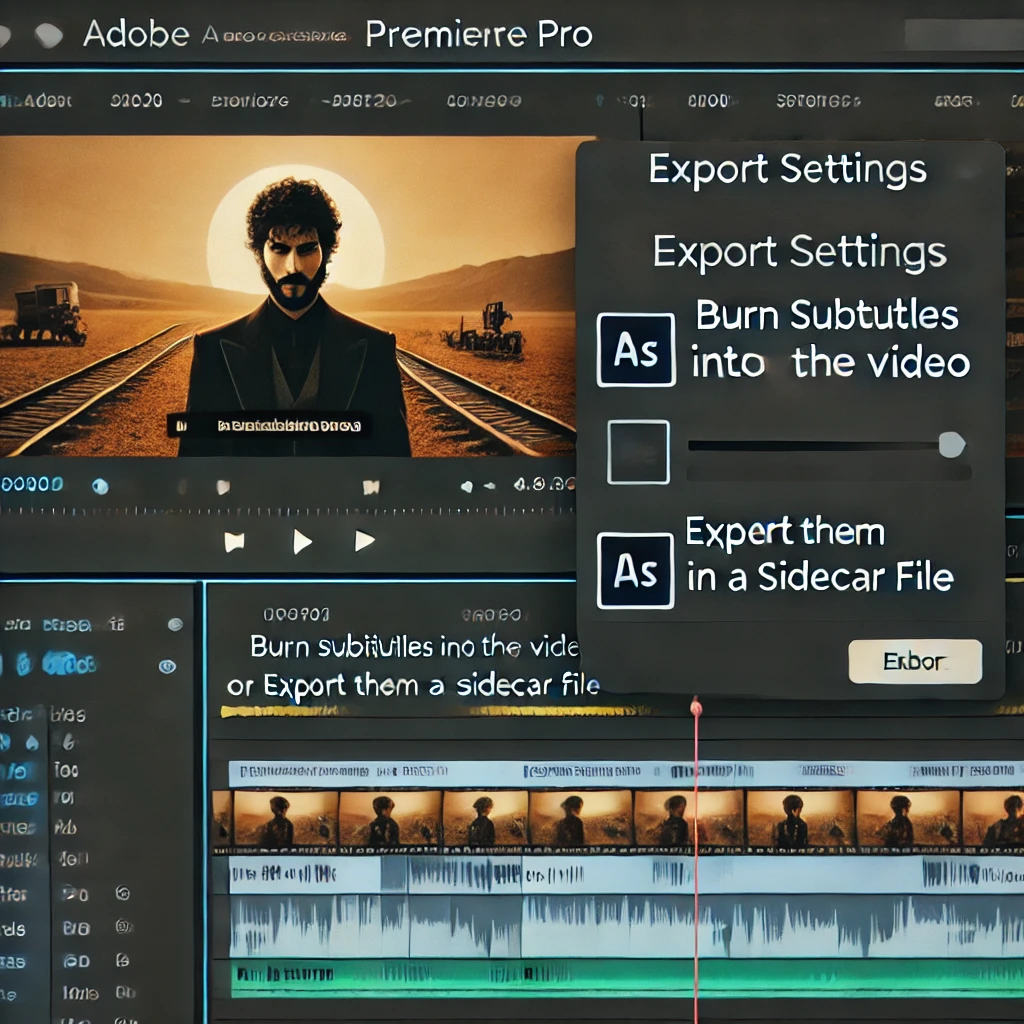
Step 6: Export with Subtitles
Export your video with subtitles included or as a separate file. Use the Export Settings Panel to choose whether to burn the subtitles into the video or export them as a sidecar file.
Conclusion
Adding subtitles and captions in Adobe Premiere Pro is simple and effective for enhancing your videos’ accessibility and professionalism. Follow these steps to create impactful content that reaches a wider audience.
More Stories
How to Create Cinematic Titles in Adobe Premiere Pro
Learn to create stunning cinematic titles in Adobe Premiere Pro using custom animations, transitions, and effects. Elevate your video projects...
How to Add Motion Graphics to Videos in Adobe Premiere Pro
Discover how to add motion graphics to your videos in Adobe Premiere Pro. Learn to use templates, customize animations, and...
How to Create Split-Screen Videos in Adobe Premiere Pro
Learn how to create engaging split-screen videos in Adobe Premiere Pro by combining multiple video clips into a single frame....
How to Create Slow Motion Effects in Adobe Premiere Pro
Slow-motion effects add drama and emphasis to your videos, making them more visually engaging. Adobe Premiere Pro provides tools to...
How to Create Picture-in-Picture Effects in Adobe Premiere Pro
Learn how to create picture-in-picture (PiP) effects in Adobe Premiere Pro for professional presentations, tutorials, or creative storytelling. Master resizing,...
How to Create a Seamless Looping Video in Adobe Premiere Pro
Seamless looping videos are perfect for social media, presentations, and background content. Adobe Premiere Pro offers tools to create visually...

