How to Blur Faces and Objects in Adobe Premiere Pro

Learn how to blur faces, objects, or sensitive information in your videos using masking and tracking tools in Adobe Premiere Pro. Master this essential skill for creating privacy-safe content.

A screenshot-style image of Adobe Premiere Pro's interface showcasing how to import a video clip. The Project Panel displays a video file ready for editing, and the timeline shows a clip placed for applying effects. The layout is clean and professional.

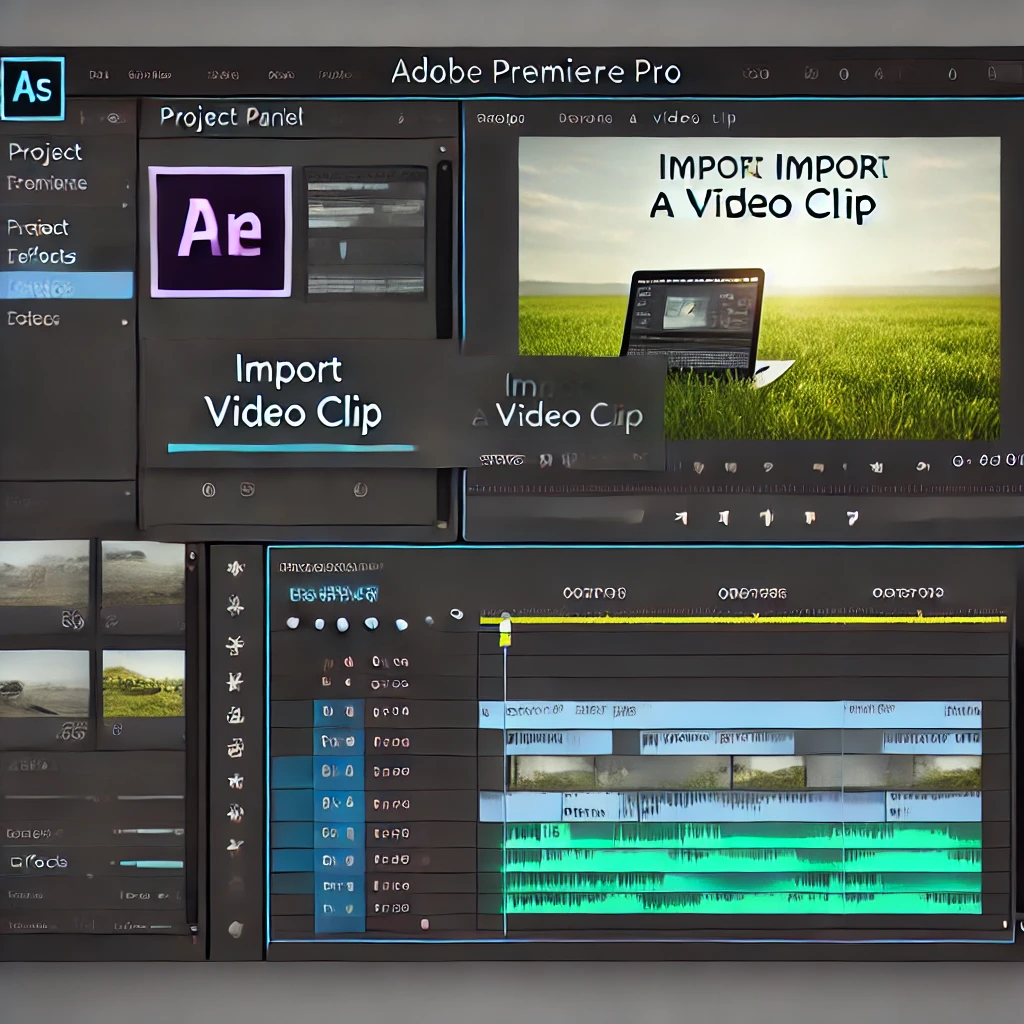
Step 1: Import Your Video

Begin by importing the video that contains the object or face you want to blur. Organize the video in the Project Panel and place it on the timeline.

A screenshot-style image of Adobe Premiere Pro's interface showcasing how to apply the Gaussian Blur effect. The Effects Panel displays the Gaussian Blur effect selected, and the timeline shows the video clip where the effect is applied. The layout is clean and professional.

Step 2: Apply the Blur Effect

Use the Gaussian Blur effect to create a blur over the desired area. Drag the effect from the Effects Panel onto the video clip in the timeline.

A screenshot-style image of Adobe Premiere Pro's interface showcasing how to create a mask for the Gaussian Blur effect. The Effect Controls Panel displays the mask tools with an ellipse mask drawn over a face in the Program Monitor. The timeline shows the video clip with the effect applied. The layout is clean and professional.

Step 3: Create a Mask

Mask the area you want to blur, such as a face or object. Use the Ellipse Mask or Rectangle Mask tool in the Effect Controls Panel to draw the mask over the desired area.

A screenshot-style image of Adobe Premiere Pro's interface showcasing how to adjust the blurriness of the Gaussian Blur effect. The Effect Controls Panel displays the Blurriness slider increased, and the Program Monitor shows the applied blur over the masked area. The timeline shows the video clip with the effect applied. The layout is clean and professional.

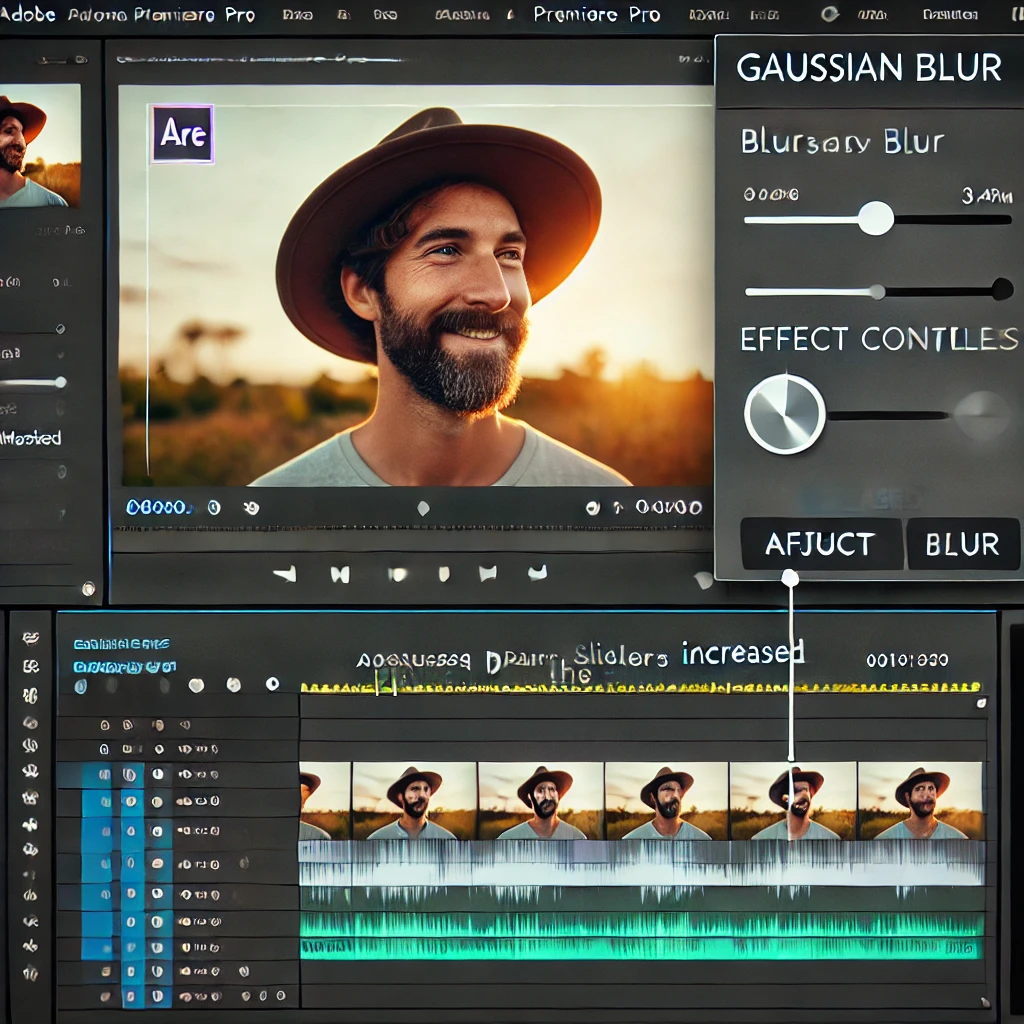
Step 4: Adjust Blur Intensity

Fine-tune the amount of blur for the masked area by increasing the Blurriness slider in the Effect Controls Panel. Preview the effect in the Program Monitor.

A screenshot-style image of Adobe Premiere Pro's interface showcasing how to track a mask for the Gaussian Blur effect. The Effect Controls Panel displays the Mask Path tracking options, and the timeline shows the video clip being tracked. The Program Monitor shows the blur effect moving with the object. The layout is clean and professional.

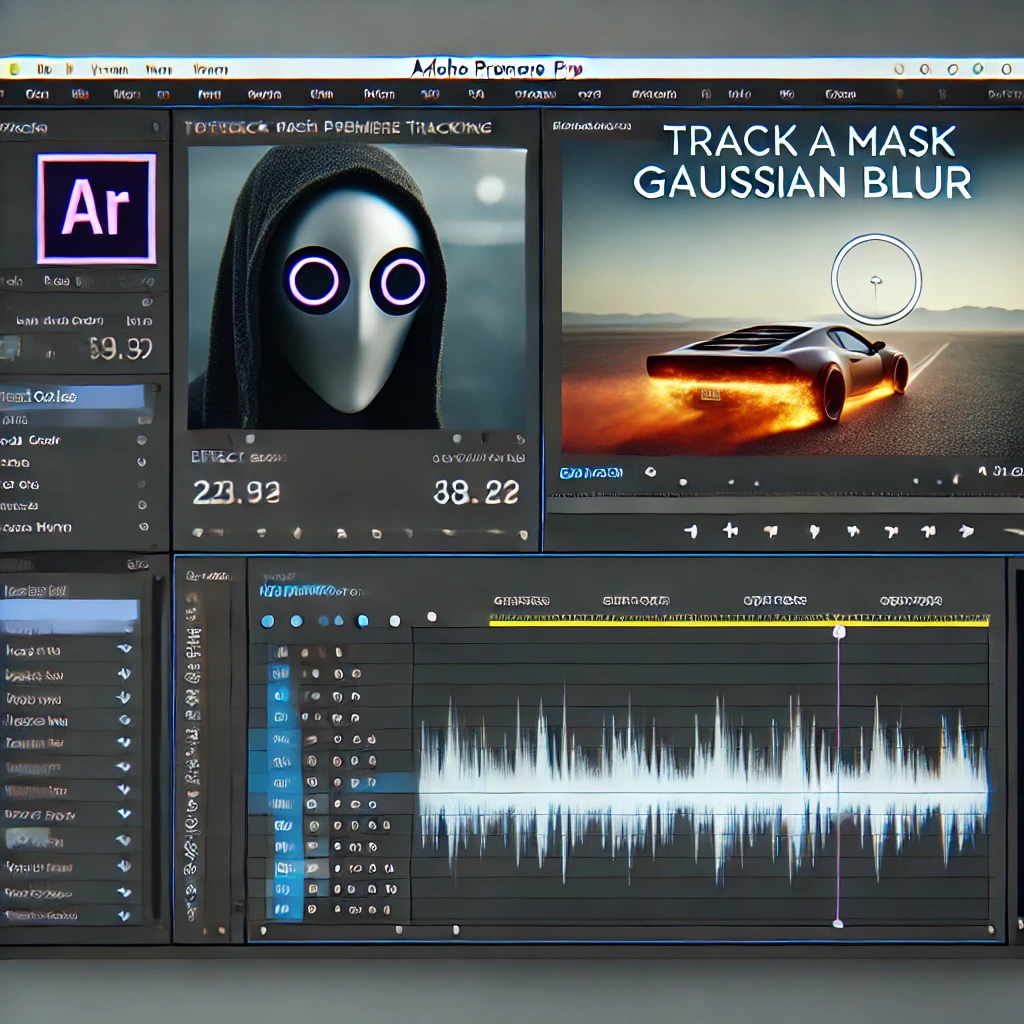
Step 5: Track the Mask

Ensure the blur follows the moving object or face. Use the Mask Path tracking option in the Effect Controls Panel to automatically track the movement.

A screenshot-style image of Adobe Premiere Pro's interface showcasing how to refine the mask for the Gaussian Blur effect. The Effect Controls Panel displays Feather and Mask Path adjustments, and the Program Monitor shows a softened blur over the masked area. The layout is clean and professional.

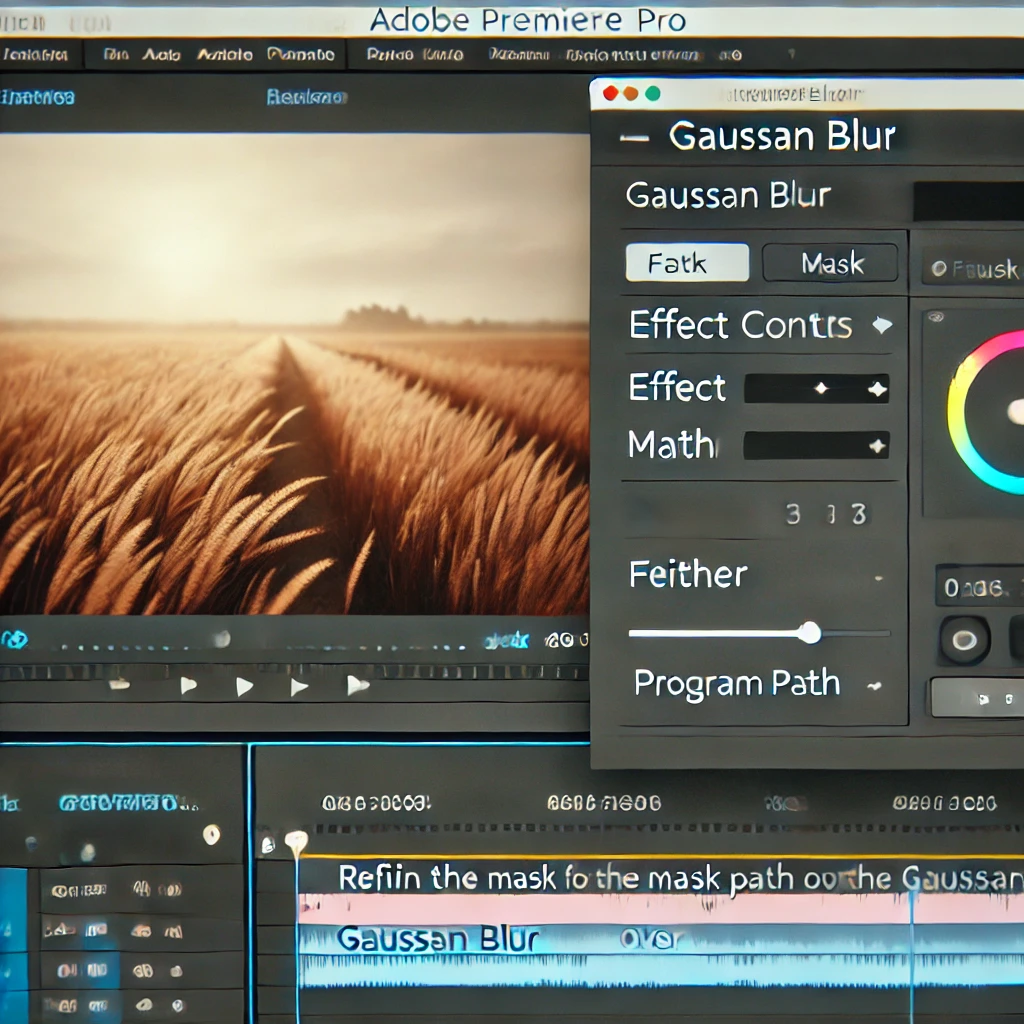
Step 6: Refine the Mask

Improve the accuracy of the blur by refining the mask. Adjust the Feather slider to soften the edges, and make manual adjustments to the Mask Path if necessary.

A screenshot-style image of Adobe Premiere Pro's interface showcasing the export process for a video with a blurred face or object. The Export Settings Panel is open, displaying format and resolution settings. The timeline shows the video clip with the blur effect applied. The layout is clean and professional.

Step 7: Export the Blurred Video

Once the blur effect is applied and refined, export the video. Use the Export Settings Panel to select the desired format and resolution for the final output.

Conclusion

Blurring faces and objects in Adobe Premiere Pro is a straightforward process with masking and tracking tools. By following these steps, you can ensure privacy and enhance your video’s professionalism.

Leave a Reply

Your email address will not be published. Required fields are marked *

Previous post How to Use Keyframes for Dynamic Effects in Adobe Premiere Pro
Next post How to Create Split-Screen Videos in Adobe Premiere Pro