How to Create Picture-in-Picture Effects in Adobe Premiere Pro

Learn how to create picture-in-picture (PiP) effects in Adobe Premiere Pro for professional presentations, tutorials, or creative storytelling. Master resizing, positioning, and adding borders for engaging visuals.

A screenshot-style image of Adobe Premiere Pro's interface showcasing how to import multiple videos for picture-in-picture effects. The Project Panel displays video files, and the timeline shows clips placed on Video Track 1 and Video Track 2. The layout is clean and professional.

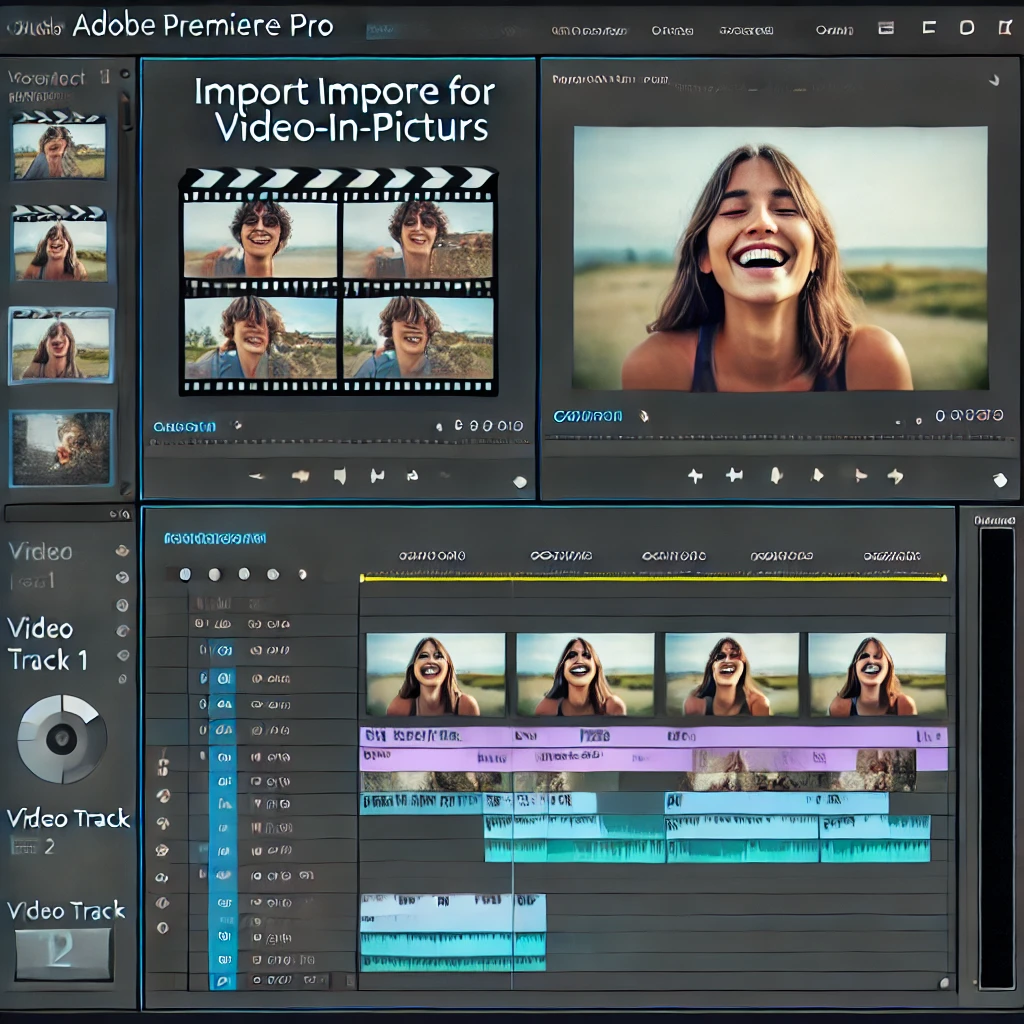
Step 1: Import Your Videos

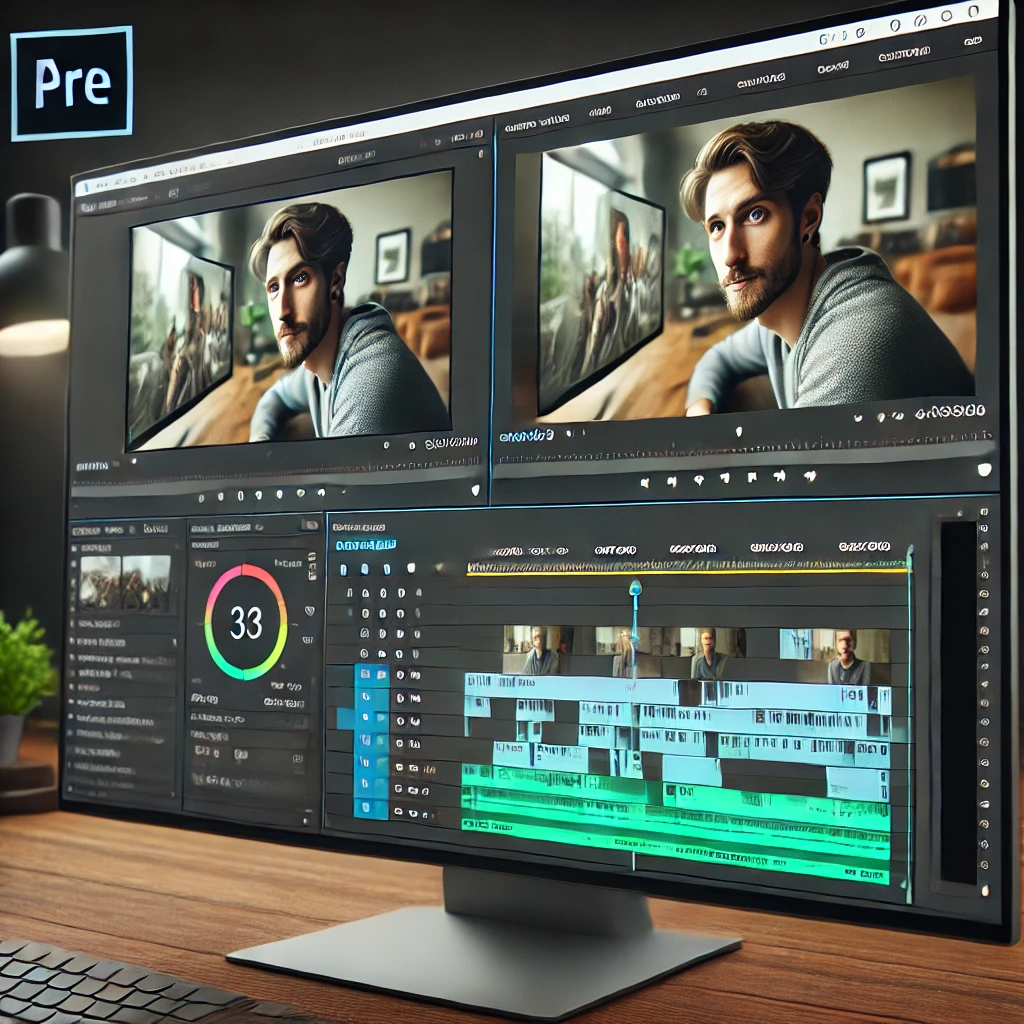
Begin by importing the videos you want to use for the PiP effect. Place the main video on Video Track 1 and the overlay video on Video Track 2 in the timeline.

A screenshot-style image of Adobe Premiere Pro's interface showcasing how to resize an overlay video for picture-in-picture effects. The Effect Controls Panel displays the Scale slider being adjusted, and the Program Monitor shows a smaller overlay video on top of the main video. The layout is clean and professional.

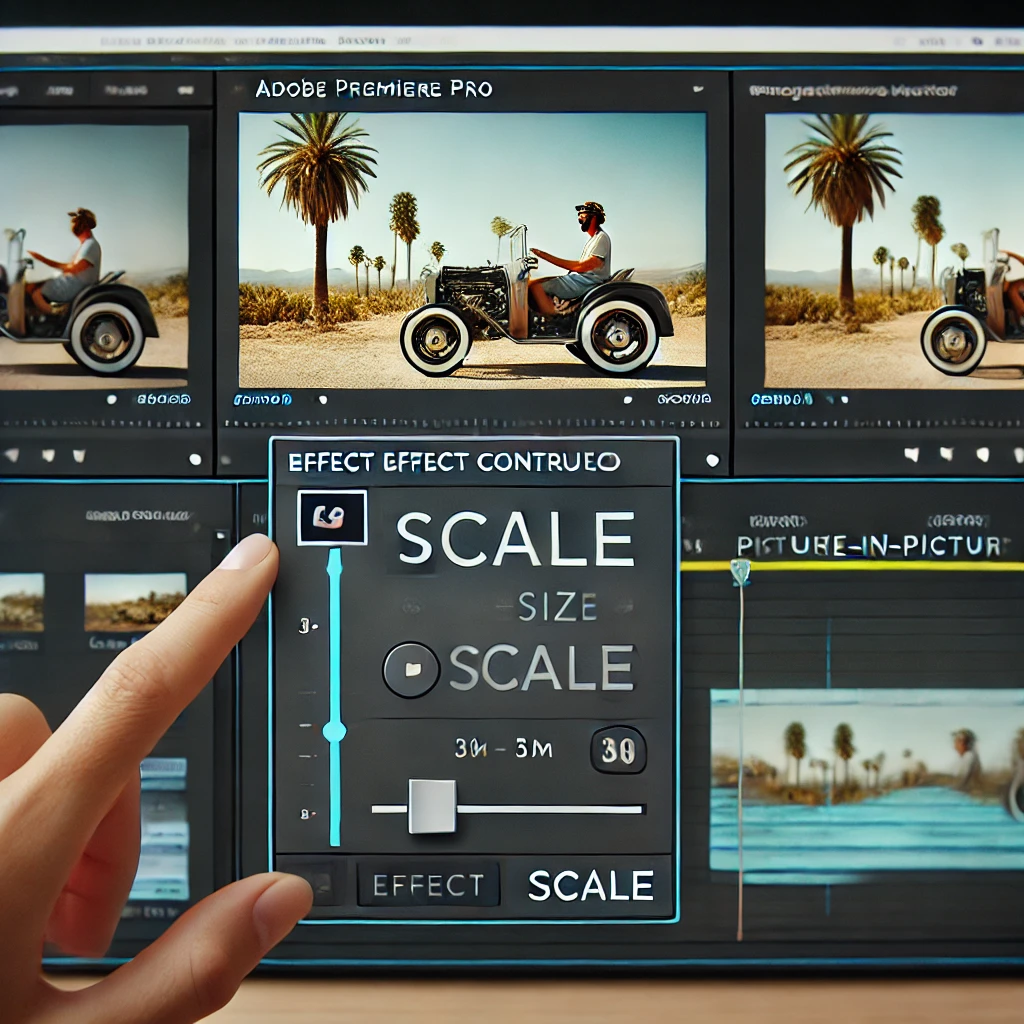
Step 2: Resize the Overlay Video

Adjust the size of the overlay video to fit within the frame. Use the Scale slider in the Effect Controls Panel to resize the overlay video.

A screenshot-style image of Adobe Premiere Pro's interface showcasing how to position an overlay video for picture-in-picture effects. The Effect Controls Panel displays the Position properties being adjusted, and the Program Monitor shows the overlay video positioned at the corner of the main video. The layout is clean and professional.

Step 3: Position the Overlay Video

Place the overlay video in the desired location on the screen. Use the Position properties in the Effect Controls Panel to move the overlay video, or drag it directly in the Program Monitor.

A screenshot-style image of Adobe Premiere Pro's interface showcasing how to add borders to an overlay video for picture-in-picture effects. The Crop effect settings in the Effect Controls Panel are displayed, and the Program Monitor shows the overlay video with visible borders. The layout is clean and professional.

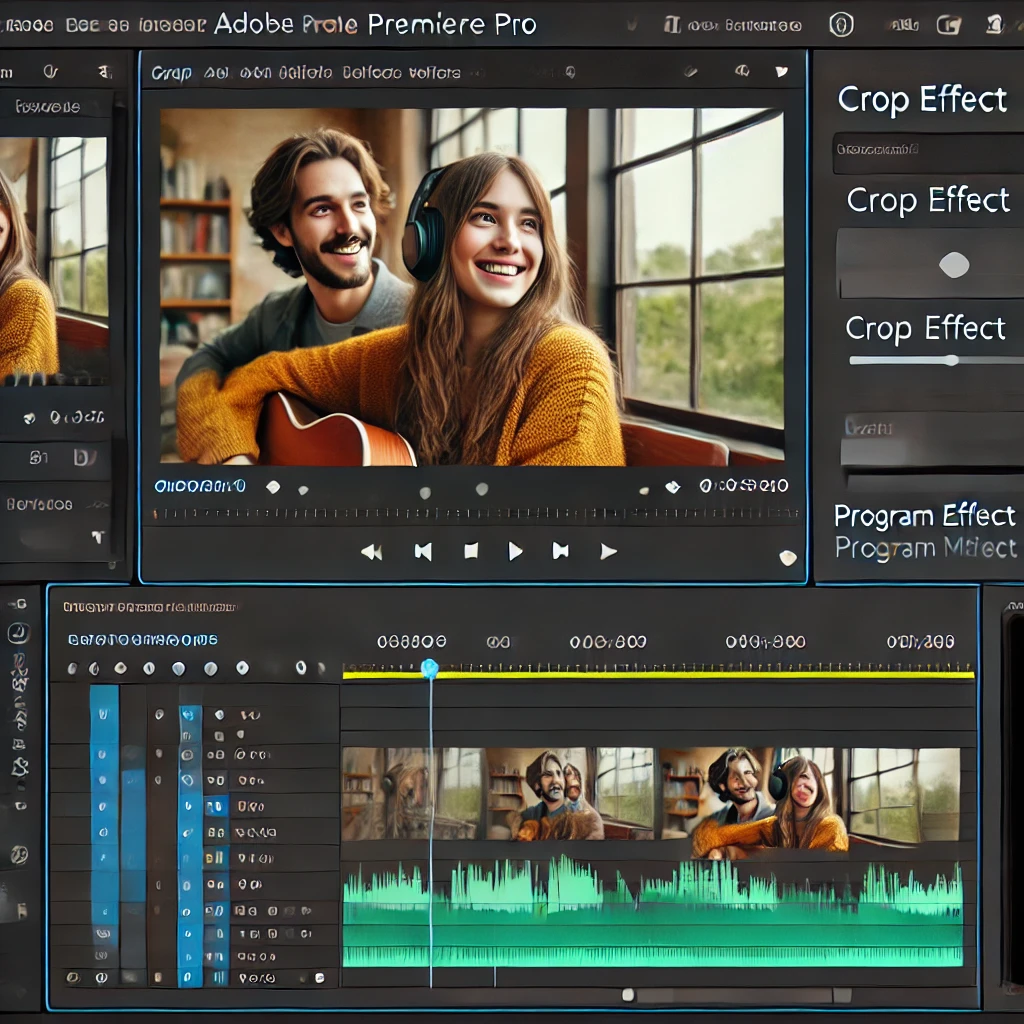
Step 4: Add Borders (Optional)

Create a polished look by adding borders to the overlay video. Use the Crop effect in the Effect Controls Panel to adjust the borders and customize their appearance.

A screenshot-style image of Adobe Premiere Pro's interface showcasing how to add a drop shadow to an overlay video for picture-in-picture effects. The Drop Shadow effect settings in the Effect Controls Panel are displayed, and the Program Monitor shows the overlay video with a soft shadow effect. The layout is clean and professional.

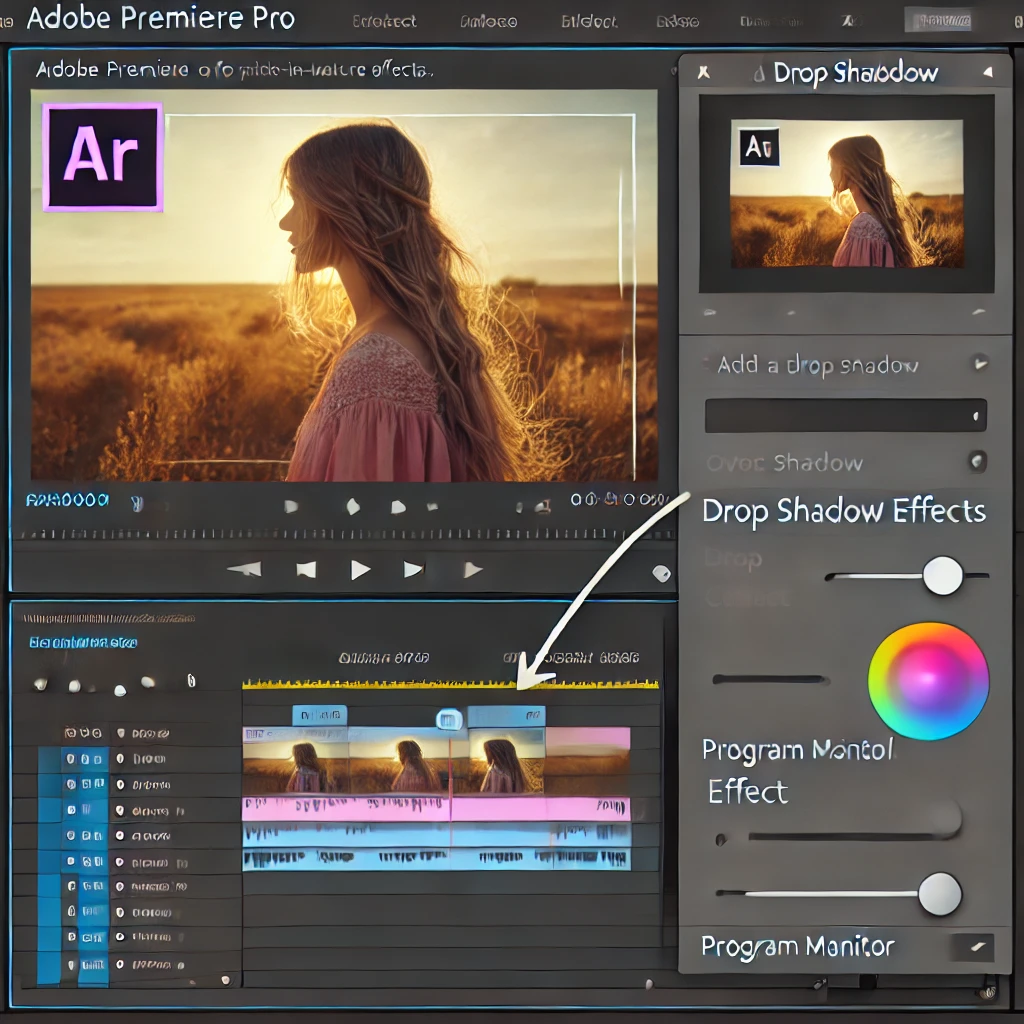
Step 5: Add Drop Shadow (Optional)

Enhance the overlay video’s visibility by adding a drop shadow. Use the Drop Shadow effect in the Effect Controls Panel and adjust its settings for a soft and professional look.

A screenshot-style image of Adobe Premiere Pro's interface showcasing the preview of a picture-in-picture effect. The Program Monitor displays the overlay video in position over the main video, and the timeline shows the edited tracks with effects applied. The layout is clean and professional.

Step 6: Preview and Adjust

Play back the PiP effect in the Program Monitor to ensure it looks smooth and professional. Make final adjustments to the Scale, Position, and effects as needed.

A screenshot-style image of Adobe Premiere Pro's interface showcasing the export settings for a picture-in-picture effect video. The Export Settings Panel displays H.264 format selection and resolution settings. The timeline shows the edited tracks with the PiP effect. The layout is clean and professional.

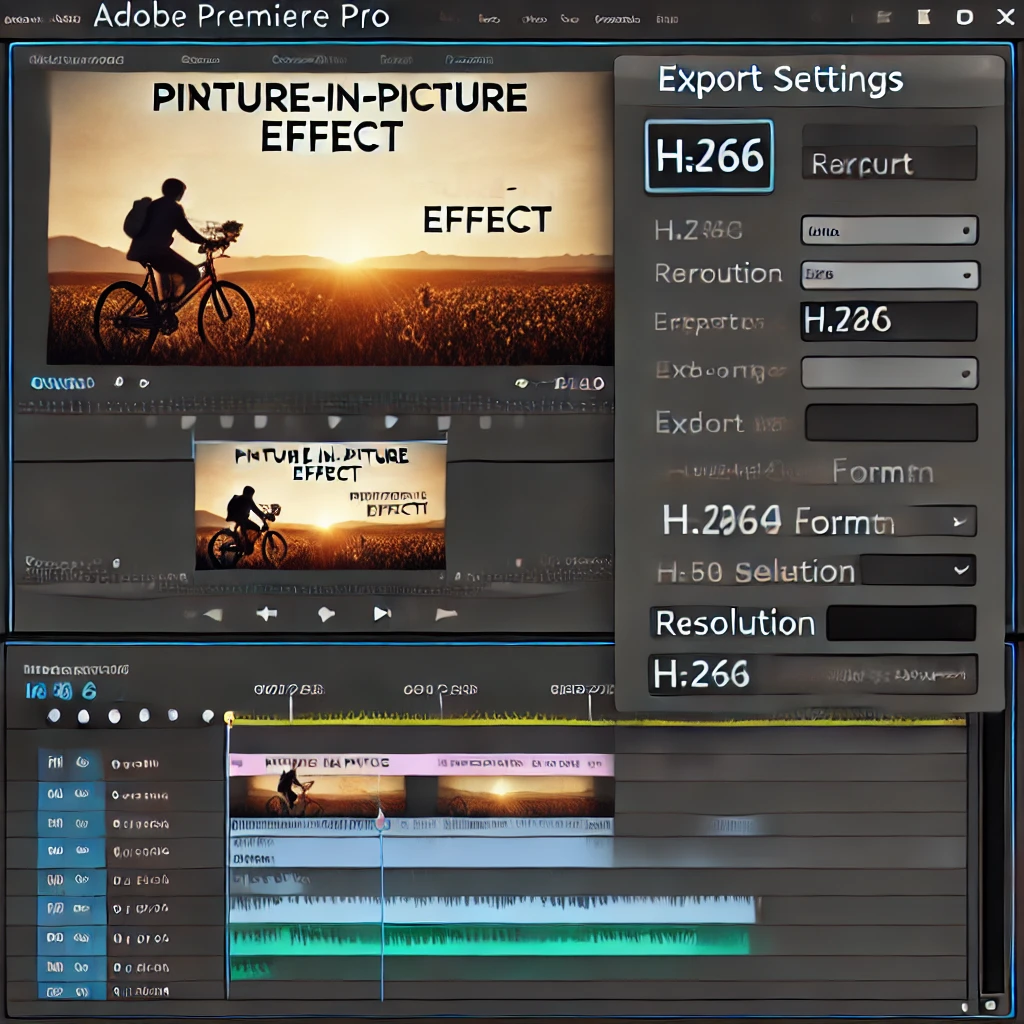
Step 7: Export the Picture-in-Picture Video

Export your PiP video with high-quality settings. Use the Export Settings Panel to choose a format like H.264 and adjust the resolution to match your project.

Conclusion

Picture-in-picture effects in Adobe Premiere Pro are perfect for enhancing your video projects. Follow these steps to create professional and engaging visuals that captivate your audience.

Leave a Reply

Your email address will not be published. Required fields are marked *

Previous post How to Create a Seamless Looping Video in Adobe Premiere Pro
Next post How to Create Slow Motion Effects in Adobe Premiere Pro