How to Stabilize Shaky Footage in Adobe Premiere Pro
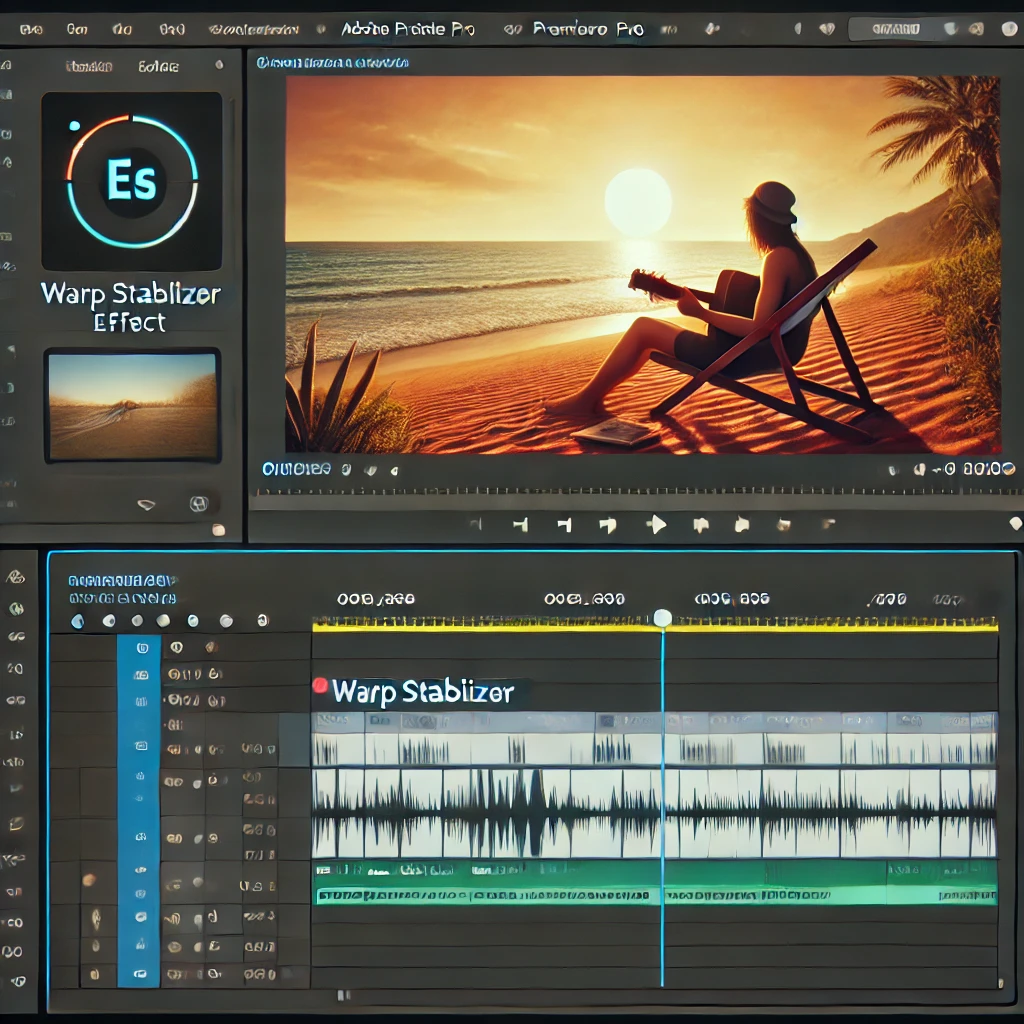
Shaky footage can distract viewers and diminish the quality of your video. Fortunately, Adobe Premiere Pro’s Warp Stabilizer effect makes it easy to smooth out your shots. Here’s how to use it effectively.
Step 1: Import Your Shaky Footage
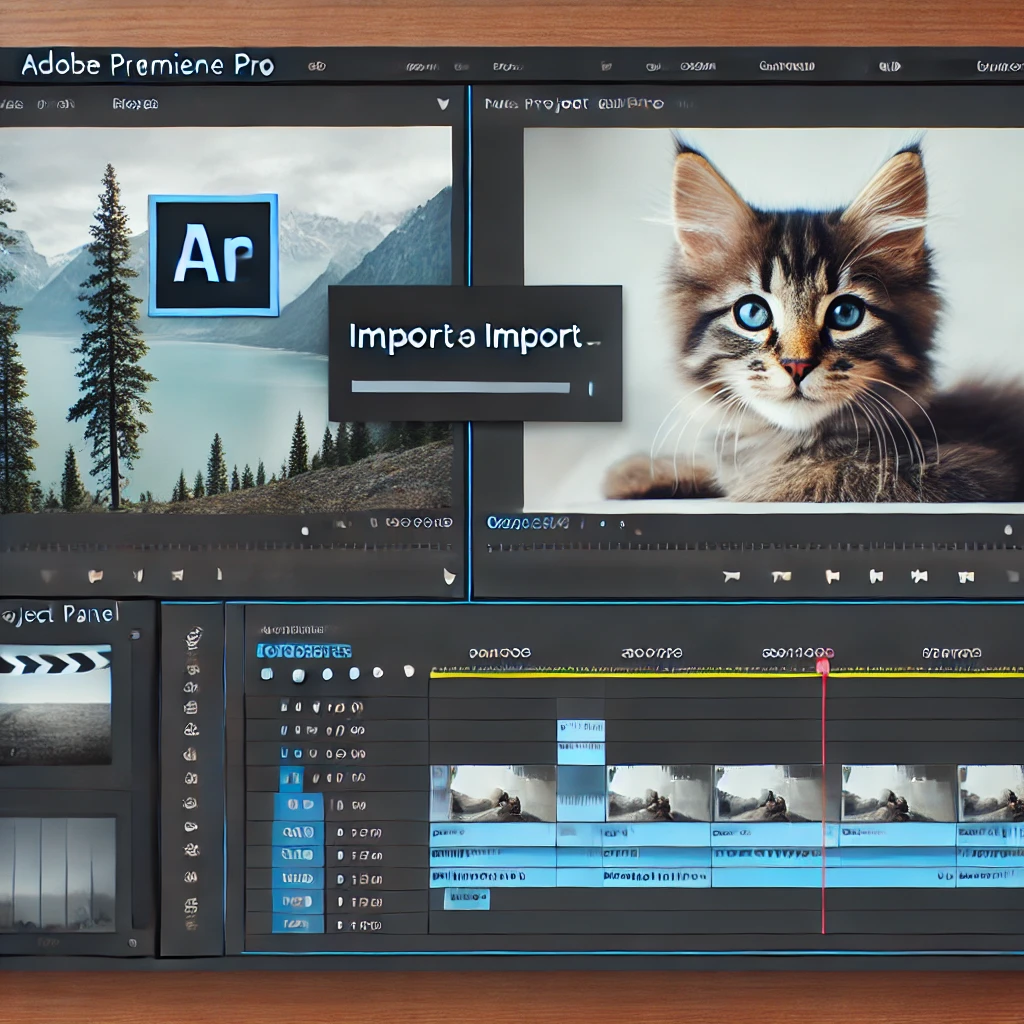
Start by importing the shaky video footage you want to stabilize. Organize it in the Project Panel and place it on the timeline.

Step 2: Apply the Warp Stabilizer Effect
Use the Warp Stabilizer effect to stabilize your footage. Drag the effect from the Effects Panel onto your video clip in the timeline.
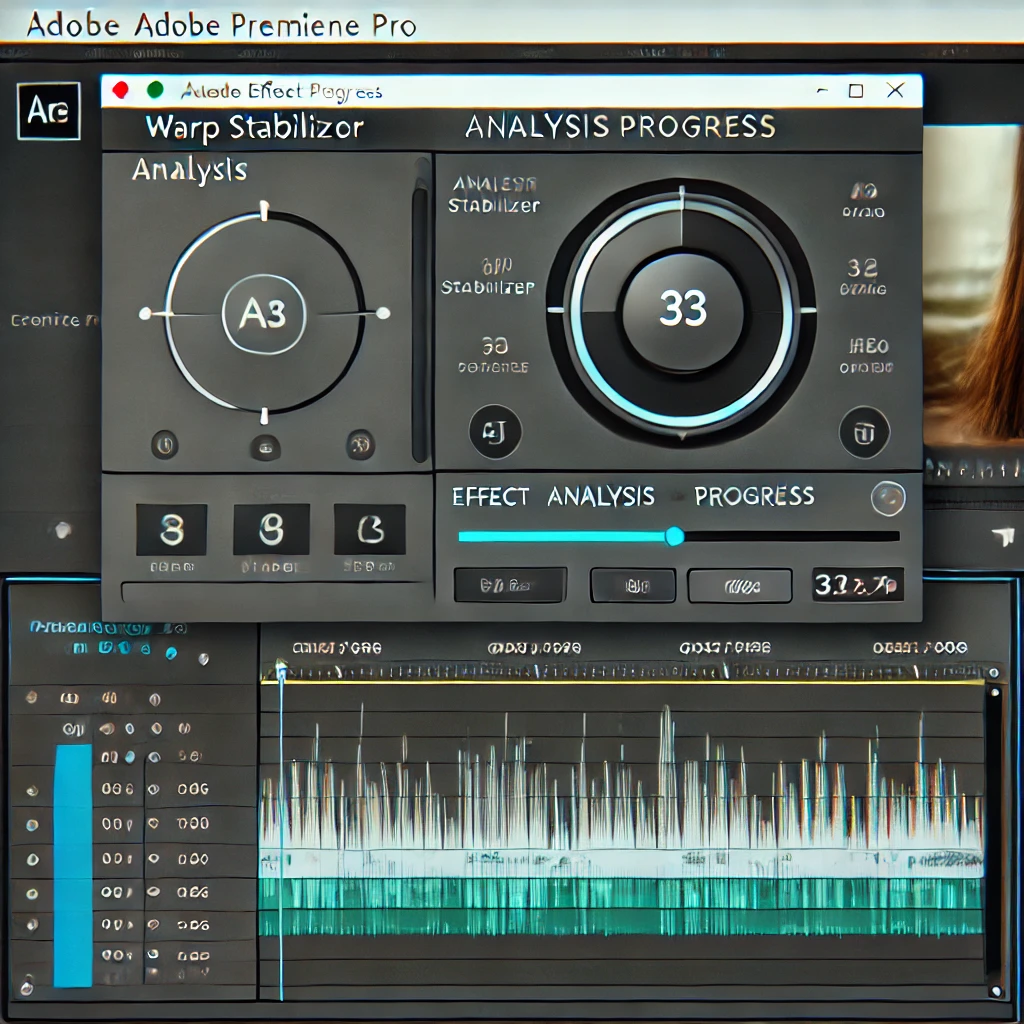
Step 3: Analyze the Footage
Premiere Pro will automatically analyze your clip once the Warp Stabilizer effect is applied. Wait until the analysis is complete before previewing the results.
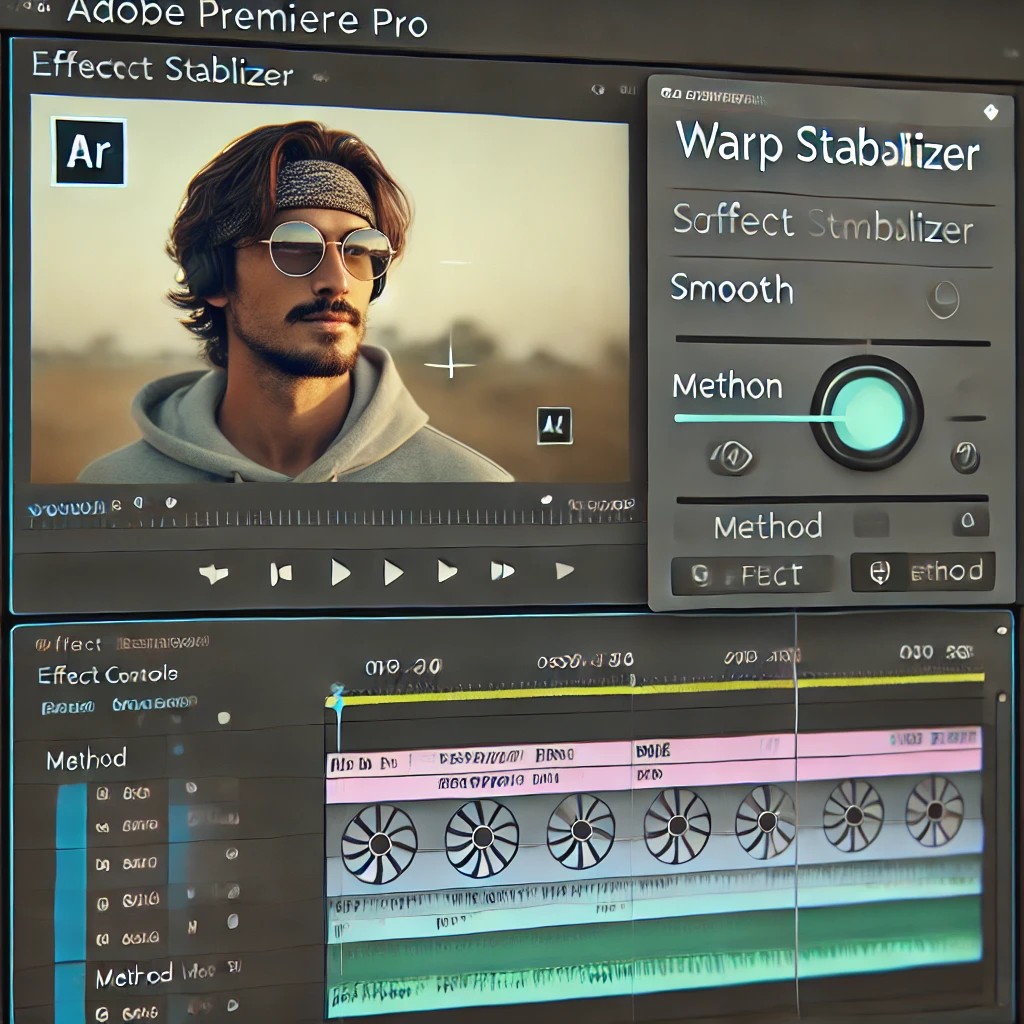
Step 4: Adjust Stabilization Settings
Fine-tune the stabilization effect by adjusting the Smoothness slider and Method options in the Effect Controls Panel. Experiment to achieve the best result for your footage.
Step 5: Preview the Stabilized Footage
Play back your clip in the Program Monitor to ensure the stabilization looks natural. Check for any wobbling or distortion caused by over-stabilization.

Step 6: Trim or Reanalyze if Necessary
If parts of the clip still appear shaky, trim the footage or reapply the Warp Stabilizer effect. Adjust the clip’s duration and reanalyze as needed.
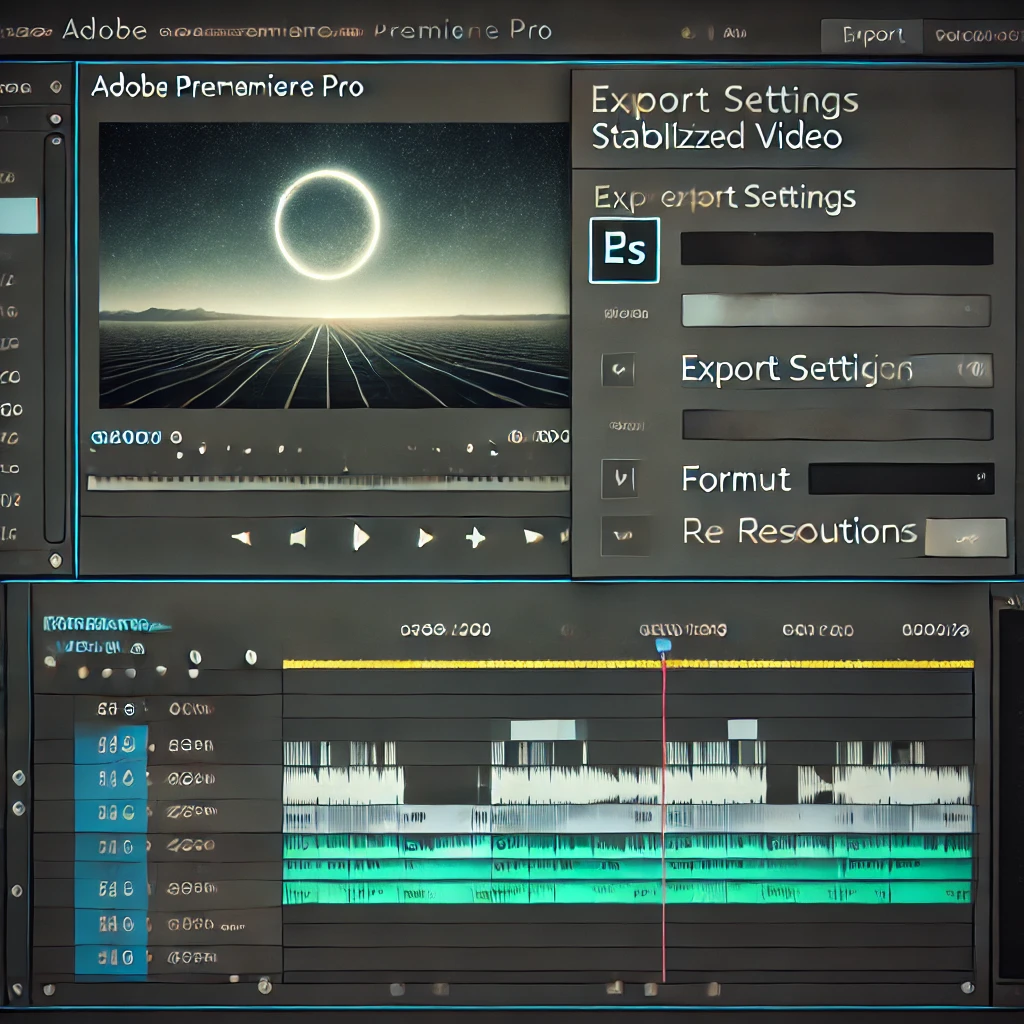
Step 7: Export the Stabilized Video
Export your stabilized video with high-quality settings. Use the Export Settings Panel to select the desired format and resolution for the final output.
Conclusion
Using the Warp Stabilizer effect in Adobe Premiere Pro is a simple yet powerful way to enhance the quality of shaky footage. Follow these steps to achieve smooth, professional-looking shots.
More Stories
How to Create Split-Screen Videos in Adobe Premiere Pro
Learn how to create split-screen videos in Adobe Premiere Pro to showcase multiple perspectives or scenes simultaneously. This guide covers...
How to Blur Faces and Objects in Adobe Premiere Pro
Learn how to blur faces, objects, or sensitive information in your videos using masking and tracking tools in Adobe Premiere...
How to Use Keyframes for Dynamic Effects in Adobe Premiere Pro
Keyframes are a powerful tool in Adobe Premiere Pro, enabling you to animate properties like position, scale, opacity, and effects...
How to Add and Customize Captions in Adobe Premiere Pro
Learn how to add captions to your videos in Adobe Premiere Pro and customize their style, placement, and timing for...
How to Remove Background Noise in Adobe Premiere Pro
Learn how to enhance audio clarity by removing background noise using the built-in tools in Adobe Premiere Pro. Achieve clean,...
How to Color Grade Footage in Adobe Premiere Pro
Master the art of color grading in Adobe Premiere Pro to create visually stunning videos. Learn how to adjust exposure,...

