How to Color Grade Footage in Adobe Premiere Pro

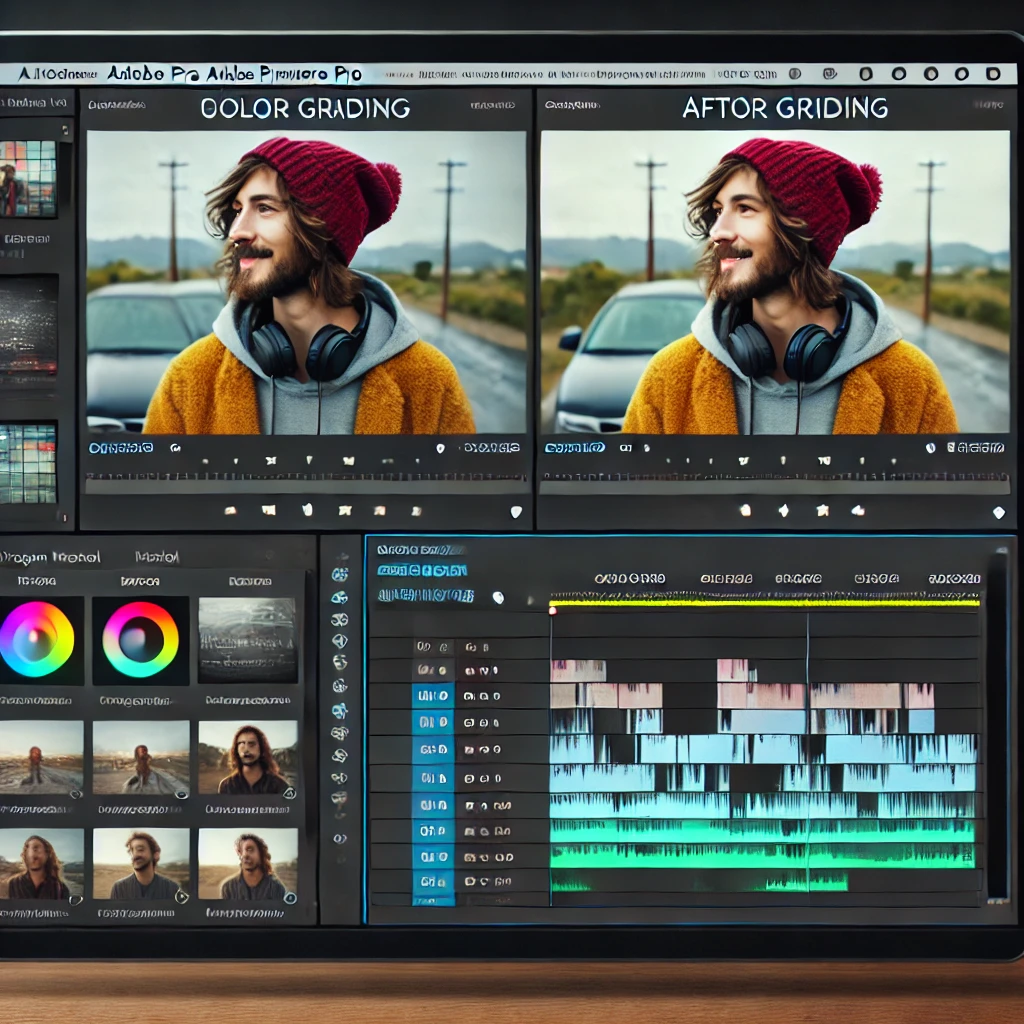
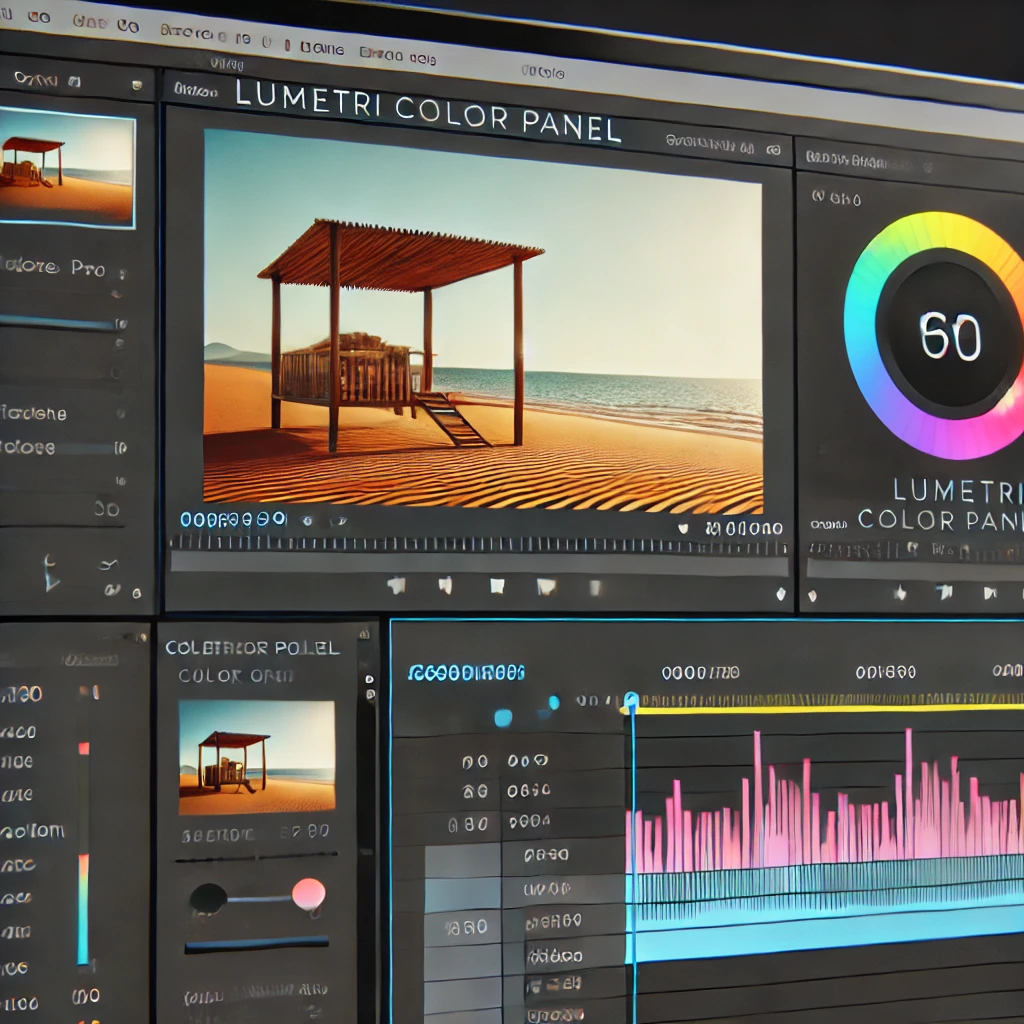
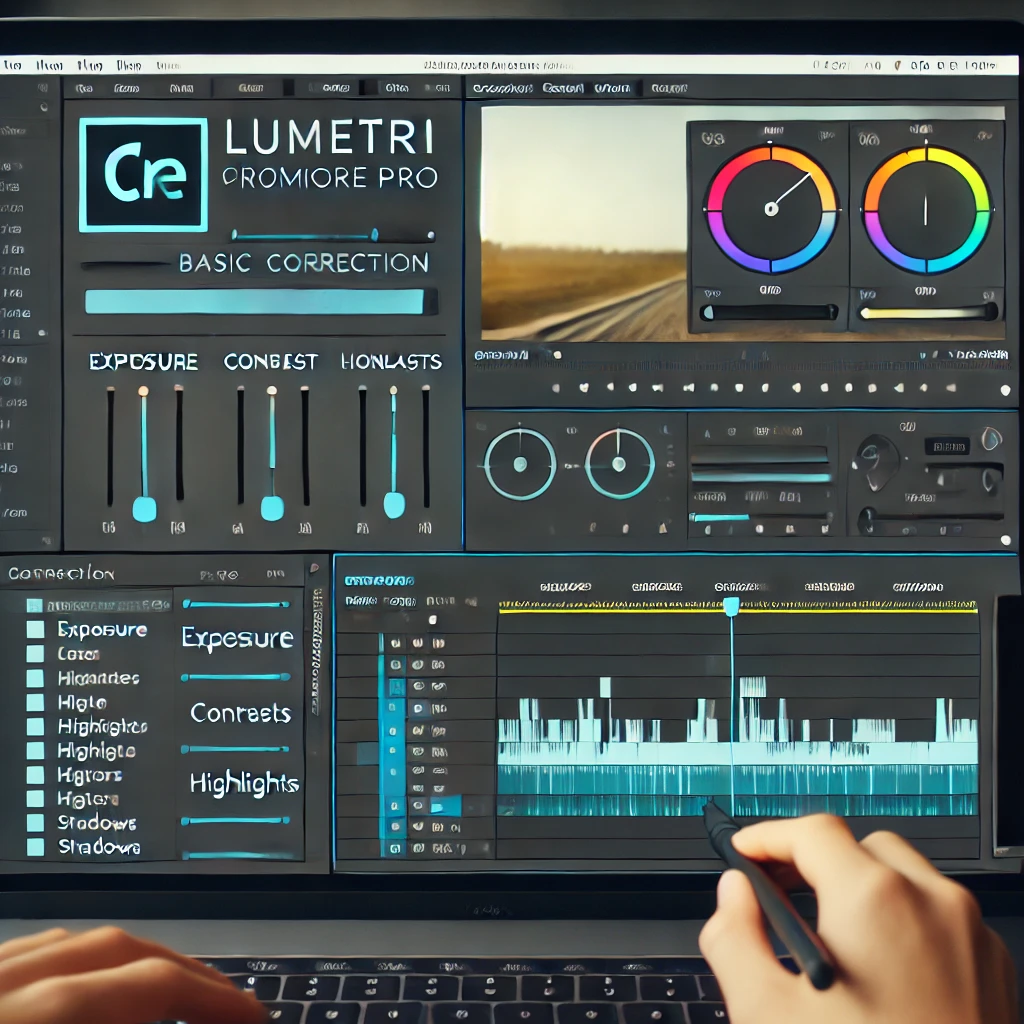
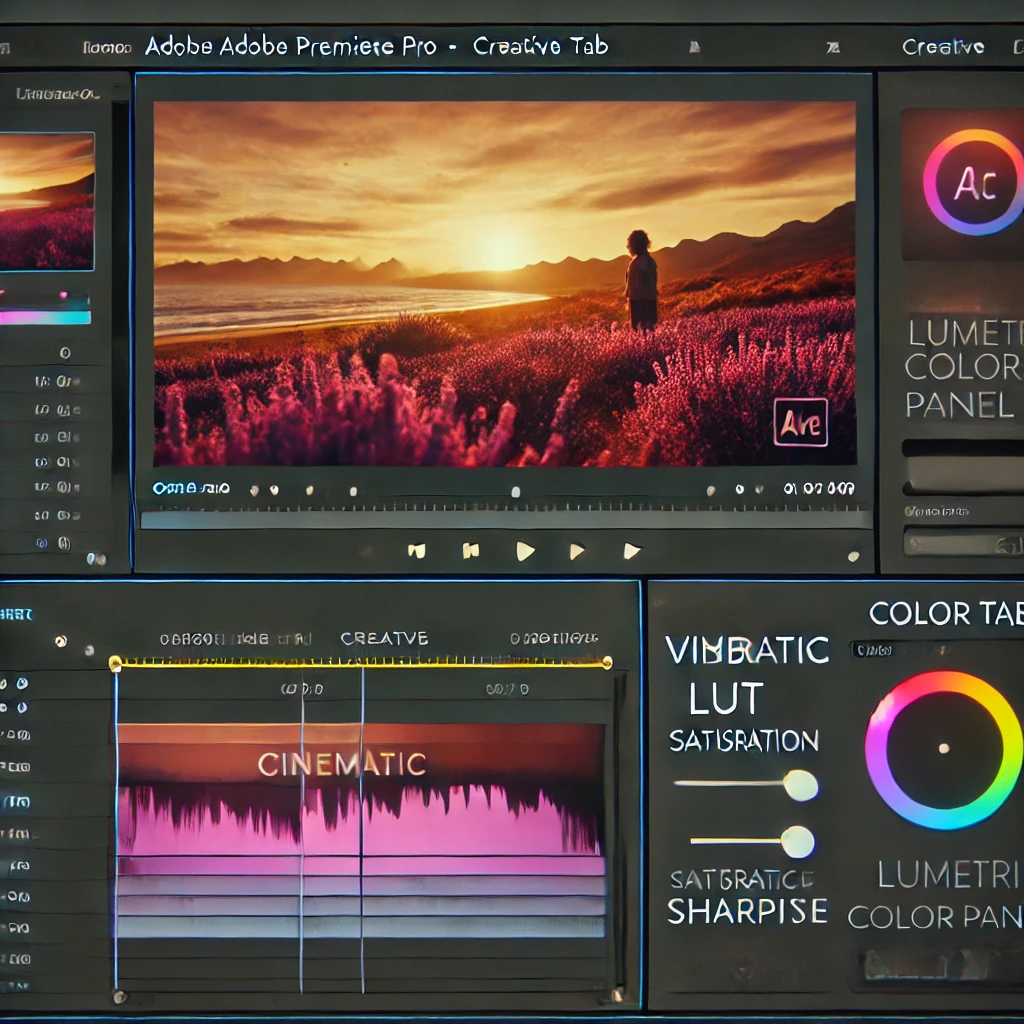
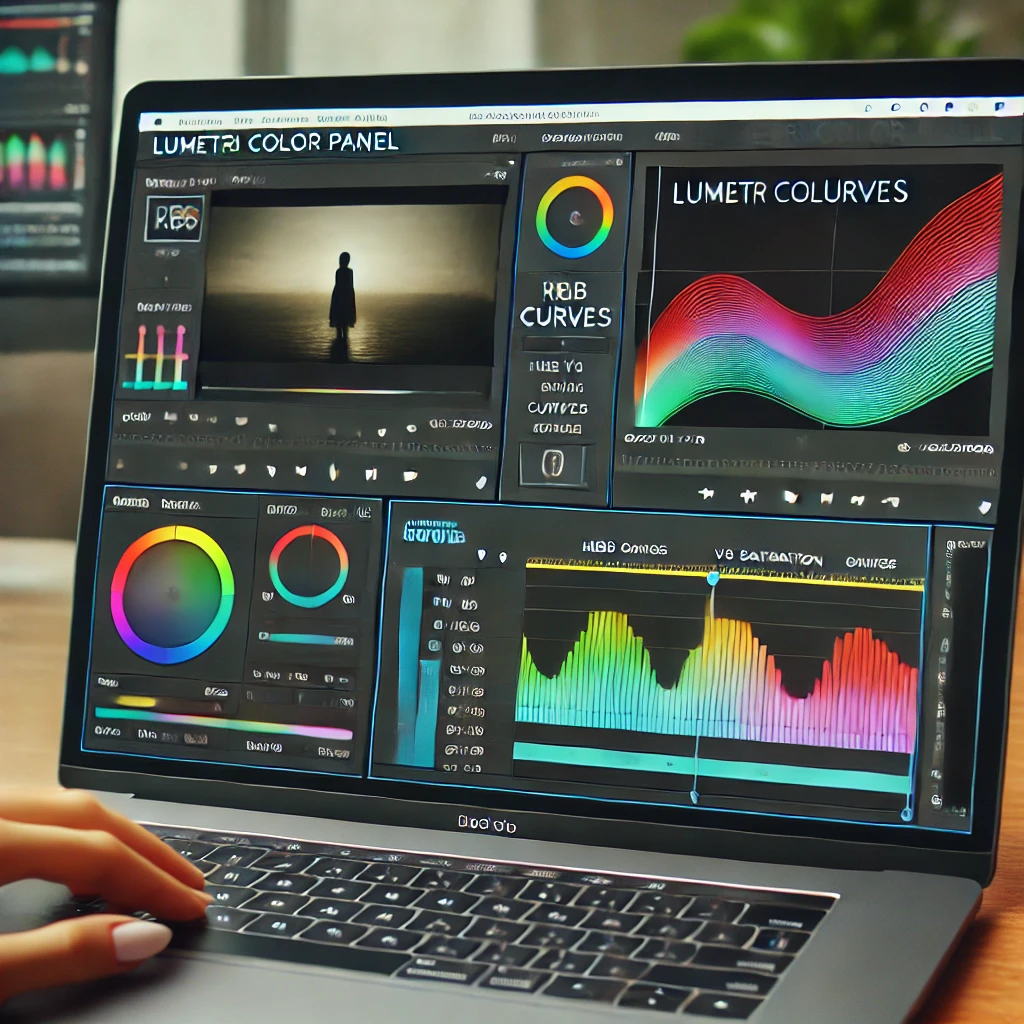
Master the art of color grading in Adobe Premiere Pro to create visually stunning videos. Learn how to adjust exposure, contrast, and colors for a professional look.

A screenshot-style image of Adobe Premiere Pro's interface showcasing how to import footage. The Project Panel displays video files organized into bins, and the timeline shows clips arranged for editing. The layout is professional and clean.

Step 1: Import and Arrange Your Footage

Begin by importing and organizing your footage on the timeline to prepare for color grading.

A screenshot-style image of Adobe Premiere Pro's interface showcasing the Lumetri Color Panel open. The timeline shows a selected video clip ready for color grading. The layout includes the Lumetri Color Panel with Basic Correction options visible. The design is professional and clean.

Step 2: Open the Lumetri Color Panel

Access the Lumetri Color Panel to begin adjusting the color properties of your video. This panel provides all the tools you need for professional color grading.

A screenshot-style image of Adobe Premiere Pro's interface showcasing the Lumetri Color Panel with Basic Correction adjustments. The timeline displays a video clip being graded, and the sliders for Exposure, Contrast, Highlights, and Shadows are visible. The layout is clean and professional.

Step 3: Adjust Basic Correction Settings

Make primary adjustments to your video’s exposure, contrast, highlights, and shadows using the Basic Correction tab in the Lumetri Color Panel.


A screenshot-style image of Adobe Premiere Pro's interface showcasing the Lumetri Color Panel's Creative tab. The timeline displays a video clip with a cinematic LUT applied, and sliders for Vibrance, Saturation, and Sharpness are visible. The layout is professional and clean.

Step 4: Fine-Tune with Creative Adjustments

Use the Creative tab in the Lumetri Color Panel to add cinematic looks and refine colors. Apply a LUT and adjust Vibrance, Saturation, and Sharpness.


A screenshot-style image of Adobe Premiere Pro's interface showcasing the Lumetri Color Panel's Curves section. The timeline displays a video clip, and the RGB Curves and Hue vs Saturation Curves are being adjusted. The layout is clean and professional.

Step 5: Work with Curves

Make precise tonal and color adjustments using the Curves section in the Lumetri Color Panel. Adjust RGB Curves and Hue vs Saturation Curves for fine-tuned control.

A screenshot-style image of Adobe Premiere Pro's interface showcasing a comparison view for color grading. The timeline shows a video clip, and the Program Monitor displays a side-by-side comparison of before and after grading. The layout is clean and professional.

Step 6: Preview and Adjust

Use the Comparison View in the Program Monitor to see the before-and-after results of your color grading. Refine the adjustments for consistency across all clips.

A screenshot-style image of Adobe Premiere Pro's interface showcasing the export process for color-graded footage. The Export Settings Panel is open, showing H.264 format settings, and the timeline displays a graded video clip. The layout is clean and professional.

Leave a Reply

Your email address will not be published. Required fields are marked *

Previous post How to Add Transitions Between Clips in Adobe Premiere Pro
Next post How to Remove Background Noise in Adobe Premiere Pro