How to Remove Background Noise in Adobe Premiere Pro
Learn how to enhance audio clarity by removing background noise using the built-in tools in Adobe Premiere Pro. Achieve clean, professional-quality audio in your video projects.

Step 1: Import Your Audio or Video
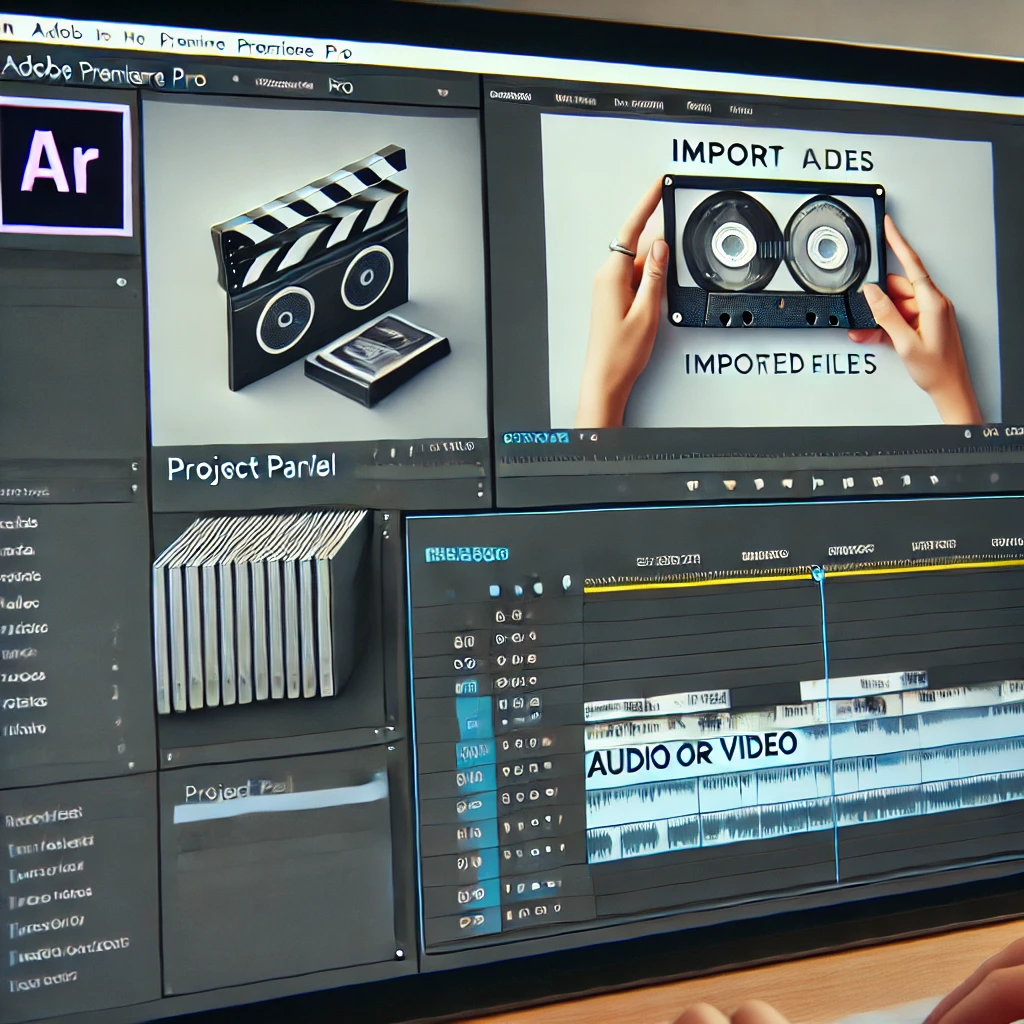
Start by importing the audio or video file you want to clean up. Organize it in the Project Panel and place it on the timeline.
Step 2: Open the Essential Sound Panel
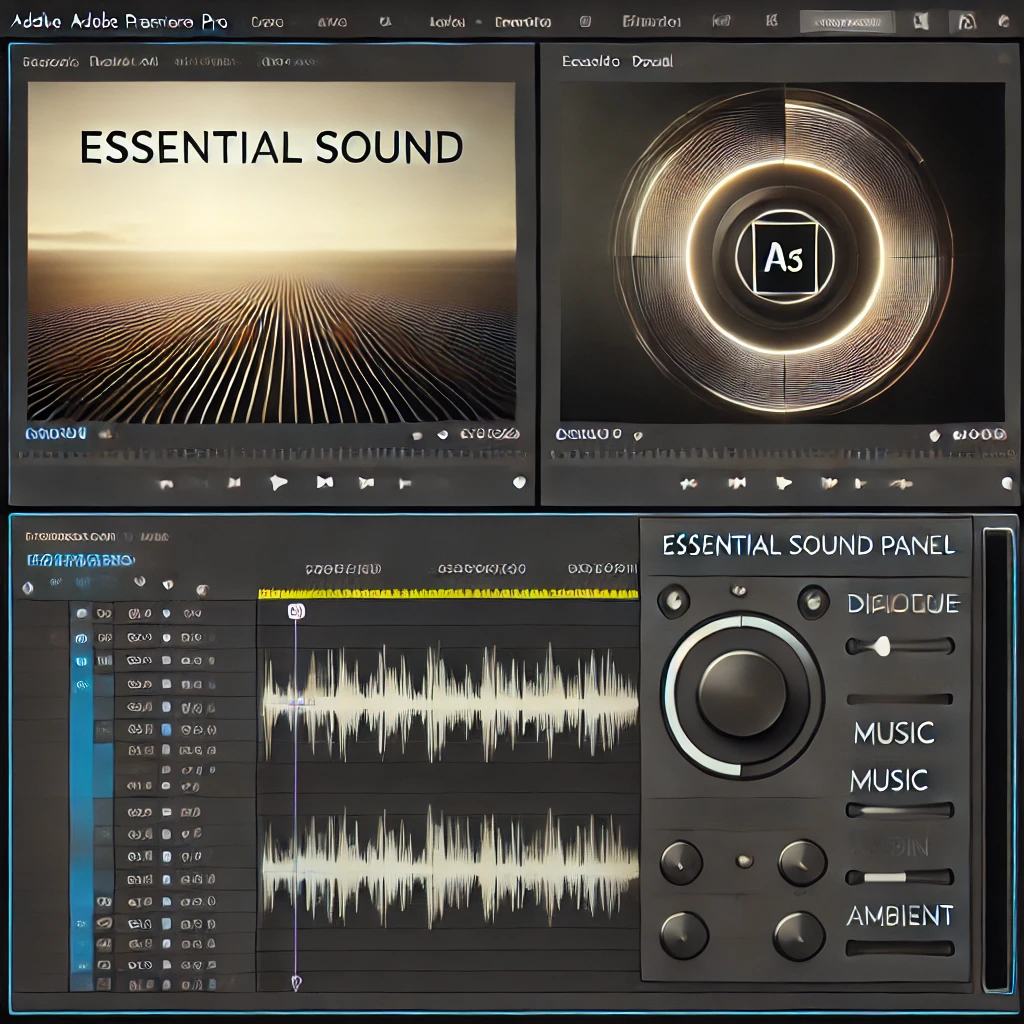
Use the Essential Sound Panel to access tools for cleaning up audio. Select the audio clip on the timeline to enable editing options.
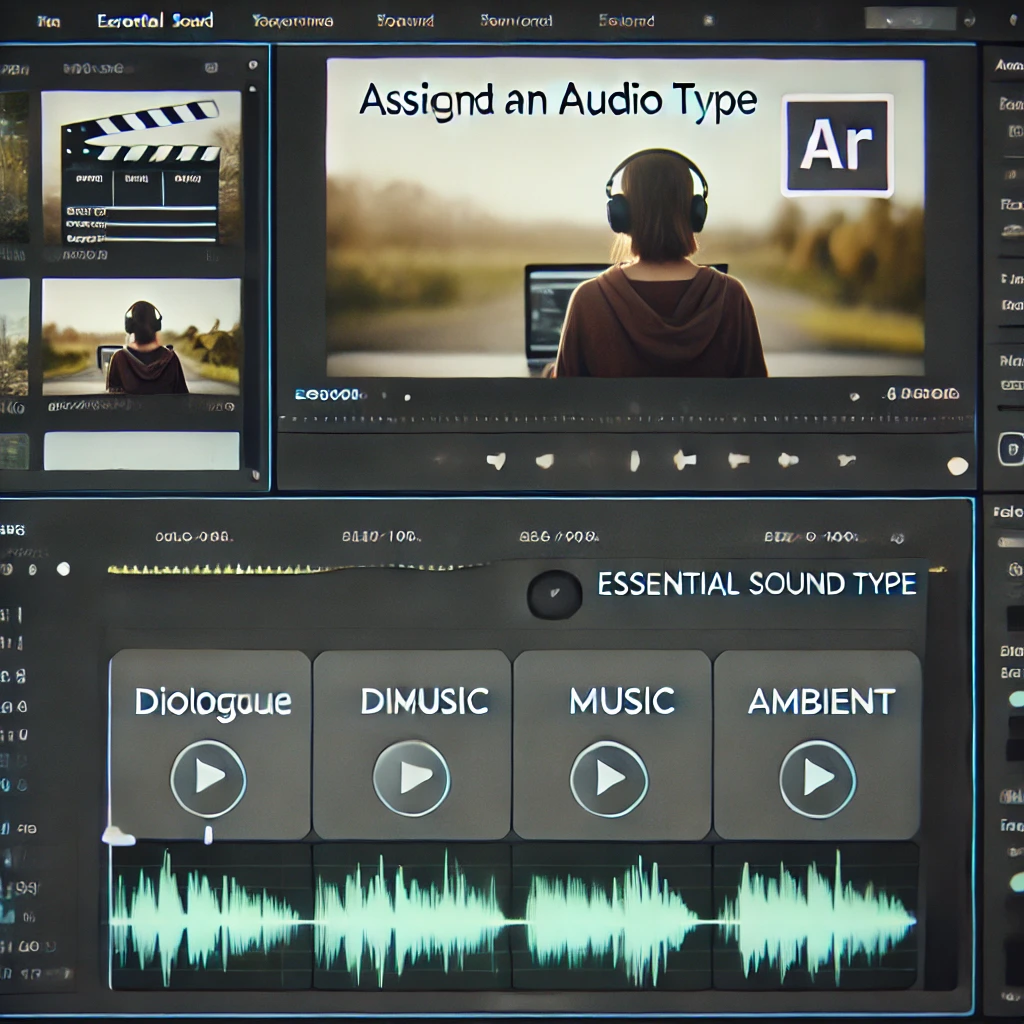
Step 3: Assign an Audio Type
Assign an appropriate audio type (Dialogue, Music, or Ambient) in the Essential Sound Panel. This helps Premiere Pro optimize settings for noise reduction.
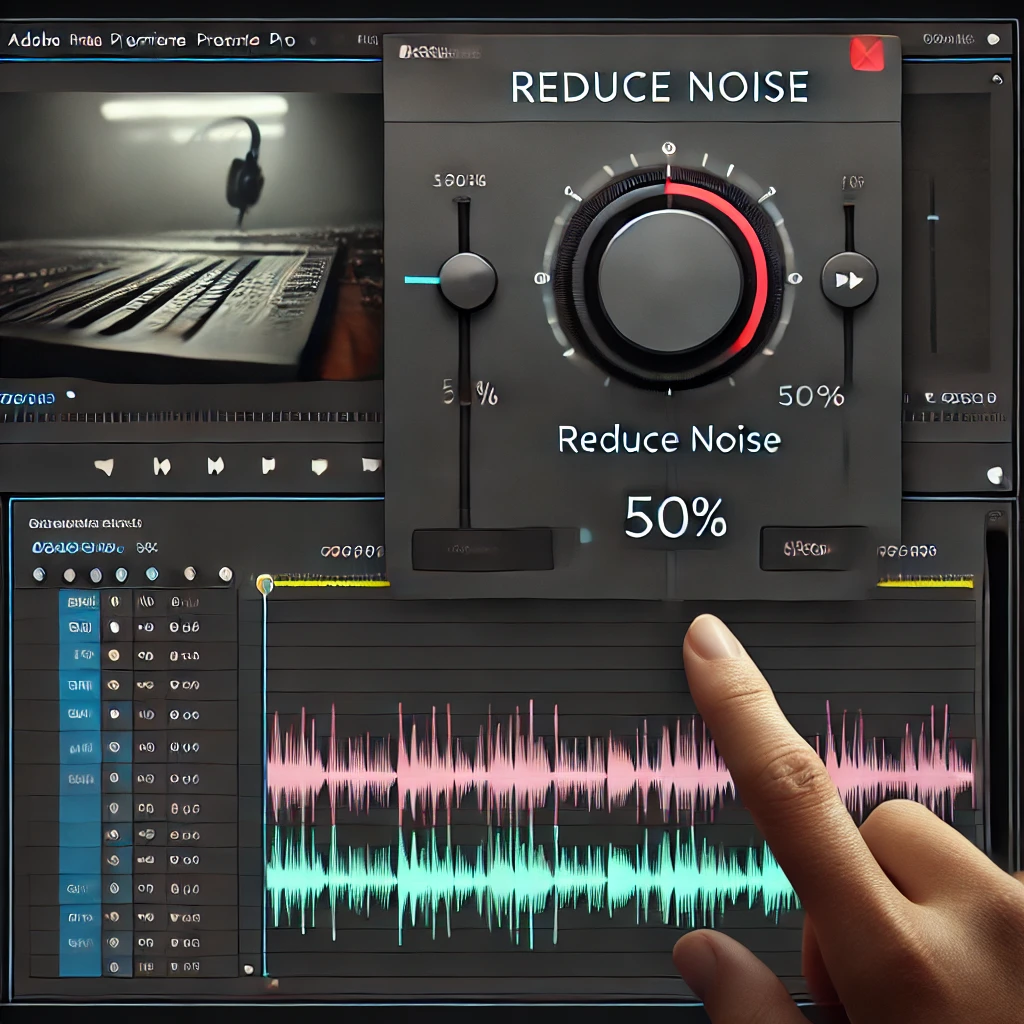
Step 4: Reduce Background Noise
Use the Reduce Noise slider in the Essential Sound Panel to clean up unwanted sounds. Start with 50% and adjust as needed for optimal clarity.

Step 5: Apply Advanced Audio Effects (Optional)
Enhance audio further with effects like DeNoise and Parametric Equalizer. Drag the effect onto the audio clip and fine-tune the settings in the Effect Controls Panel.
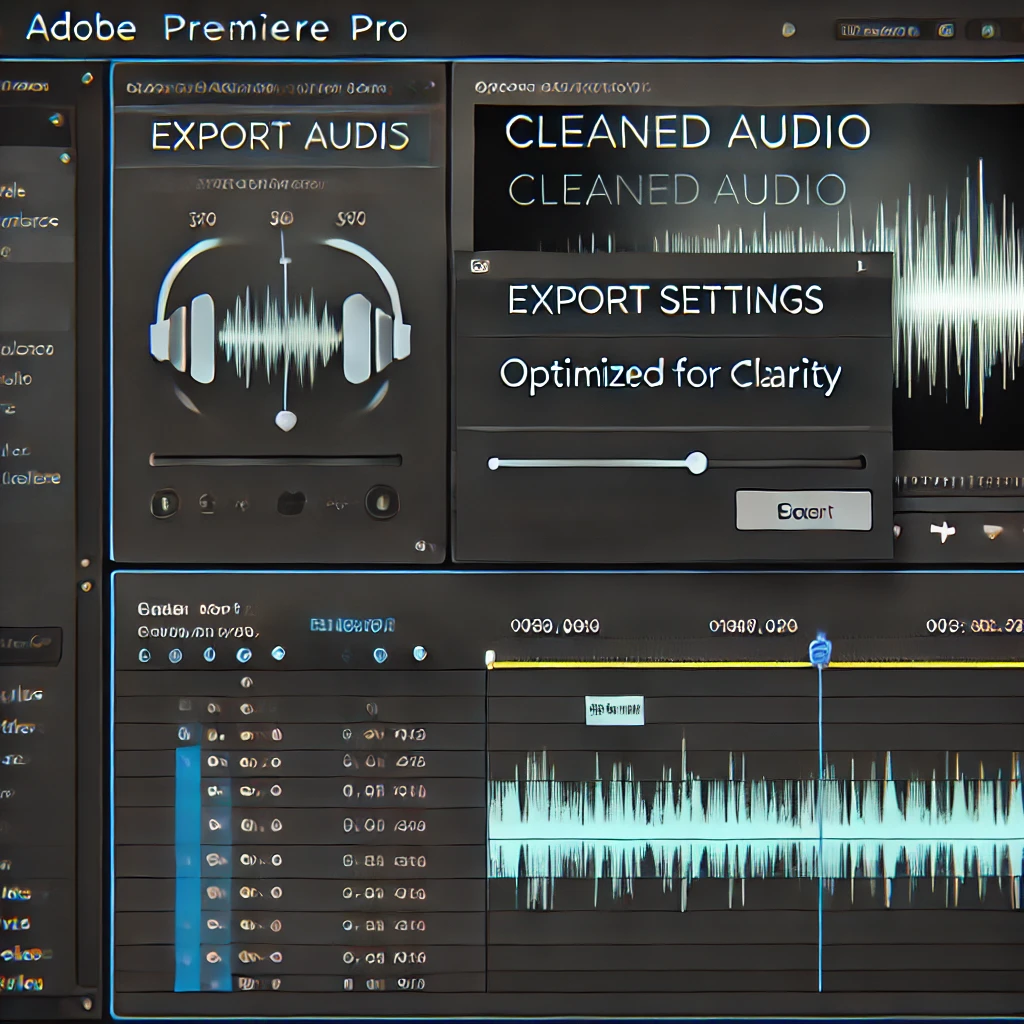
Step 6: Export Cleaned Audio
Once the background noise is removed, export the cleaned audio or video. Use the Export Settings Panel to optimize audio quality for the final file.
Conclusion
By using the Essential Sound Panel and additional effects, Adobe Premiere Pro makes it easy to remove background noise and improve audio quality. Follow these steps to ensure clean, professional audio in your projects.
More Stories
How to Stabilize Shaky Footage in Adobe Premiere Pro
Shaky footage can distract viewers and diminish the quality of your video. Fortunately, Adobe Premiere Pro’s Warp Stabilizer effect makes...
How to Create Split-Screen Videos in Adobe Premiere Pro
Learn how to create split-screen videos in Adobe Premiere Pro to showcase multiple perspectives or scenes simultaneously. This guide covers...
How to Blur Faces and Objects in Adobe Premiere Pro
Learn how to blur faces, objects, or sensitive information in your videos using masking and tracking tools in Adobe Premiere...
How to Use Keyframes for Dynamic Effects in Adobe Premiere Pro
Keyframes are a powerful tool in Adobe Premiere Pro, enabling you to animate properties like position, scale, opacity, and effects...
How to Add and Customize Captions in Adobe Premiere Pro
Learn how to add captions to your videos in Adobe Premiere Pro and customize their style, placement, and timing for...
How to Color Grade Footage in Adobe Premiere Pro
Master the art of color grading in Adobe Premiere Pro to create visually stunning videos. Learn how to adjust exposure,...

