How to Use Keyframes for Dynamic Effects in Adobe Premiere Pro
Keyframes are a powerful tool in Adobe Premiere Pro, enabling you to animate properties like position, scale, opacity, and effects over time. Here’s a step-by-step guide to mastering keyframes for dynamic video editing.
Step 1: Import Your Video Clip
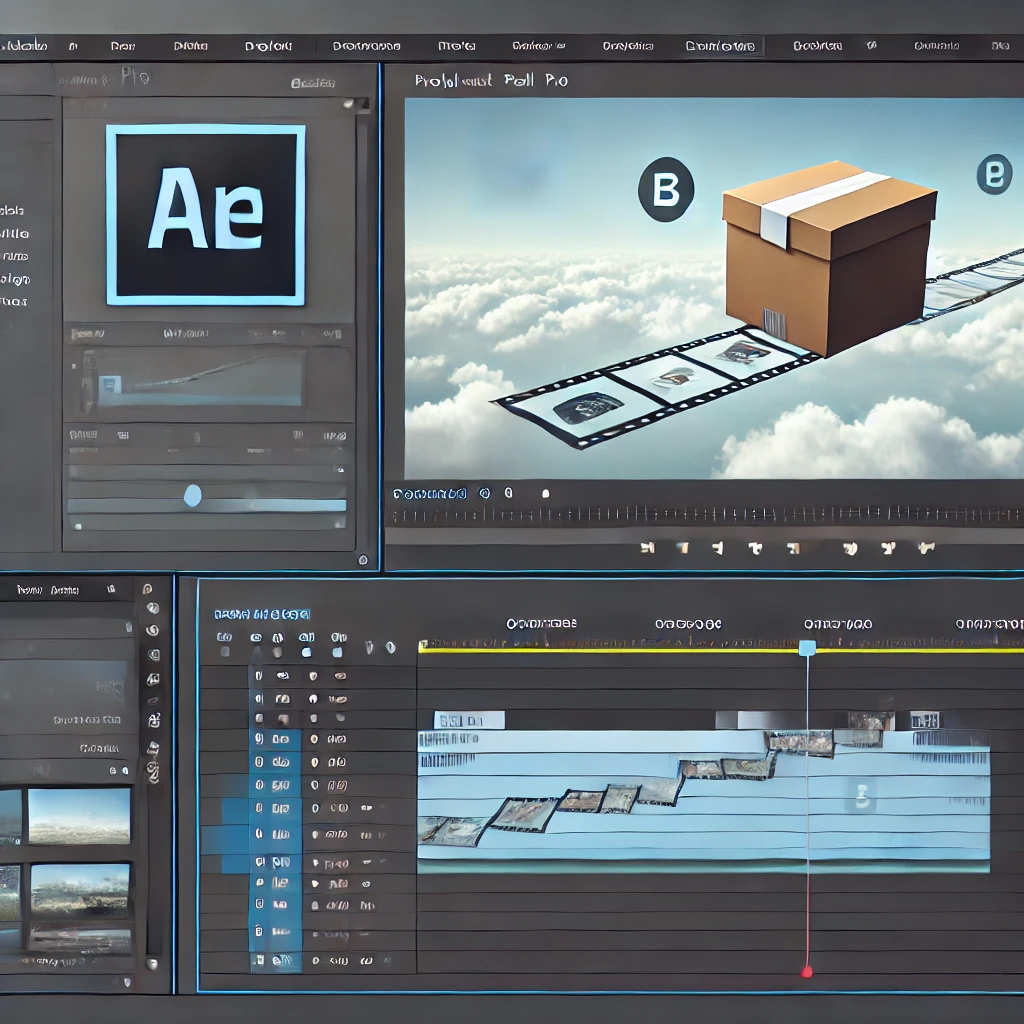
Start by importing the video clip you want to animate. Organize it in the Project Panel and place it on the timeline for editing.
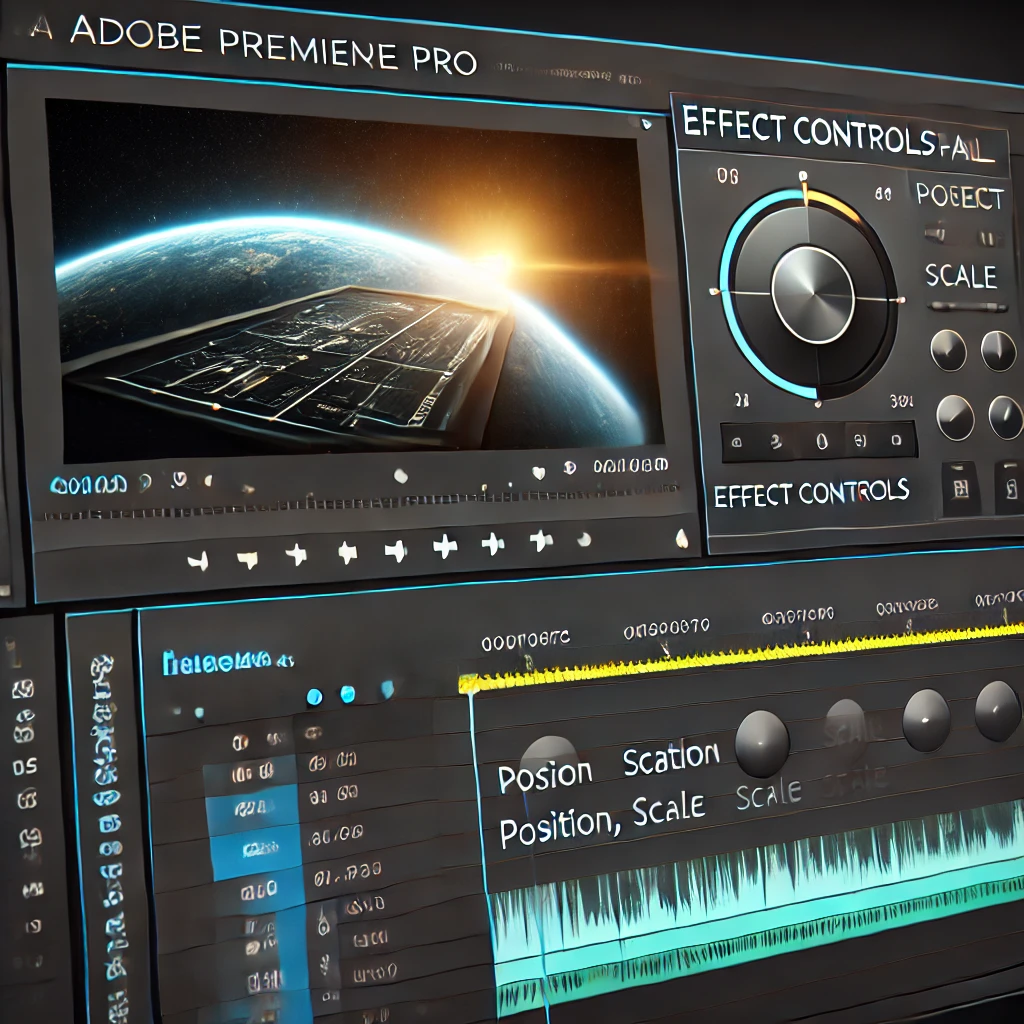
Step 2: Open the Effect Controls Panel
Use the Effect Controls Panel to create and adjust keyframes for your animation. Select the video clip on the timeline to access its properties.
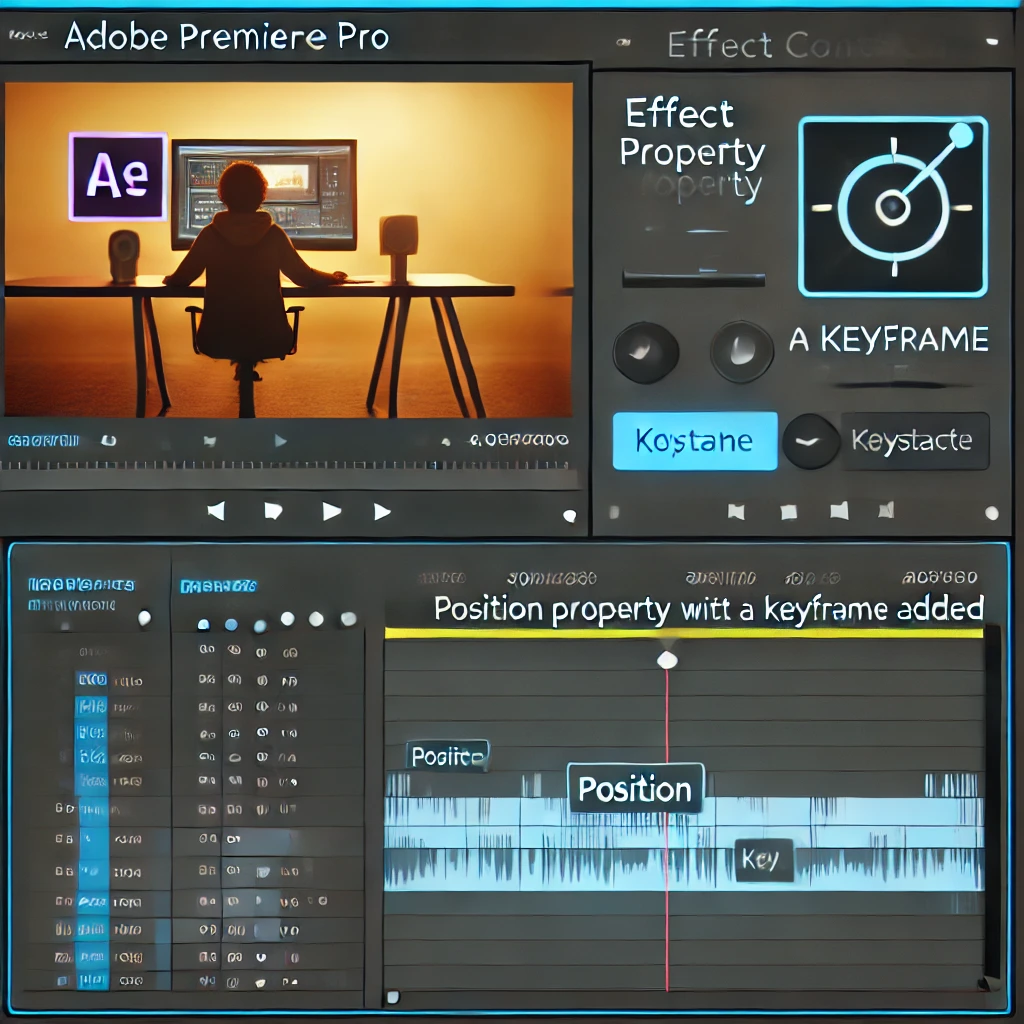
Step 3: Set Your First Keyframe
Create the starting point for your animation by adding a keyframe in the Effect Controls Panel. Adjust the property value, such as Position or Scale, to define the initial state.

Step 4: Add a Second Keyframe
Define the endpoint or next stage of your animation by adding another keyframe in the Effect Controls Panel. Adjust the property value to create the desired effect.

Step 5: Preview Your Animation
Play back the animation in the Program Monitor to see how it looks. Adjust the keyframes in the Effect Controls Panel to refine timing and achieve the desired effect.
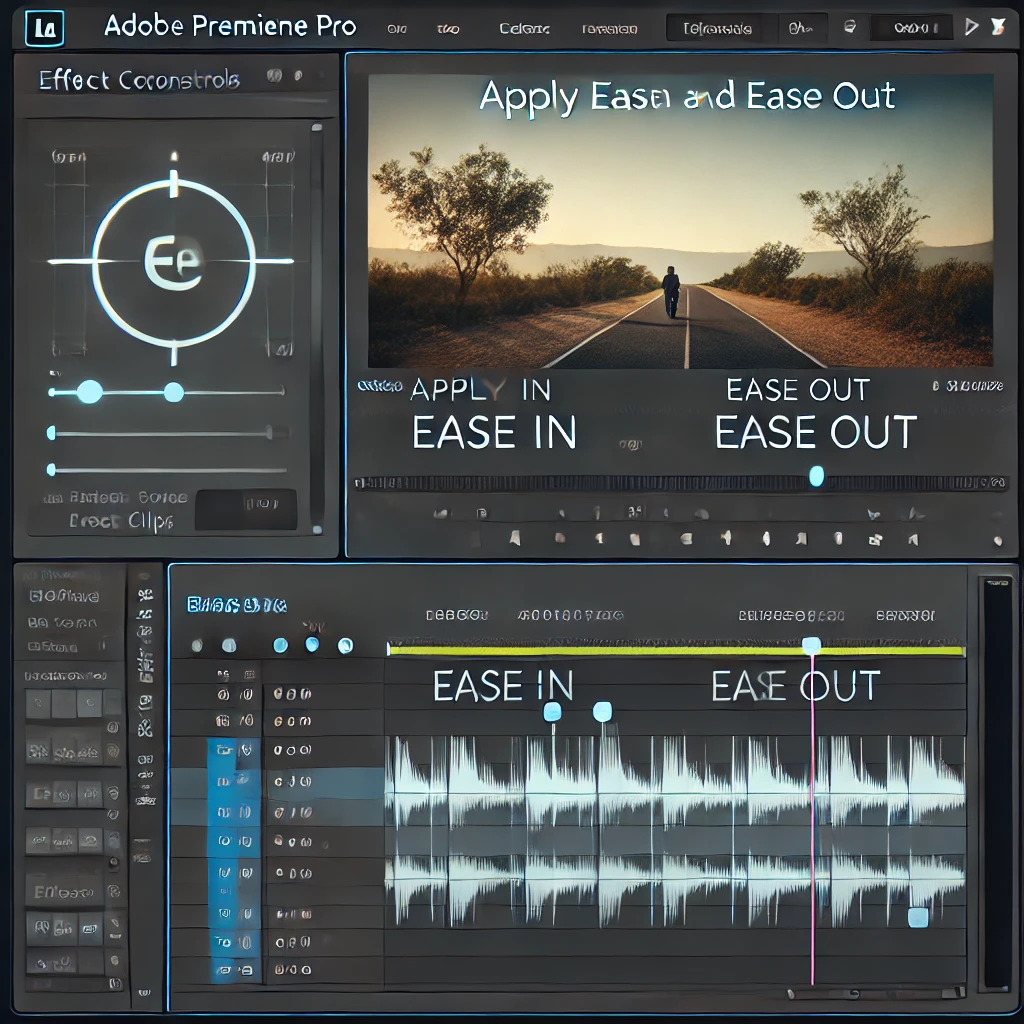
Step 6: Use Ease In and Ease Out
Smooth your animations by applying ease in and ease out to keyframes. Right-click on a keyframe in the Effect Controls Panel and choose an easing option for natural transitions.
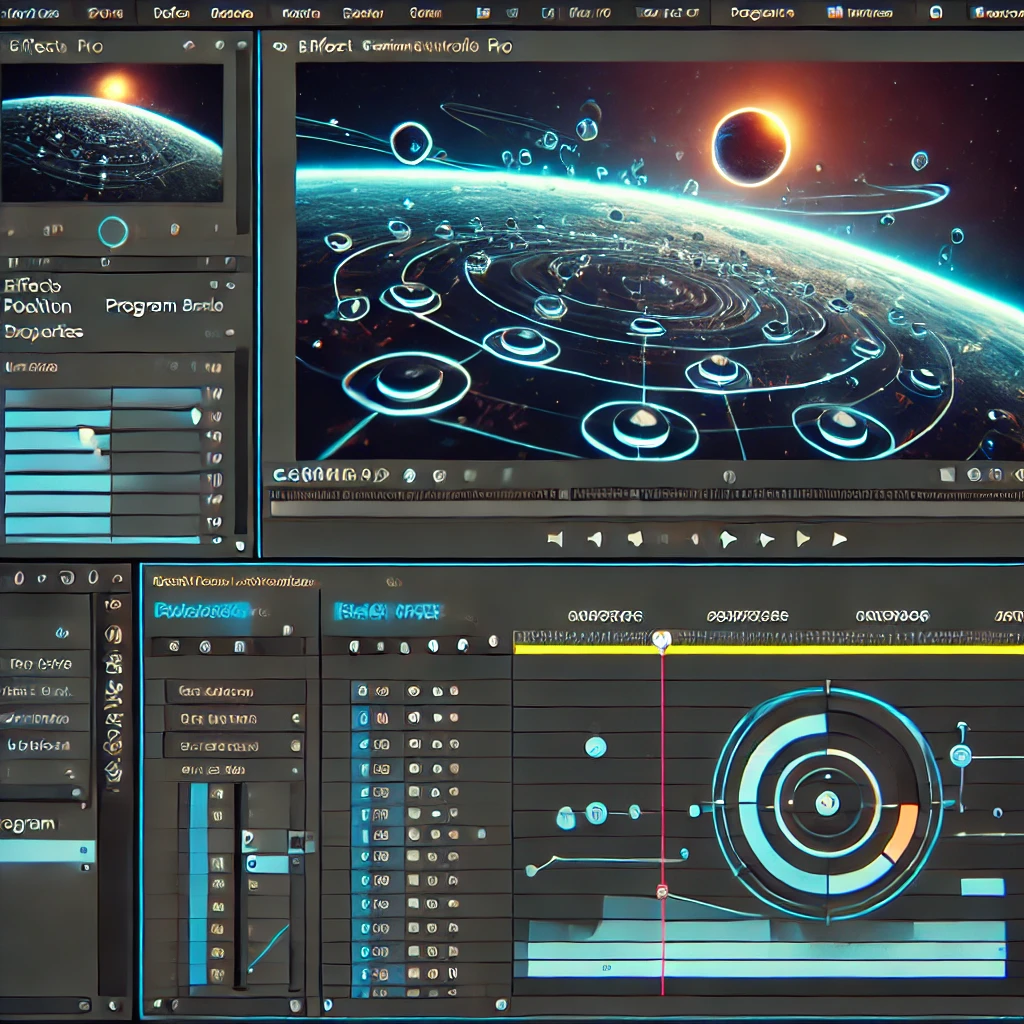
Step 7: Add Multiple Properties
Combine animations for different properties, such as Position and Scale, to create complex effects. Use the Effect Controls Panel to adjust each property and preview the combined animation in the Program Monitor.
Conclusion
Using keyframes in Adobe Premiere Pro opens up endless possibilities for dynamic effects. By mastering this tool, you can create professional-level animations and bring your videos to life.
More Stories
How to Stabilize Shaky Footage in Adobe Premiere Pro
Shaky footage can distract viewers and diminish the quality of your video. Fortunately, Adobe Premiere Pro’s Warp Stabilizer effect makes...
How to Create Split-Screen Videos in Adobe Premiere Pro
Learn how to create split-screen videos in Adobe Premiere Pro to showcase multiple perspectives or scenes simultaneously. This guide covers...
How to Blur Faces and Objects in Adobe Premiere Pro
Learn how to blur faces, objects, or sensitive information in your videos using masking and tracking tools in Adobe Premiere...
How to Add and Customize Captions in Adobe Premiere Pro
Learn how to add captions to your videos in Adobe Premiere Pro and customize their style, placement, and timing for...
How to Remove Background Noise in Adobe Premiere Pro
Learn how to enhance audio clarity by removing background noise using the built-in tools in Adobe Premiere Pro. Achieve clean,...
How to Color Grade Footage in Adobe Premiere Pro
Master the art of color grading in Adobe Premiere Pro to create visually stunning videos. Learn how to adjust exposure,...

