
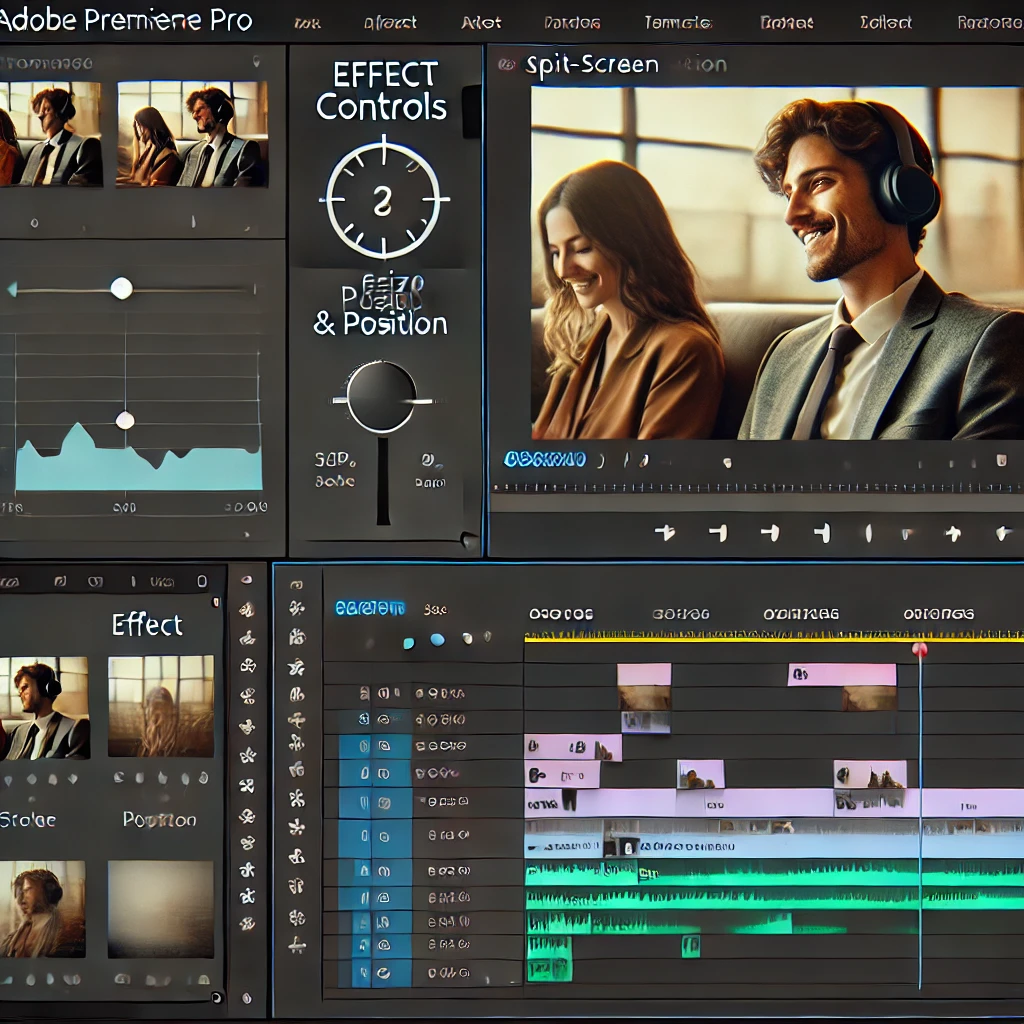
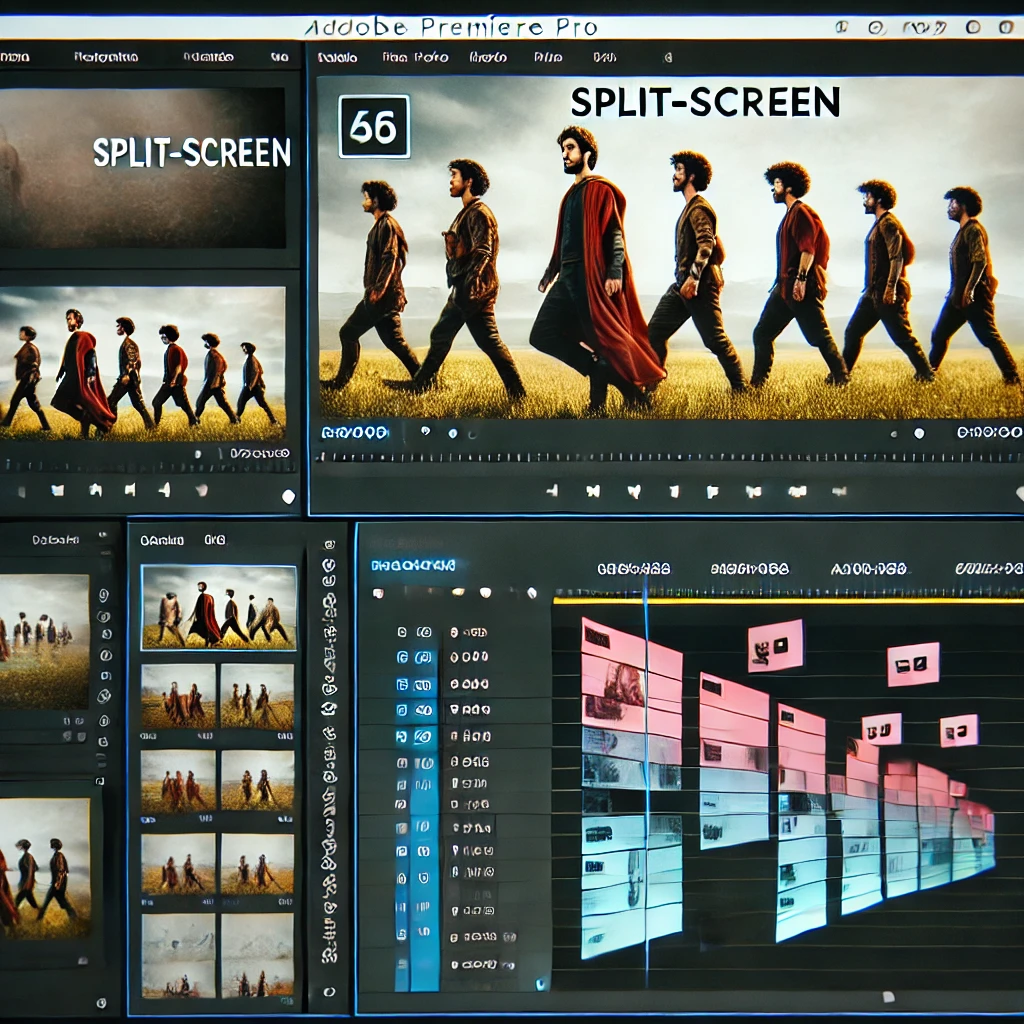
How to Create Split-Screen Videos in Adobe Premiere Pro
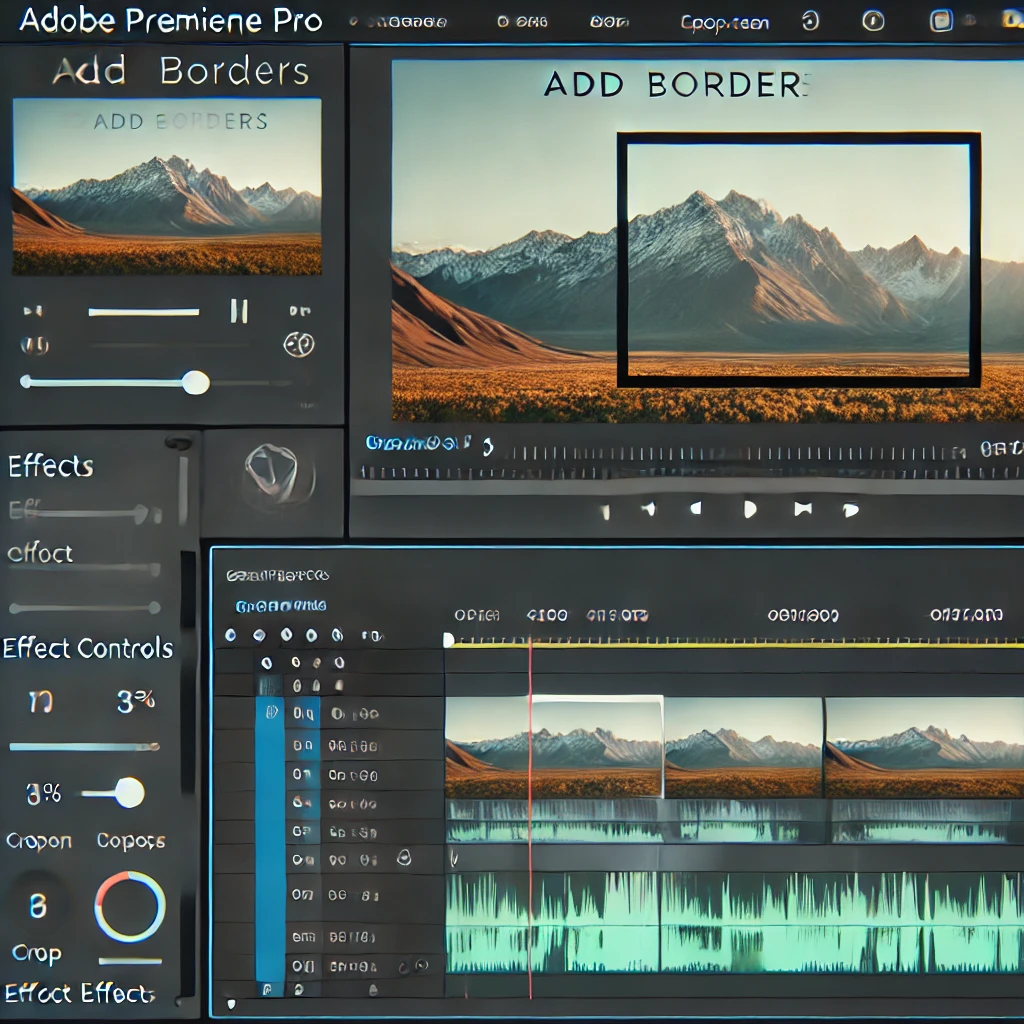
Learn how to create split-screen videos in Adobe Premiere Pro to showcase multiple perspectives or scenes simultaneously. This guide covers positioning, resizing, and adding borders for a professional finish.
Step 1: Import Your Clips
Start by importing the video clips you want to include in the split screen. Organize them in the Project Panel and place them on separate video tracks in the timeline.

Step 2: Resize and Position Each Clip
Adjust the size and position of each clip to fit them on the screen. Use the Scale and Position properties in the Effect Controls Panel to create the desired layout.

Step 3: Add Borders (Optional)
Create visual separation between clips by adding borders. Apply the Crop effect to each clip and adjust the Crop settings in the Effect Controls Panel to trim the edges and create space

Step 4: Add Background (Optional)
Enhance the visual appeal of your split-screen video by adding a background layer. Use a Color Matte placed on the bottom-most track in the timeline to create a clean and unified backdrop.
Step 5: Sync Clips
Ensure all clips are synchronized to create a cohesive split-screen effect. Align the clips on the timeline to match their starting points and adjust their durations as needed.

Step 6: Preview and Adjust
Preview your split-screen video in the Program Monitor to ensure everything looks as expected. Refine the positioning, scaling, and any applied effects in the Effect Controls Panel.

Step 7: Export the Split-Screen Video
Export the final split-screen video with high-quality settings. Use the Export Settings Panel to adjust the format and resolution for your desired output.
Conclusion
Creating split-screen videos in Adobe Premiere Pro is a versatile way to tell stories and present information. By following these steps, you can produce professional and visually appealing results.
More Stories
How to Stabilize Shaky Footage in Adobe Premiere Pro
Shaky footage can distract viewers and diminish the quality of your video. Fortunately, Adobe Premiere Pro’s Warp Stabilizer effect makes...
How to Blur Faces and Objects in Adobe Premiere Pro
Learn how to blur faces, objects, or sensitive information in your videos using masking and tracking tools in Adobe Premiere...
How to Use Keyframes for Dynamic Effects in Adobe Premiere Pro
Keyframes are a powerful tool in Adobe Premiere Pro, enabling you to animate properties like position, scale, opacity, and effects...
How to Add and Customize Captions in Adobe Premiere Pro
Learn how to add captions to your videos in Adobe Premiere Pro and customize their style, placement, and timing for...
How to Remove Background Noise in Adobe Premiere Pro
Learn how to enhance audio clarity by removing background noise using the built-in tools in Adobe Premiere Pro. Achieve clean,...
How to Color Grade Footage in Adobe Premiere Pro
Master the art of color grading in Adobe Premiere Pro to create visually stunning videos. Learn how to adjust exposure,...