How to Create Split-Screen Videos in Adobe Premiere Pro

Learn how to create engaging split-screen videos in Adobe Premiere Pro by combining multiple video clips into a single frame. Perfect for comparisons, storytelling, and dynamic visuals.


A screenshot-style image of Adobe Premiere Pro's interface showcasing how to import multiple video clips for a split-screen project. The Project Panel displays multiple video files, and the timeline shows clips placed on separate video tracks. The layout is clean and professional.

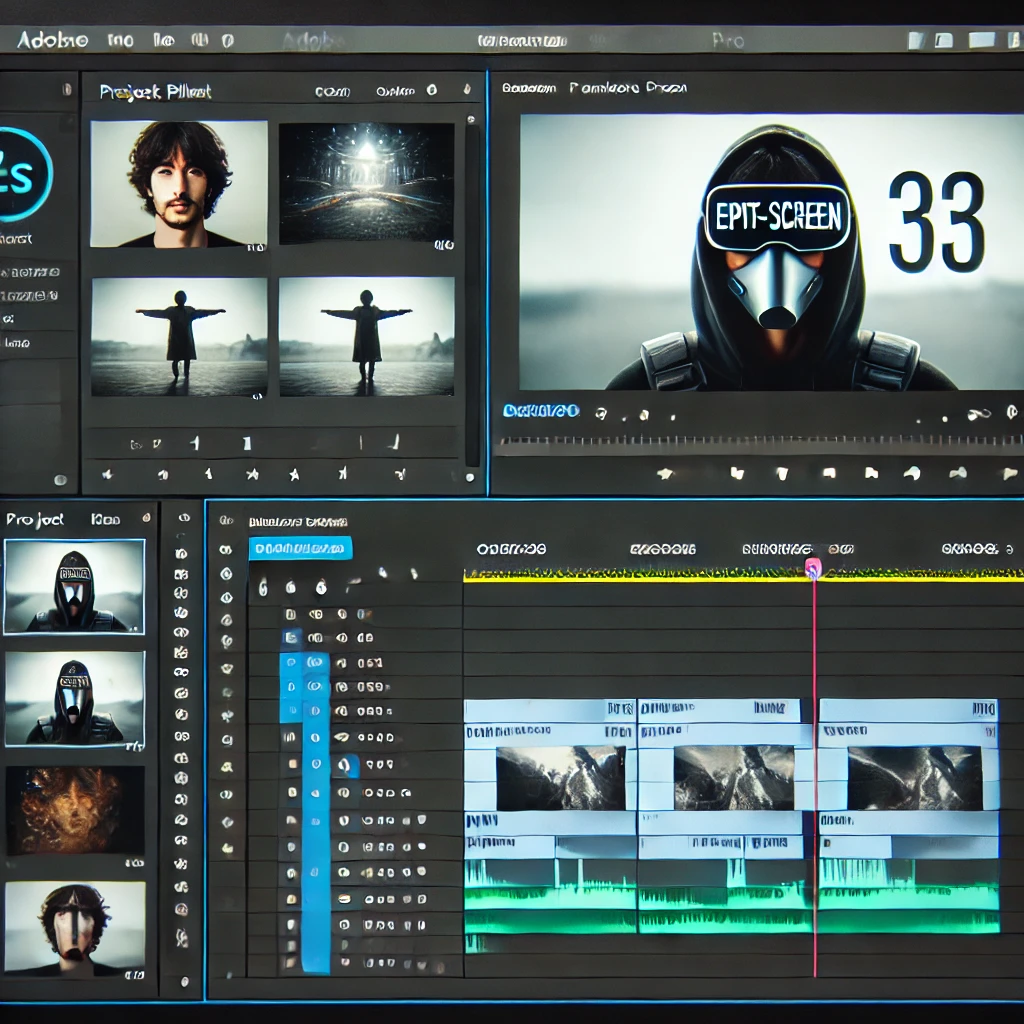
Step 1: Import Your Video Clips

Start by importing the videos you want to include in your split-screen project. Place the clips on separate video tracks in the timeline.


继续生成下一步内容和图片,请稍等!

A screenshot-style image of Adobe Premiere Pro's interface showcasing how to resize and crop video clips for a split-screen layout. The Effect Controls Panel displays the Scale slider and Crop settings being adjusted, and the timeline shows multiple clips with adjusted sizes. The layout is clean and professional.

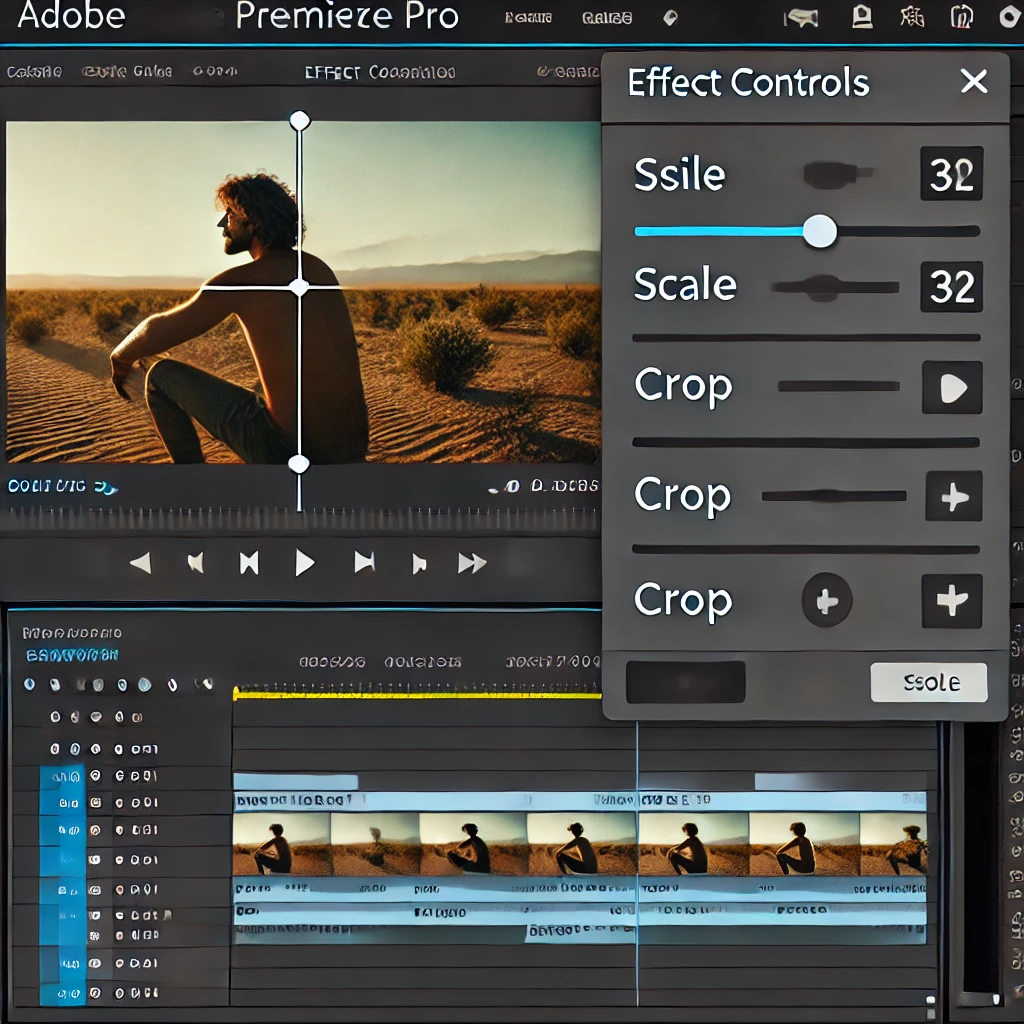
Step 2: Resize and Crop Clips

Adjust the size and crop each video clip to fit into the split-screen layout. Use the Scale slider and Crop effect in the Effect Controls Panel for precise adjustments.


继续生成下一步内容和图片,请稍等!

A screenshot-style image of Adobe Premiere Pro's interface showcasing how to position video clips for a split-screen layout. The Effect Controls Panel displays the Position properties being adjusted, and the Program Monitor shows clips aligned in a split-screen format. The layout is clean and professional.

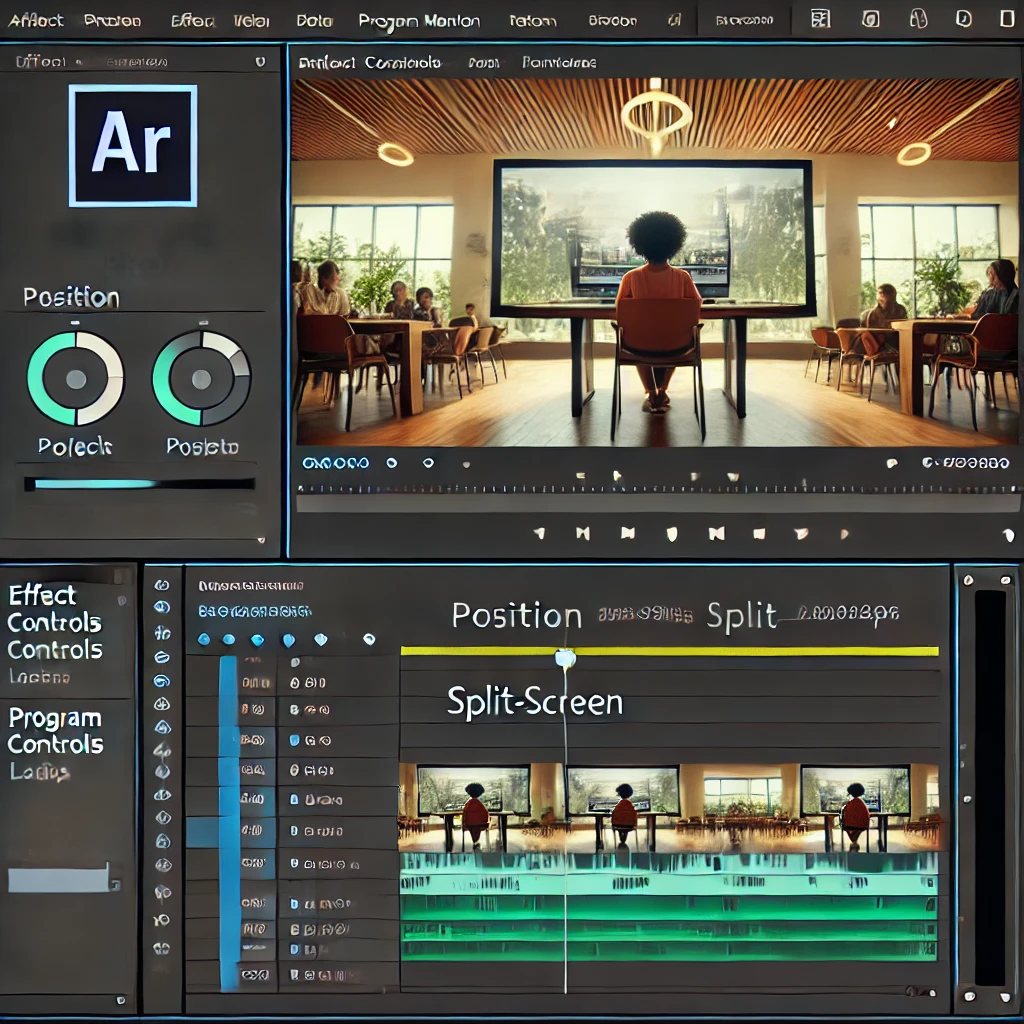
Step 3: Position the Clips

Place each video clip in the desired area of the screen. Use the Position properties in the Effect Controls Panel to move and align the clips symmetrically.


继续生成下一步内容和图片,请稍等!

A screenshot-style image of Adobe Premiere Pro's interface showcasing how to add dividers between split-screen video clips. The timeline shows a color matte used as a divider, and the Program Monitor displays a clean separation between video clips. The layout is clean and professional.

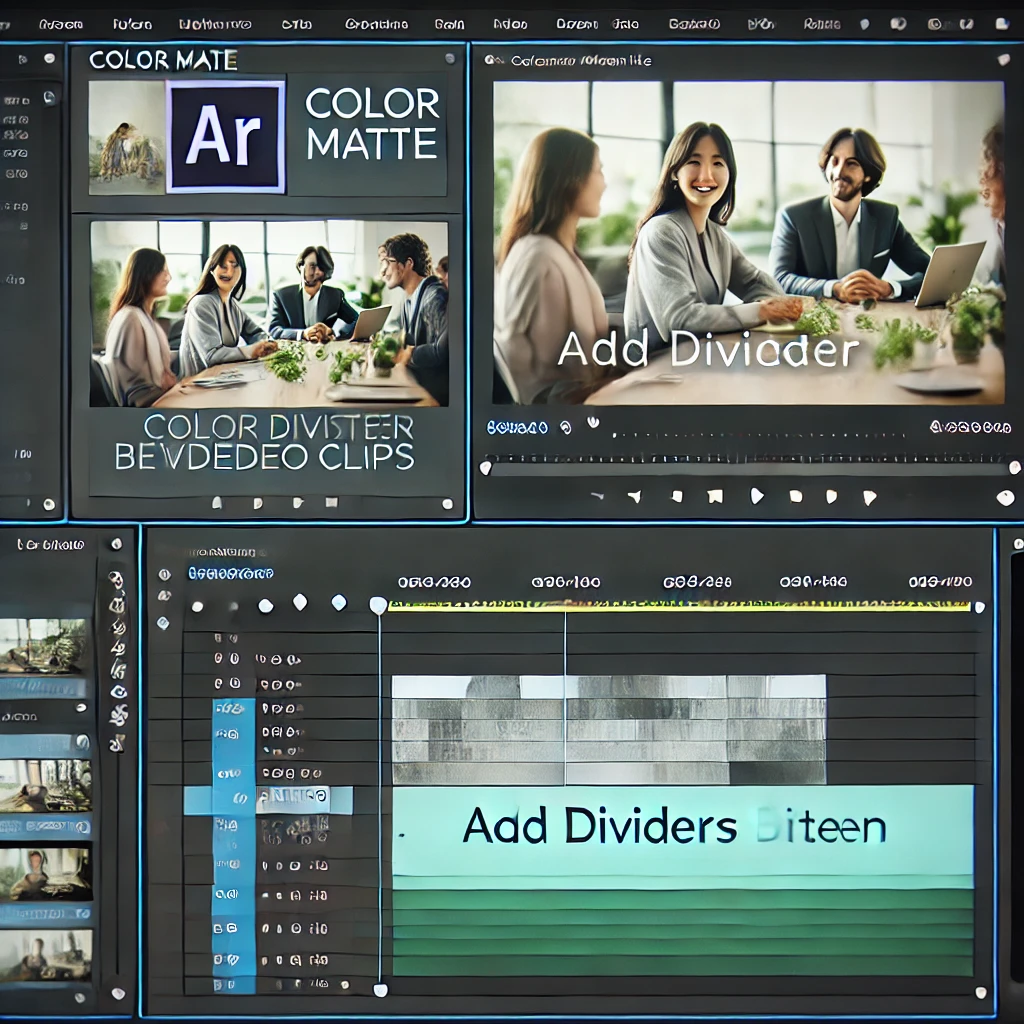
Step 4: Add Dividers (Optional)

Create clean separations between the clips by adding dividers. Use a color matte from the Project Panel and resize it to act as a divider in the timeline.


继续生成下一步内容和图片,请稍等!

A screenshot-style image of Adobe Premiere Pro's interface showcasing additional effects applied to split-screen clips. The Effects Panel shows Lumetri Color selected, and the Program Monitor displays color-graded video clips in a split-screen format. The layout is clean and professional.

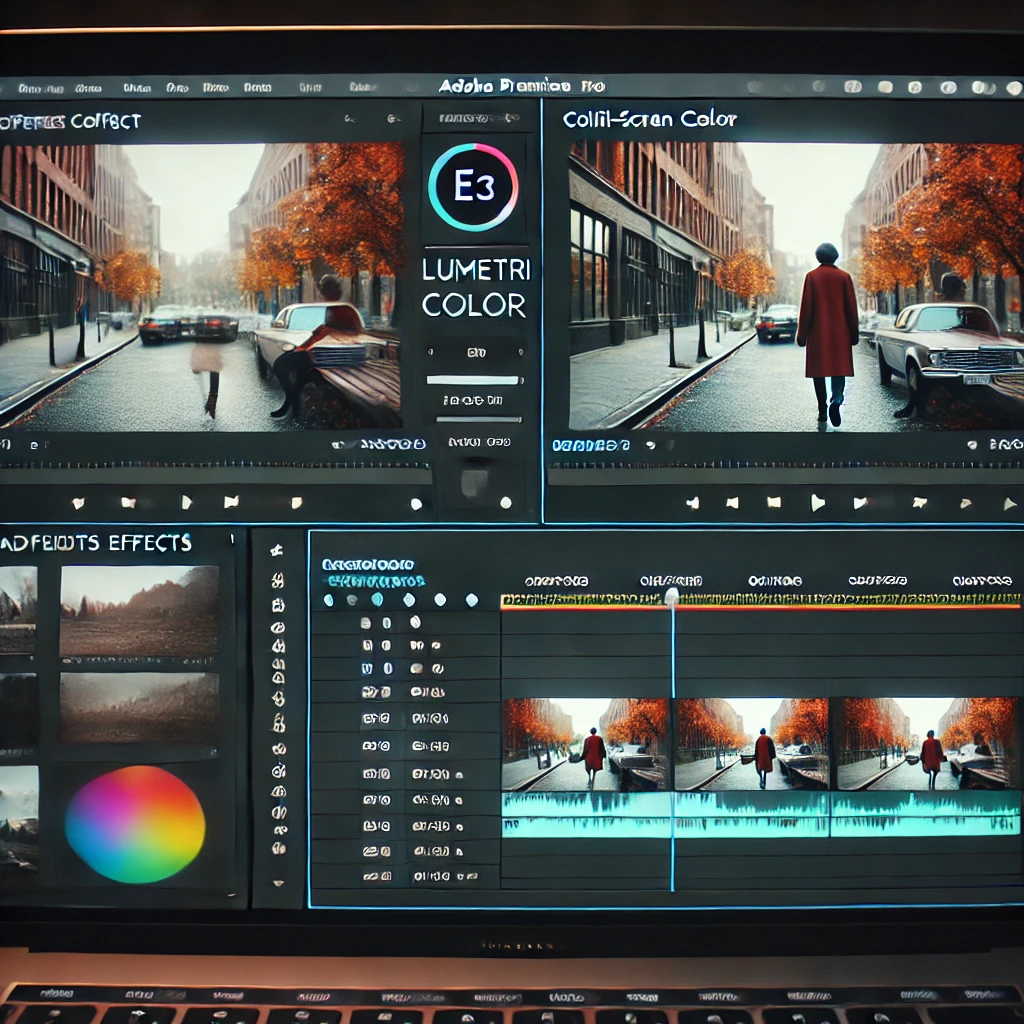
Step 5: Apply Additional Effects (Optional)

Enhance the split-screen effect by adding transitions or color corrections. Use effects like Lumetri Color to maintain consistent grading across clips.


继续生成下一步内容和图片,请稍等!

A screenshot-style image of Adobe Premiere Pro's interface showcasing the preview of a split-screen video. The Program Monitor displays multiple clips aligned in a split-screen layout, and the timeline shows edited tracks. The layout is clean and professional.

Step 6: Preview and Adjust

Play back your split-screen video in the Program Monitor to ensure alignment and visual appeal. Adjust positions, scaling, and effects as needed.


继续生成最后一步内容和图片,请稍等!

A screenshot-style image of Adobe Premiere Pro's interface showcasing the export settings for a split-screen video. The Export Settings Panel displays H.264 format selection and resolution settings, and the timeline shows the edited tracks with the split-screen layout. The layout is clean and professional.

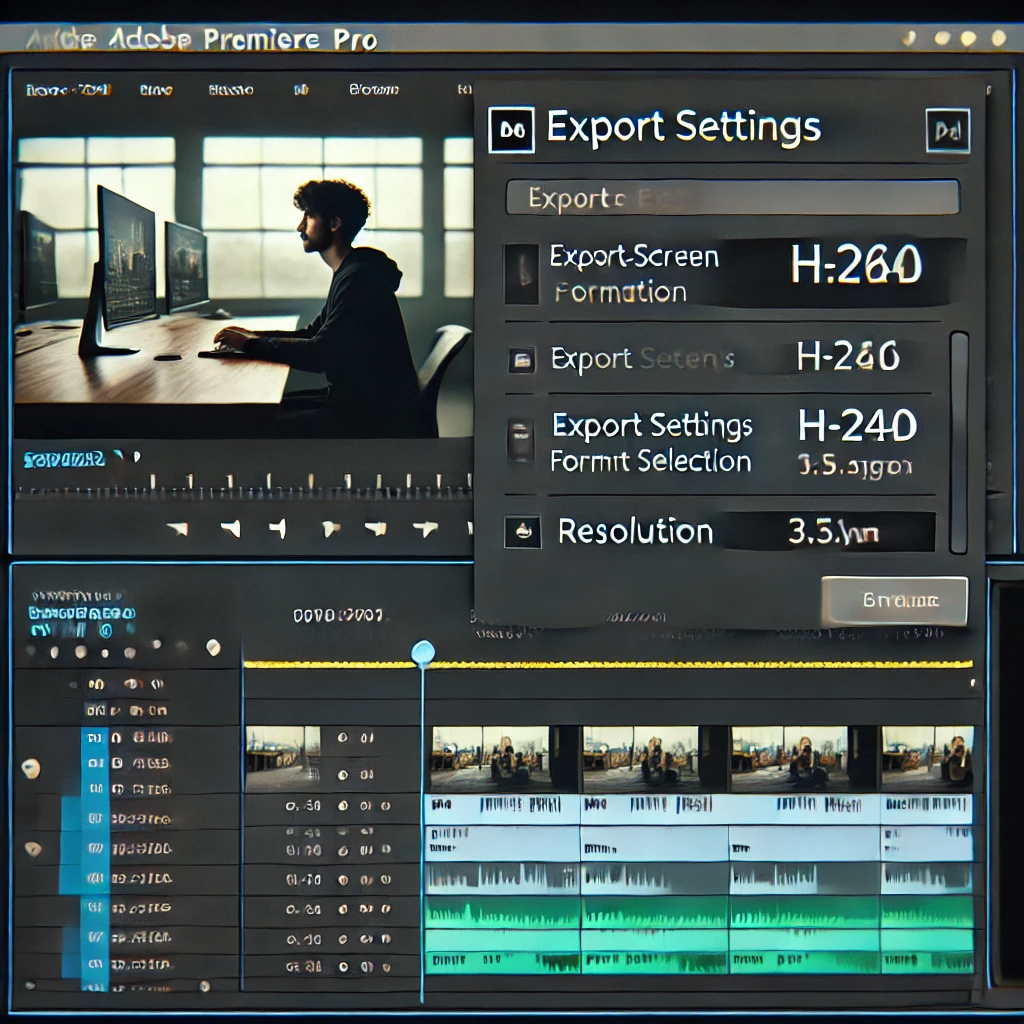
Step 7: Export the Split-Screen Video

Export your video with the split-screen layout applied. Use the Export Settings Panel to choose H.264 format and adjust the resolution to match your project.

Conclusion

Split-screen videos are versatile and dynamic, making them ideal for comparisons, storytelling, and more. With Adobe Premiere Pro, you can create polished split-screen effects by following these steps.

Leave a Reply

Your email address will not be published. Required fields are marked *

Previous post How to Create Slow Motion Effects in Adobe Premiere Pro
Next post How to Add Motion Graphics to Videos in Adobe Premiere Pro