How to Add Motion Graphics to Videos in Adobe Premiere Pro

Discover how to add motion graphics to your videos in Adobe Premiere Pro. Learn to use templates, customize animations, and integrate dynamic visuals for professional-quality projects.

A screenshot-style image of Adobe Premiere Pro's interface showcasing how to import a video for motion graphics. The Project Panel displays a video file ready for editing, and the timeline shows the clip placed for enhancement. The layout is clean and professional.

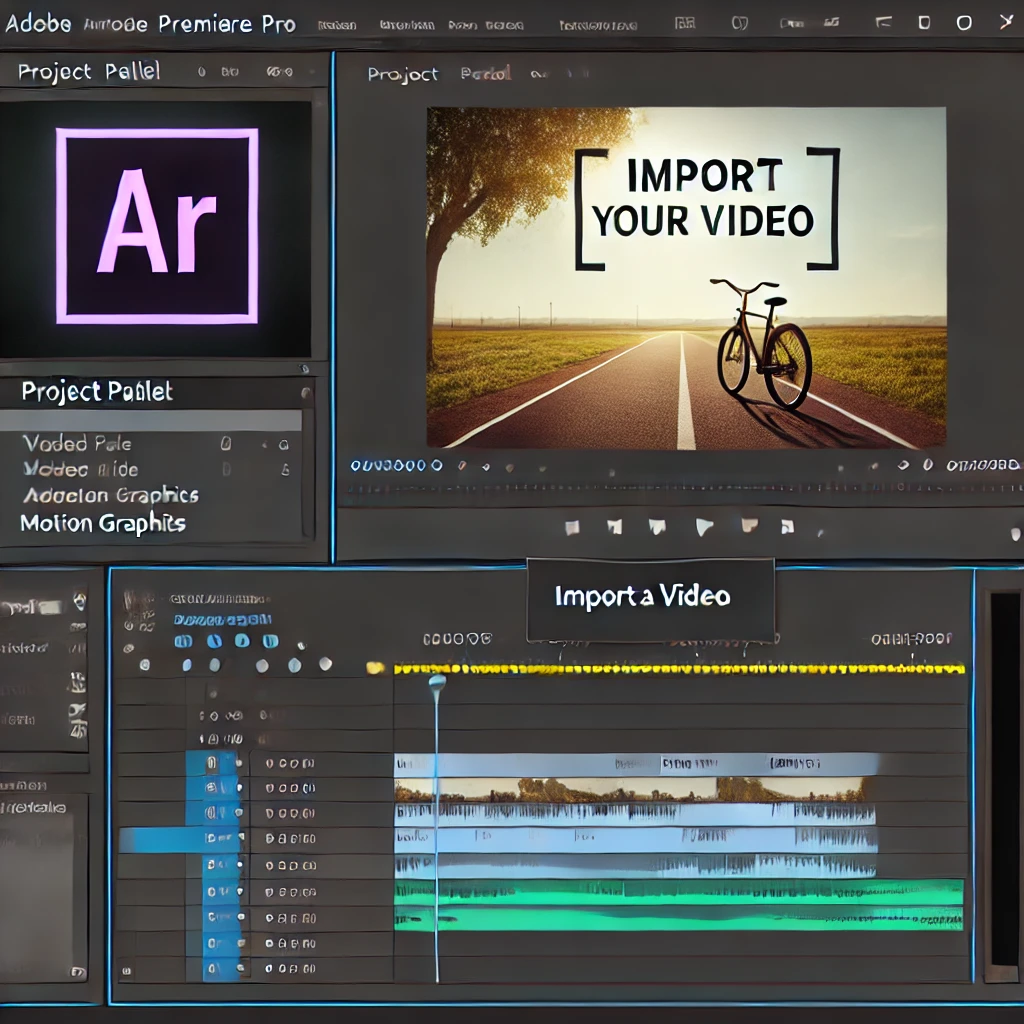
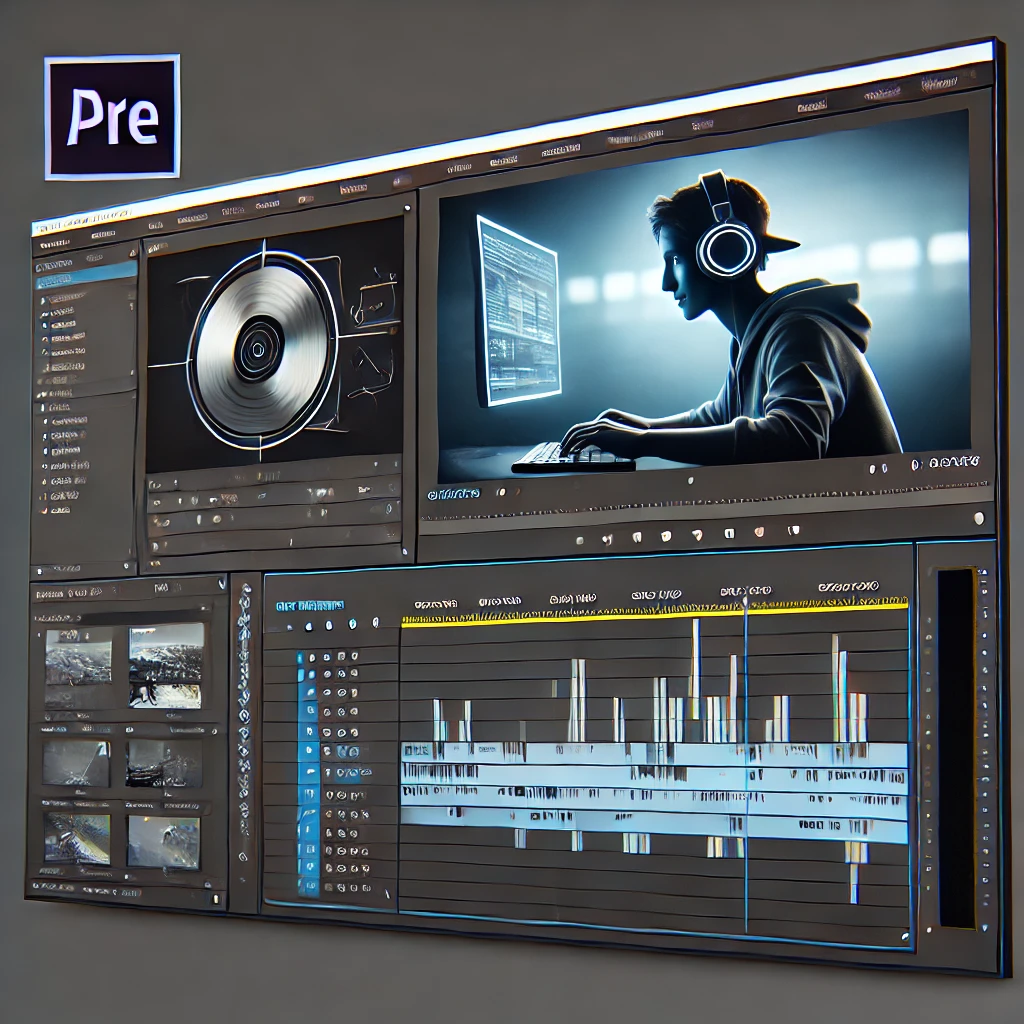
Step 1: Import Your Video

Start by importing the video you want to enhance with motion graphics. Place it on the timeline to prepare for editing.


A screenshot-style image of Adobe Premiere Pro's interface showcasing the Essential Graphics Panel open. The panel displays various motion graphics templates, and the timeline shows a video clip ready for enhancement. The layout is clean and professional.

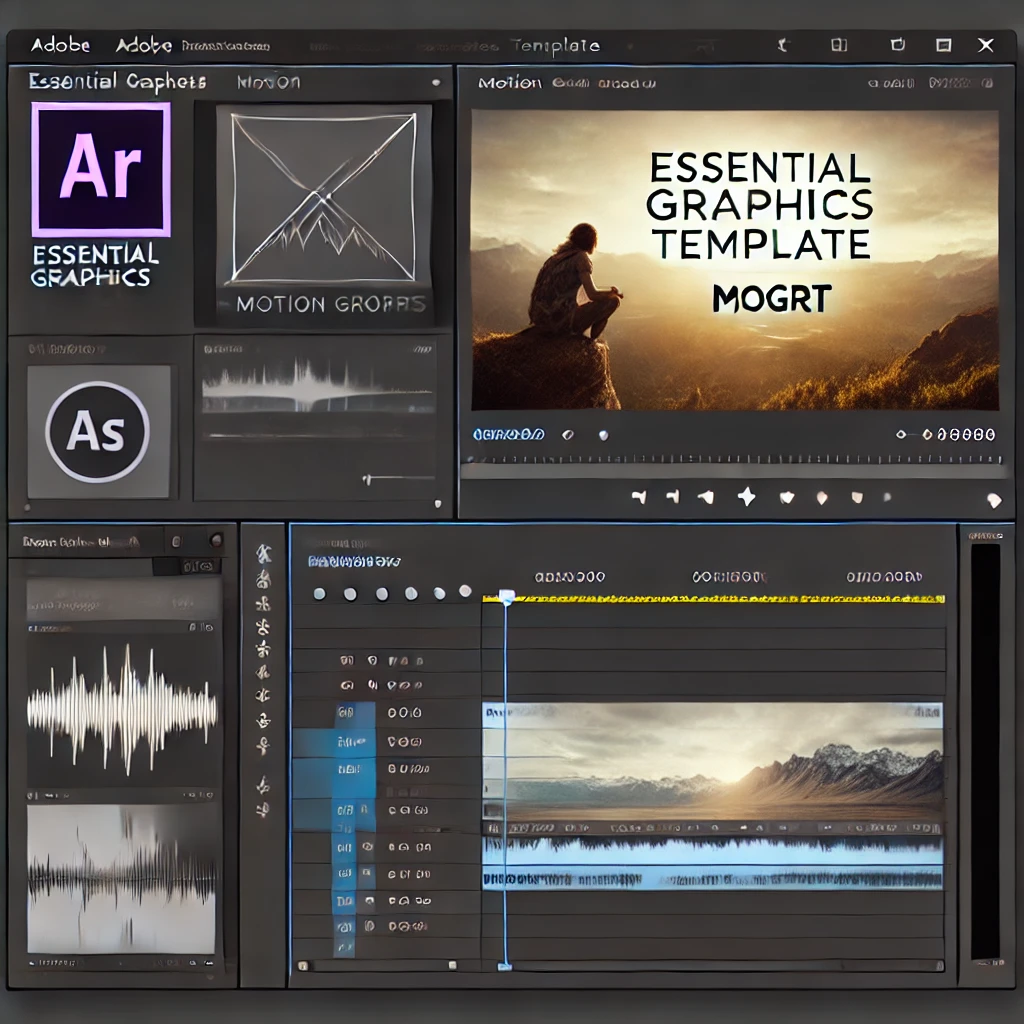
Step 2: Access the Essential Graphics Panel

Open the Essential Graphics Panel to browse motion graphics templates and access customization options.


A screenshot-style image of Adobe Premiere Pro's interface showcasing how to add a motion graphics template (MOGRT) to the timeline. The Essential Graphics Panel displays a selected template, and the timeline shows it positioned above a video clip. The layout is clean and professional.

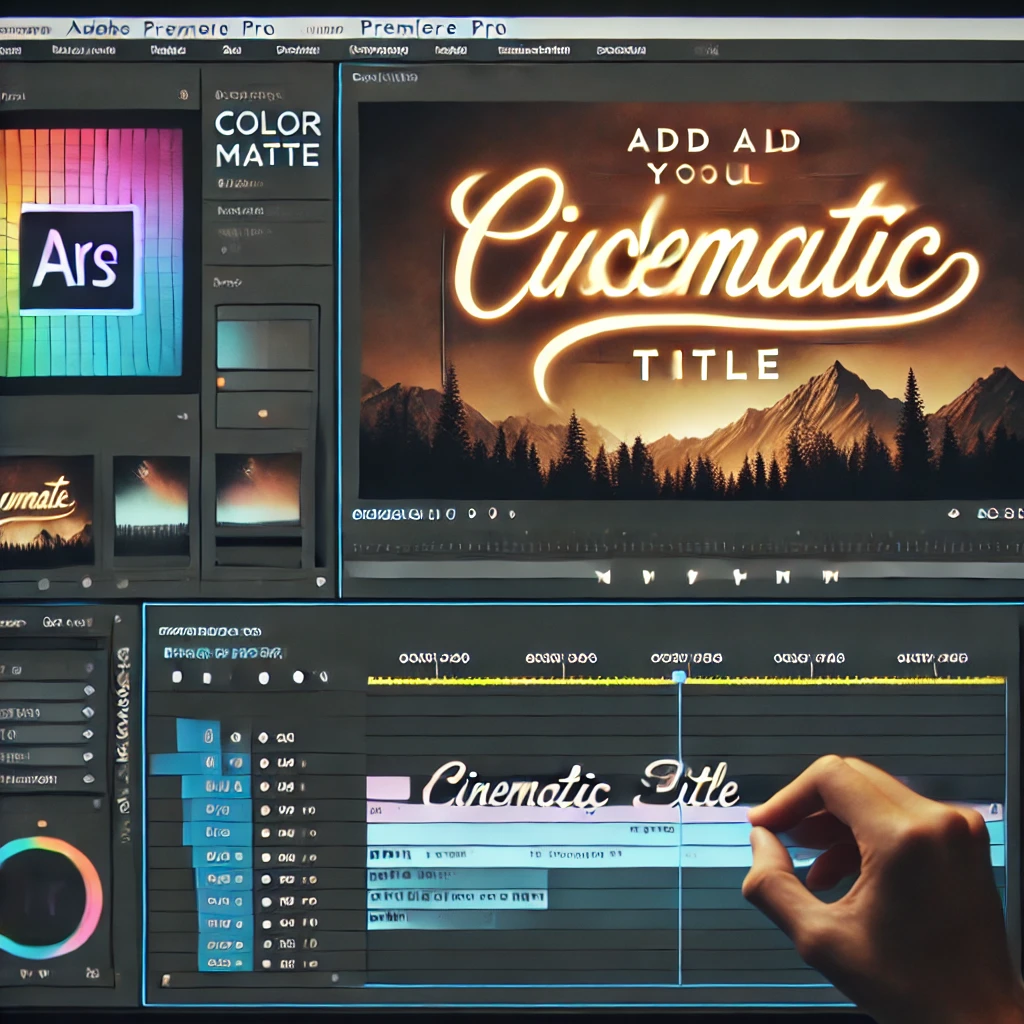
Step 3: Add a Motion Graphics Template (MOGRT)

Choose a pre-made motion graphics template and drag it onto the timeline above your video clip.


A screenshot-style image of Adobe Premiere Pro's interface showcasing how to customize a motion graphics template (MOGRT). The Essential Graphics Panel displays editable text and color options, and the Program Monitor shows the updated animation. The layout is clean and professional.

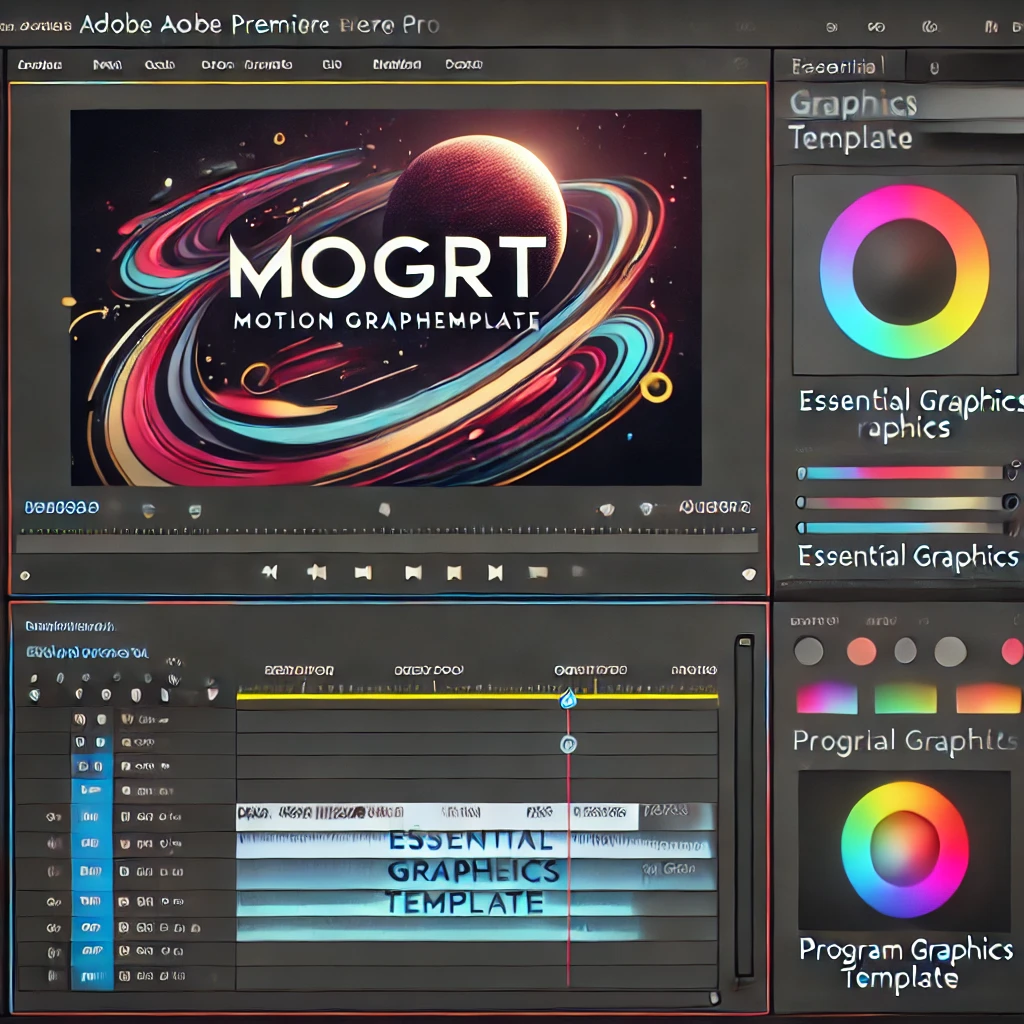
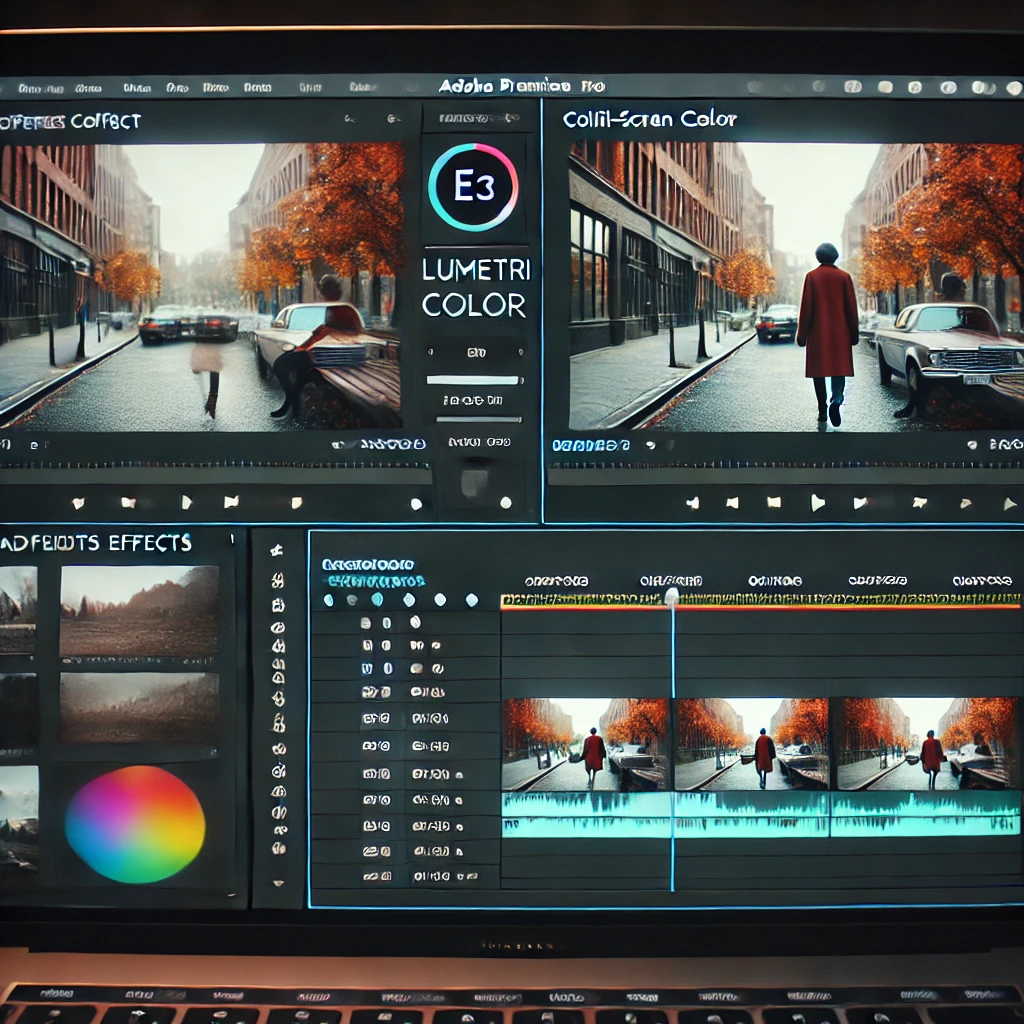
Step 4: Customize the Motion Graphics

Tailor the motion graphics to your style by adjusting text, colors, and animations in the Essential Graphics Panel. Preview changes in the Program Monitor.


A screenshot-style image of Adobe Premiere Pro's interface showcasing how to animate motion graphics using keyframes. The Effect Controls Panel displays keyframe settings for Position and Scale, and the timeline shows a graphic layer with animations applied. The layout is clean and professional.

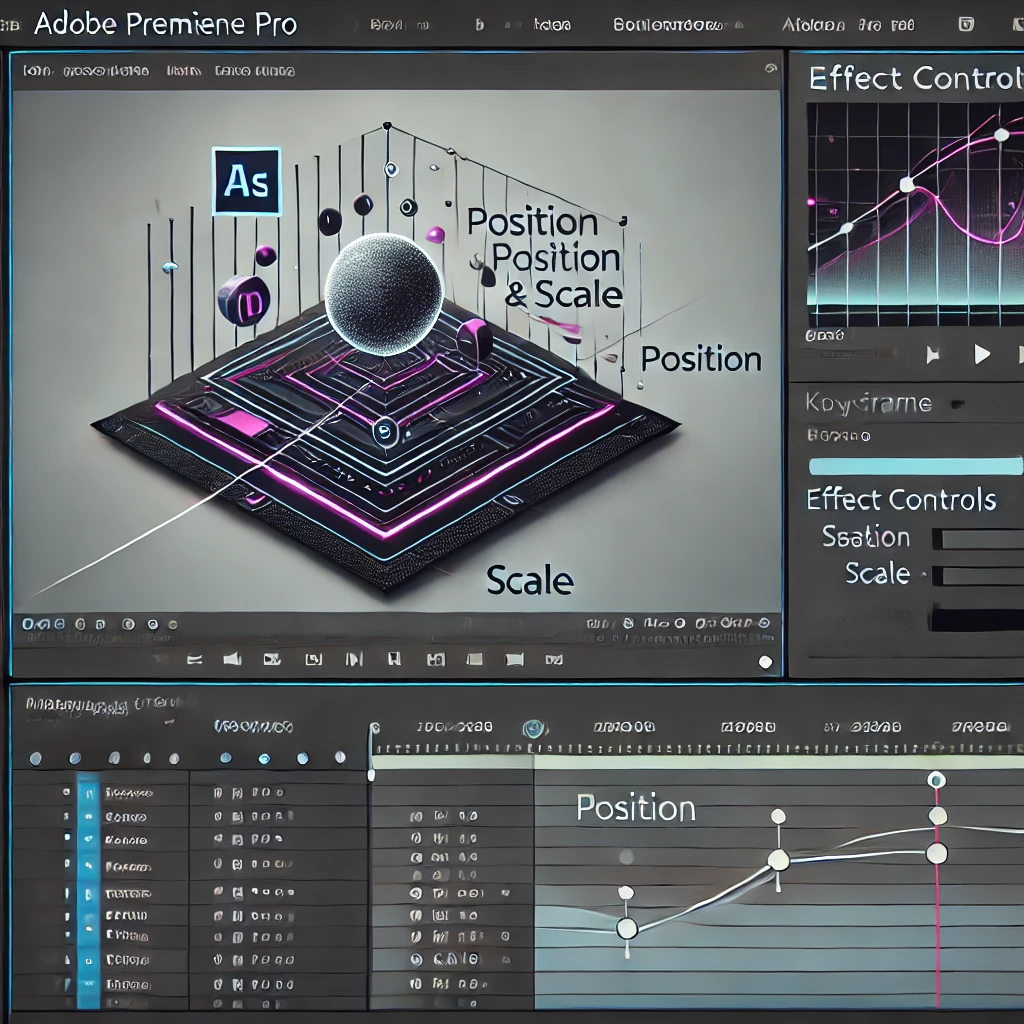
Step 5: Animate Using Keyframes (Optional)

Create custom animations by setting keyframes for properties like Position and Scale in the Effect Controls Panel.


A screenshot-style image of Adobe Premiere Pro's interface showcasing the preview of a video with motion graphics. The Program Monitor displays the animated graphic integrated with the video clip, and the timeline shows the graphic and video layers. The layout is clean and professional.

Step 6: Preview and Refine

Play back your video with motion graphics in the Program Monitor. Ensure that the animations align perfectly and make any necessary adjustments.


A screenshot-style image of Adobe Premiere Pro's interface showcasing the export settings for a video with motion graphics. The Export Settings Panel displays H.264 format selection and resolution settings, and the timeline shows the edited tracks with motion graphics applied. The layout is clean and professional.

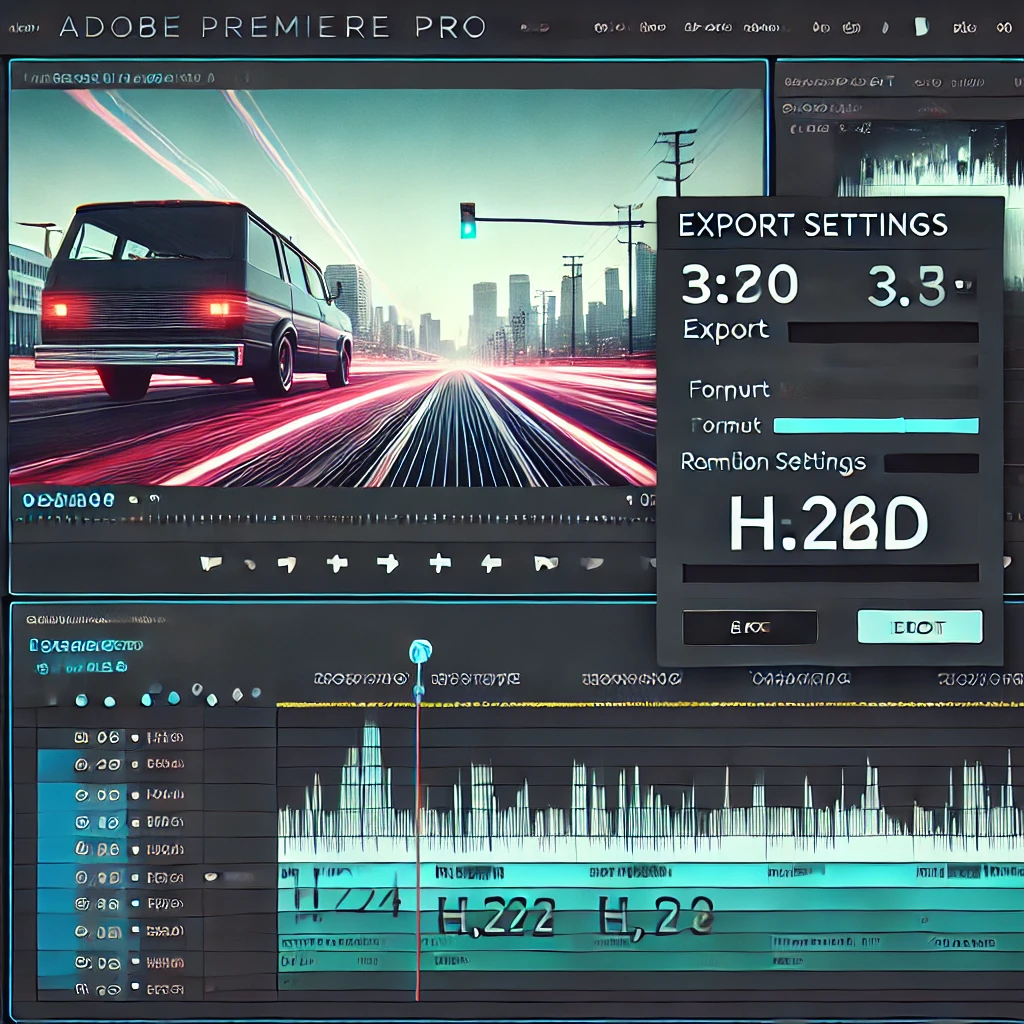
Step 7: Export the Video

Export your video with the motion graphics applied. Select a format like H.264 in the Export Settings Panel and adjust the resolution for the best quality.

Conclusion

Adding motion graphics in Adobe Premiere Pro is an excellent way to elevate your video projects. Follow these steps to integrate dynamic visuals and enhance your content.

Leave a Reply

Your email address will not be published. Required fields are marked *

Previous post How to Create Split-Screen Videos in Adobe Premiere Pro
Next post How to Create Cinematic Titles in Adobe Premiere Pro