How to Create Cinematic Titles in Adobe Premiere Pro

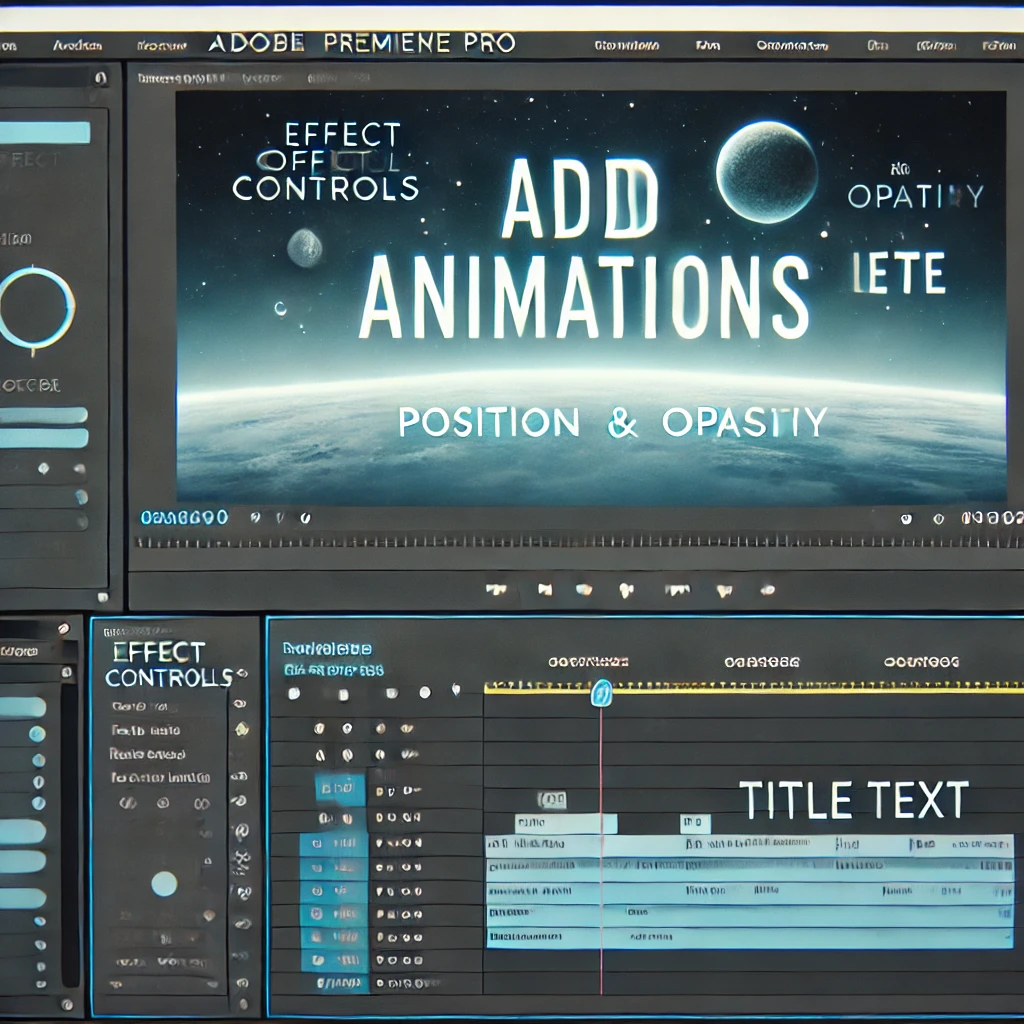
Learn to create stunning cinematic titles in Adobe Premiere Pro using custom animations, transitions, and effects. Elevate your video projects with professional-quality titles.

A screenshot-style image of Adobe Premiere Pro's interface showcasing the Essential Graphics Panel open. The panel displays the New Layer > Text option being selected, and the timeline shows a video clip ready for title placement. The layout is clean and professional.

Step 1: Open the Essential Graphics Panel

Access the Essential Graphics Panel to begin creating your cinematic title. Select New Layer > Text to add a text layer.


A screenshot-style image of Adobe Premiere Pro's interface showcasing how to customize title text. The Essential Graphics Panel displays font, size, and color options, and the Program Monitor shows the edited title text on a video clip. The layout is clean and professional.

Step 2: Enter Your Title Text

Type the text for your cinematic title and customize its appearance. Use the Essential Graphics Panel to adjust the font, size, and color.


A screenshot-style image of Adobe Premiere Pro's interface showcasing how to position and align title text. The Essential Graphics Panel displays Position controls being adjusted, and the Program Monitor shows the title text symmetrically aligned. The layout is clean and professional.

Step 3: Position and Align the Text

Place the title in the desired position on the screen. Use the Position controls in the Essential Graphics Panel to align the text symmetrically.


A screenshot-style image of Adobe Premiere Pro's interface showcasing how to add animations to title text. The Effect Controls Panel displays keyframes for Position and Opacity, and the Program Monitor shows the animated title text. The layout is clean and professional.

Step 4: Add Animations

Bring your titles to life by adding motion and transitions. Use the Effect Controls Panel to create keyframes for Position, Scale, or Opacity.


A screenshot-style image of Adobe Premiere Pro's interface showcasing how to add a background or effects to title text. The timeline shows a color matte used as a background layer, and the Program Monitor displays the cinematic title with a glowing effect. The layout is clean and professional.

Step 5: Add Background or Effects (Optional)

Enhance the cinematic feel by adding a background or visual effects. Use a color matte or video layer as a background, and apply effects like Glow or Drop Shadow.

Step 6: Preview and Refine

Review your transition to ensure it appears smooth and professional.

How to Preview:

  • Play back the timeline in the Program Monitor.
  • Make final adjustments to the timing or settings of the transition in the timeline.

Step 7: Export Your Video

Export your video with the seamless transitions applied.

How to Export:

  • Go to File > Export > Media.
  • Choose a format like H.264 and adjust the resolution for the final output.
  • Click Export to render your video.

Leave a Reply

Your email address will not be published. Required fields are marked *

Previous post How to Add Motion Graphics to Videos in Adobe Premiere Pro