Master video editing and post-production techniques in Adobe Premiere Pro to elevate your video creation, whether for short clips or full-length films.
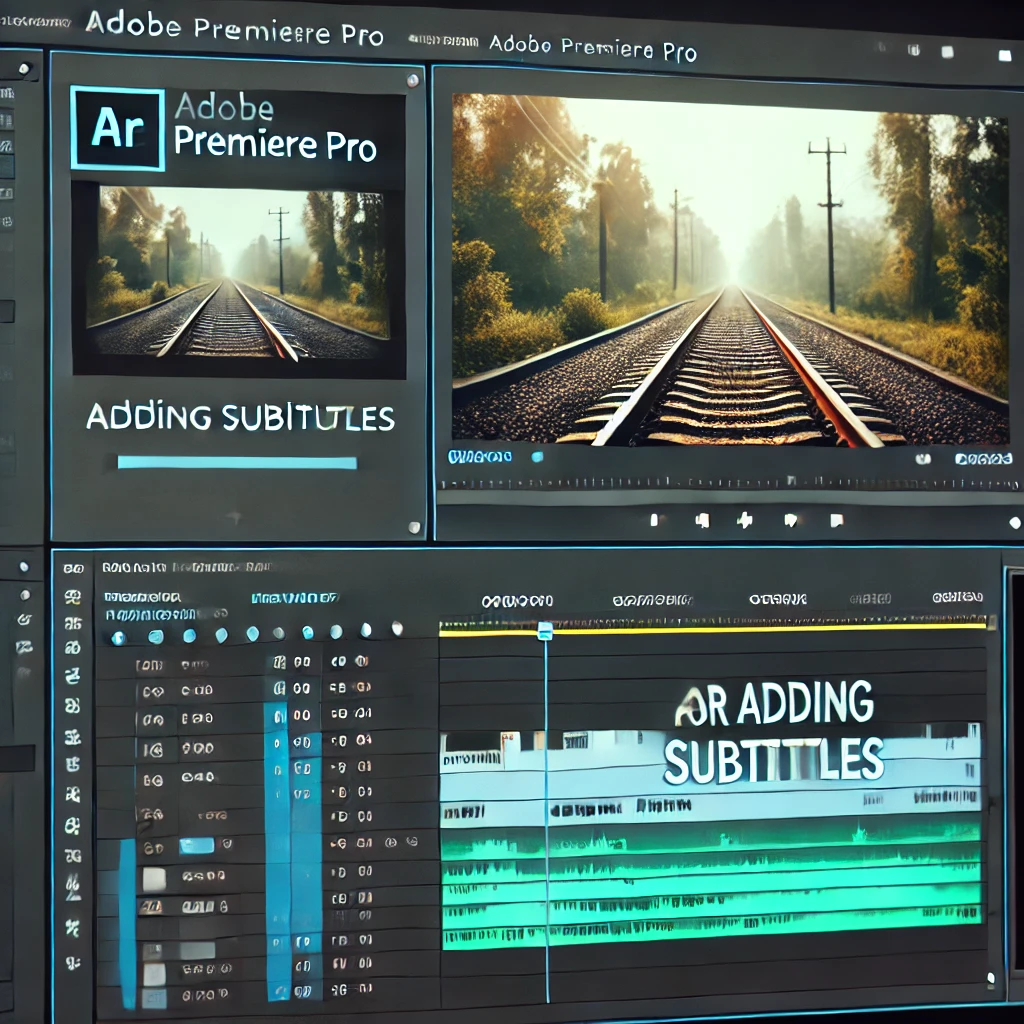
Learn to add and edit subtitles in Adobe Premiere Pro to make your videos accessible and engaging. Use text tools, synchronization, and formatting to create professional-quality subtitles.
Step 1: Import Your Video
Start by importing your video into Premiere Pro.
How to Import:
Go to File > Import, or drag and drop the video file into the Project Panel.
Place the clip on the timeline for editing.
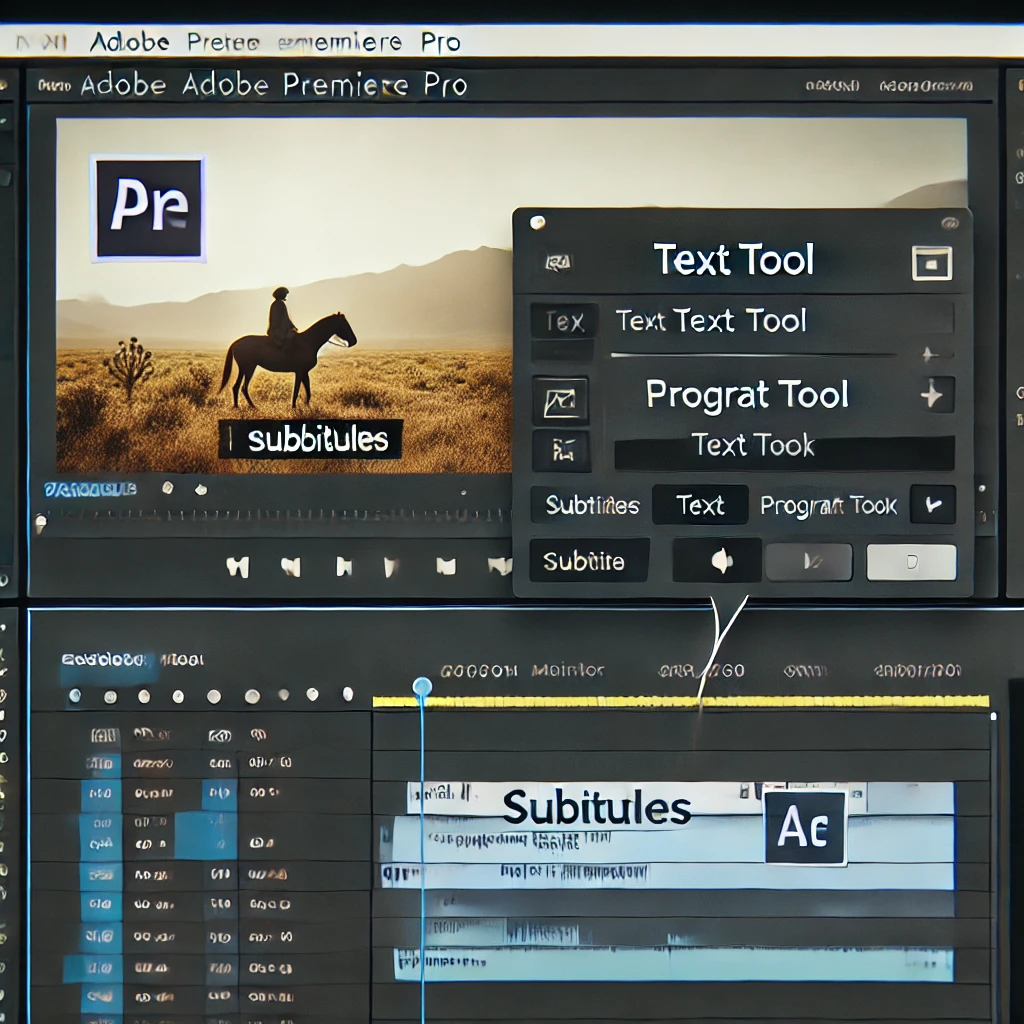
Step 2: Access the Text Tool
Use the Text Tool to add and edit subtitles.
How to Access:
Click the Text Tool (T) in the toolbar.
Click anywhere in the Program Monitor to create a text layer.
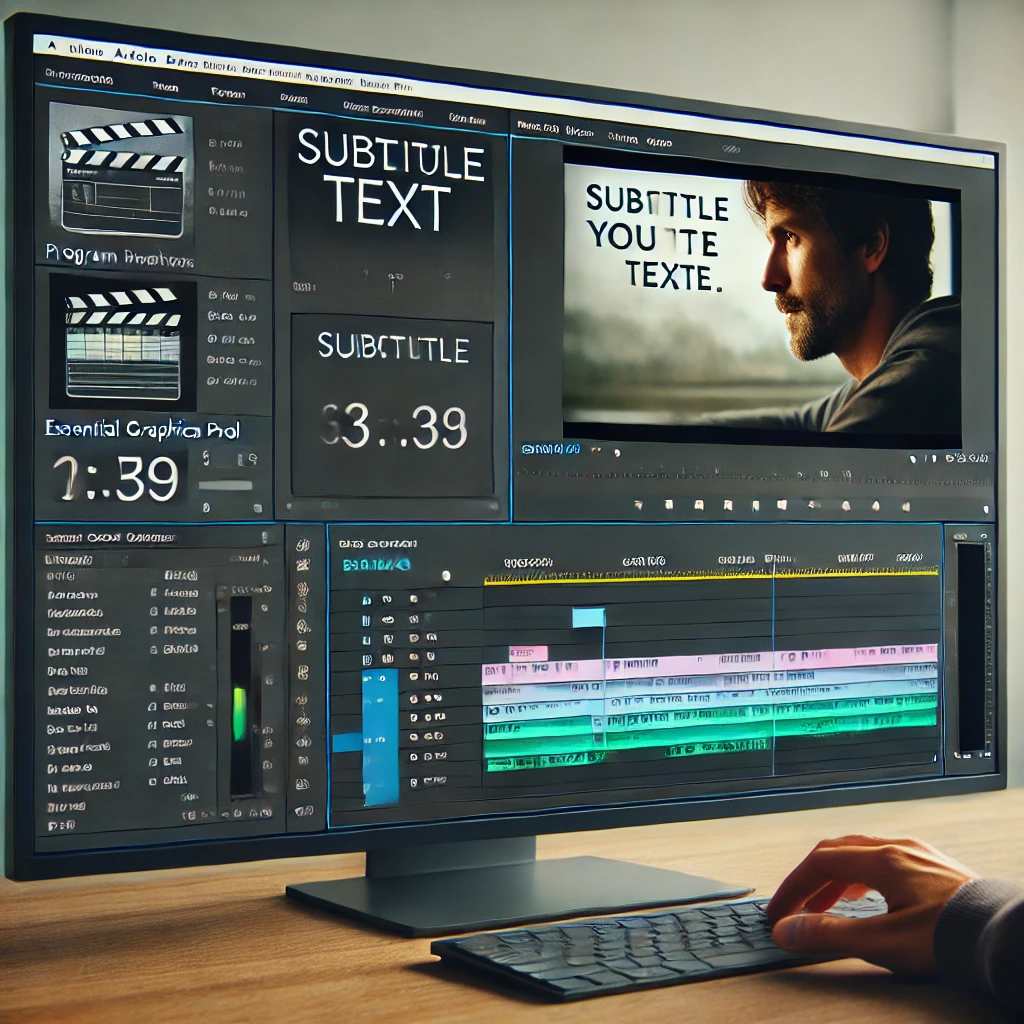
Step 3: Type Your Subtitle Text
Input your subtitle text and position it at the bottom of the screen.
How to Type:
Select the text layer in the Essential Graphics Panel.
Use the text box to type the subtitle text.
Position the text at the bottom of the screen for better readability.
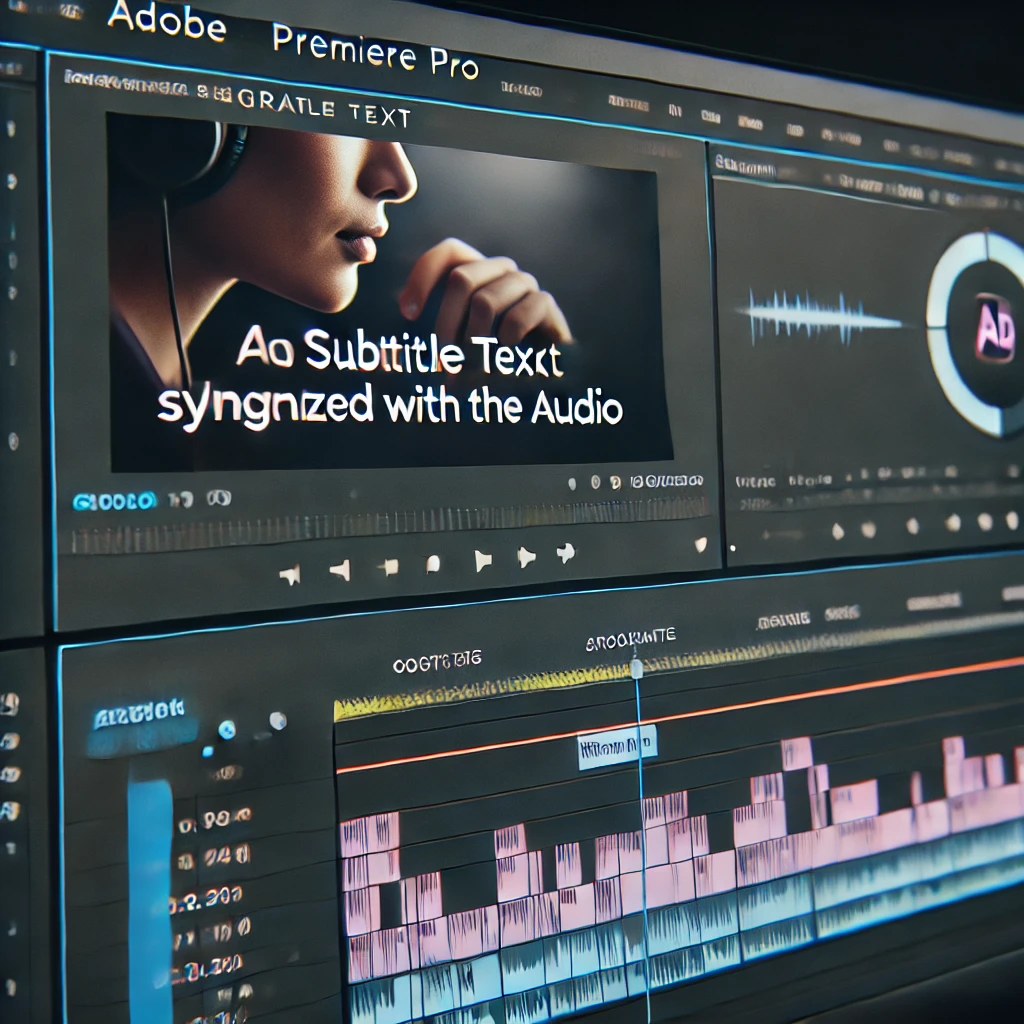
Step 4: Synchronize Subtitles
Align the subtitle text layer with the video’s audio for precise synchronization.
How to Synchronize:
Drag the subtitle layer in the timeline to match the audio.
Trim the text layer duration to sync with spoken dialogue.
Step 5: Customize Subtitle Formatting
Adjust the font, size, color, and alignment of the subtitles for better readability and visual appeal.
How to Customize:
Use the Essential Graphics Panel to modify text properties.
Choose high-contrast colors for better visibility against the video background.
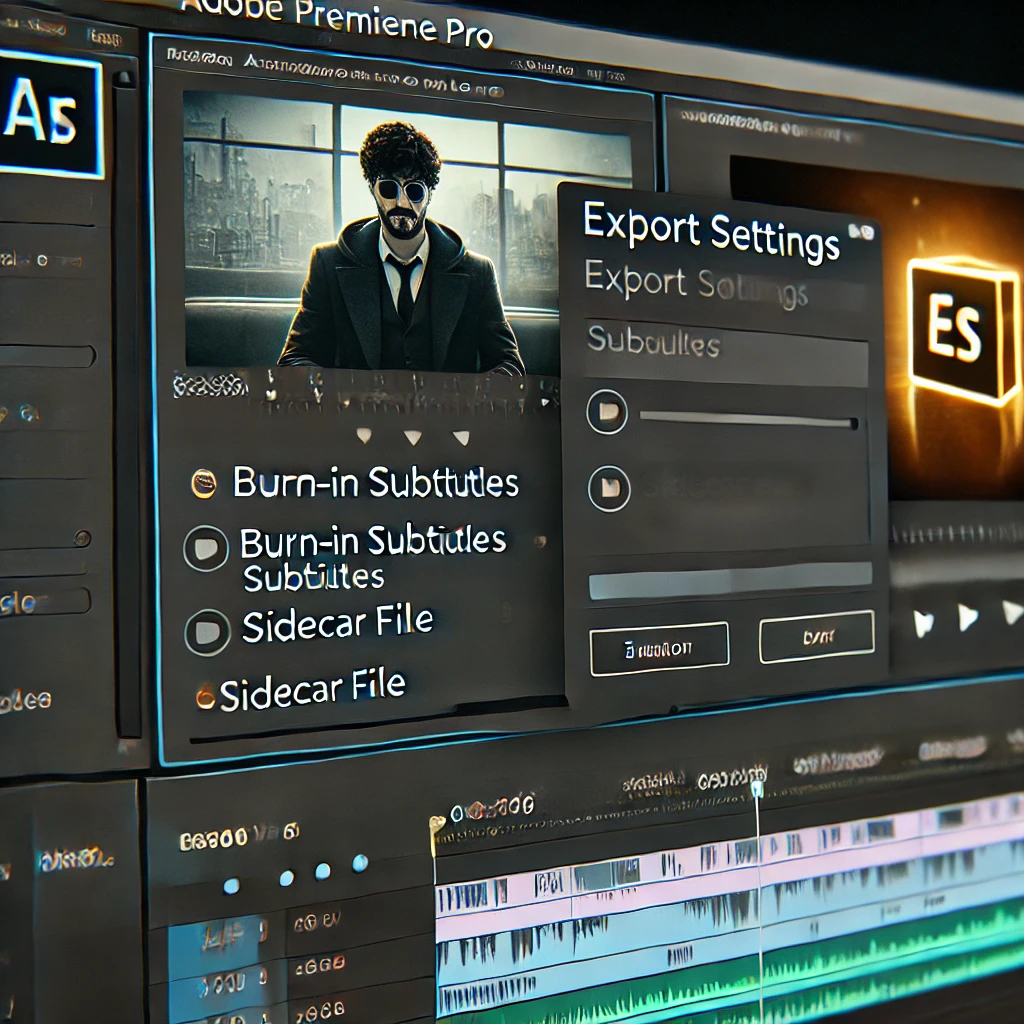
Step 6: Export Subtitles
Export your video with embedded subtitles or as a separate subtitle file for flexibility.
How to Export:
Go to File > Export > Media.
Select Burn-in Subtitles to embed them into the video.
Alternatively, choose Sidecar File to export subtitles separately.
Conclusion
Adding and editing subtitles in Adobe Premiere Pro ensures that your videos are accessible, engaging, and professional. Follow these steps to seamlessly integrate subtitles into your projects.
Learn how to create picture-in-picture (PiP) effects in Adobe Premiere Pro for professional presentations, tutorials, or creative storytelling. Master resizing,...