How to Create Seamless Transitions in Adobe Premiere Pro
Learn to create smooth and seamless transitions in Adobe Premiere Pro to elevate your video editing skills. Use effects, animations, and techniques to make your transitions professional and engaging.

Step 1: Import Your Video Clips
Start by importing the video clips you want to transition between.
How to Import:
- Go to File > Import, or drag and drop the video files into the Project Panel.
- Place the clips on the timeline for editing.

Step 2: Overlap Clips on the Timeline
Overlap the clips on the timeline to create a transition area.
How to Overlap:
- Drag one clip slightly over the other on the timeline.
- The overlapping section will serve as the transition area.

Step 3: Add a Transition Effect
Choose a transition effect to apply between the clips.
How to Add:
- Go to the Effects Panel and search for a transition effect (e.g., Cross Dissolve, Slide).
- Drag the effect onto the overlapping section of the clips.
Step 4: Customize the Transition
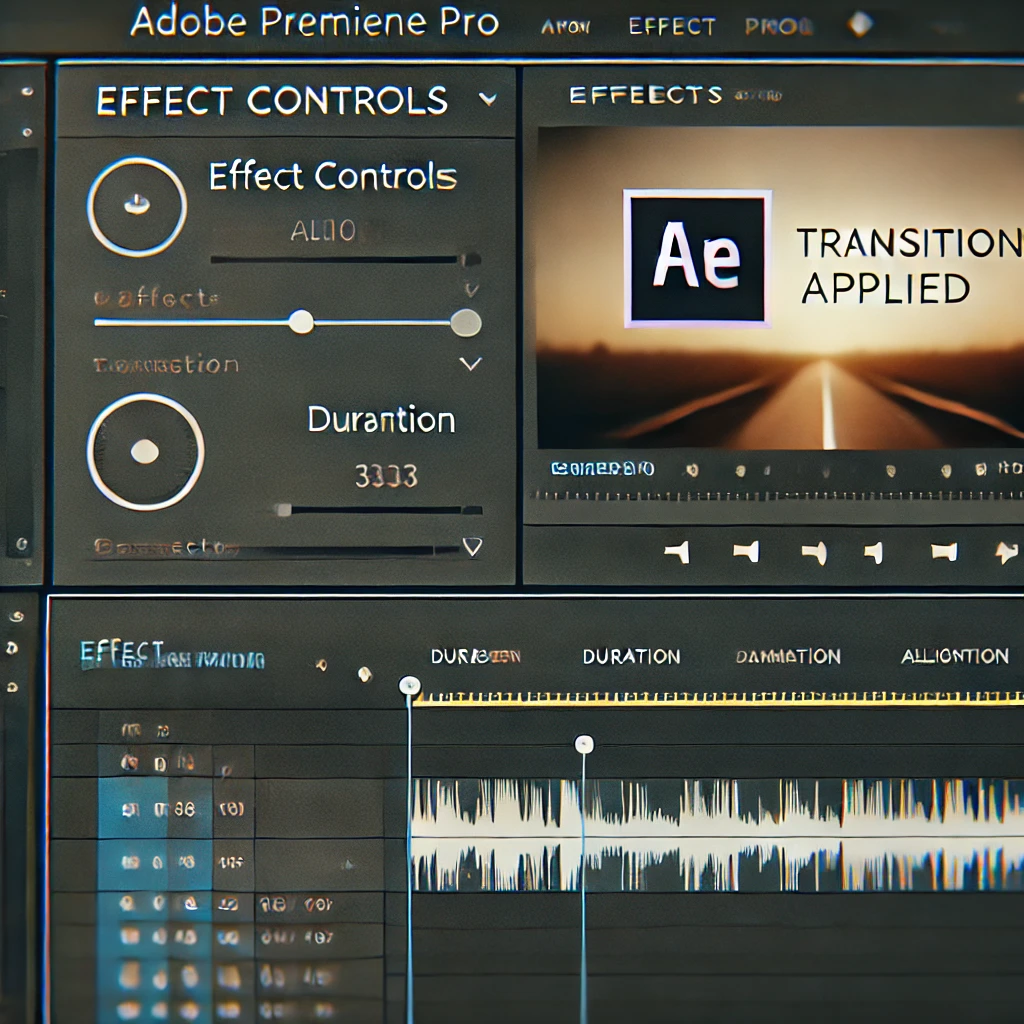
Adjust the duration and style of the transition for a seamless look.
How to Customize:
- Click on the transition effect in the timeline.
- Use the Effect Controls Panel to modify its settings, such as duration, direction, or alignment.
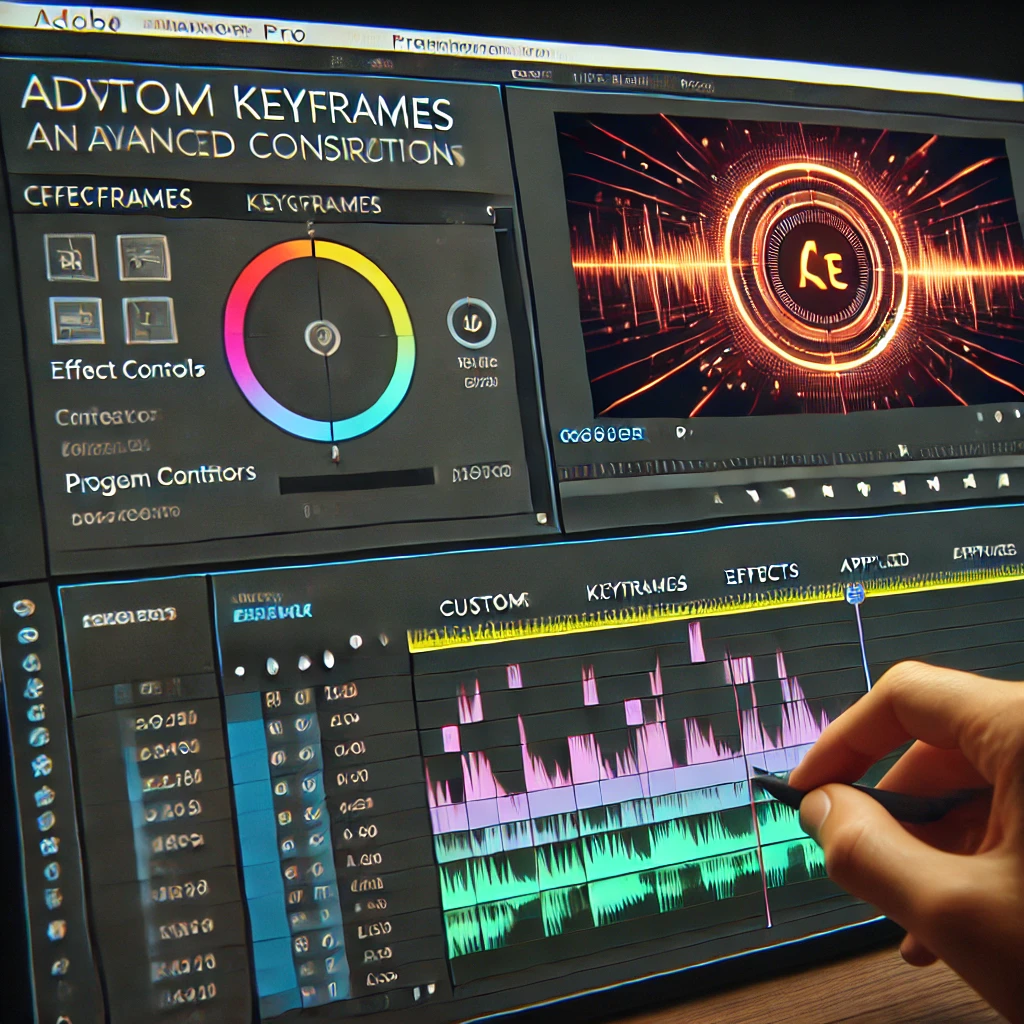
Step 5: Use Keyframes for Advanced Transitions
Create custom transitions using keyframes for precise control.
How to Use Keyframes:
- Select a clip and go to the Effect Controls Panel.
- Add keyframes to properties like Position, Scale, or Opacity to animate the transition.
Step 6: Preview and Refine
Review your transition to ensure it appears smooth and professional.
How to Preview:
- Play back the timeline in the Program Monitor.
- Make final adjustments to the timing or settings of the transition in the timeline.
Step 7: Export Your Video
Export your video with the seamless transitions applied.
How to Export:
- Go to File > Export > Media.
- Choose a format like H.264 and adjust the resolution for the final output.
- Click Export to render your video.
Conclusion
Seamless transitions in Adobe Premiere Pro enhance the flow and quality of your videos, creating a polished and professional appearance. By following these steps, you can master the art of creating engaging transitions that captivate your audience.
More Stories
How to Create Cinematic Titles in Adobe Premiere Pro
Learn to create stunning cinematic titles in Adobe Premiere Pro using custom animations, transitions, and effects. Elevate your video projects...
How to Add Motion Graphics to Videos in Adobe Premiere Pro
Discover how to add motion graphics to your videos in Adobe Premiere Pro. Learn to use templates, customize animations, and...
How to Create Split-Screen Videos in Adobe Premiere Pro
Learn how to create engaging split-screen videos in Adobe Premiere Pro by combining multiple video clips into a single frame....
How to Create Slow Motion Effects in Adobe Premiere Pro
Slow-motion effects add drama and emphasis to your videos, making them more visually engaging. Adobe Premiere Pro provides tools to...
How to Create Picture-in-Picture Effects in Adobe Premiere Pro
Learn how to create picture-in-picture (PiP) effects in Adobe Premiere Pro for professional presentations, tutorials, or creative storytelling. Master resizing,...
How to Create a Seamless Looping Video in Adobe Premiere Pro
Seamless looping videos are perfect for social media, presentations, and background content. Adobe Premiere Pro offers tools to create visually...

