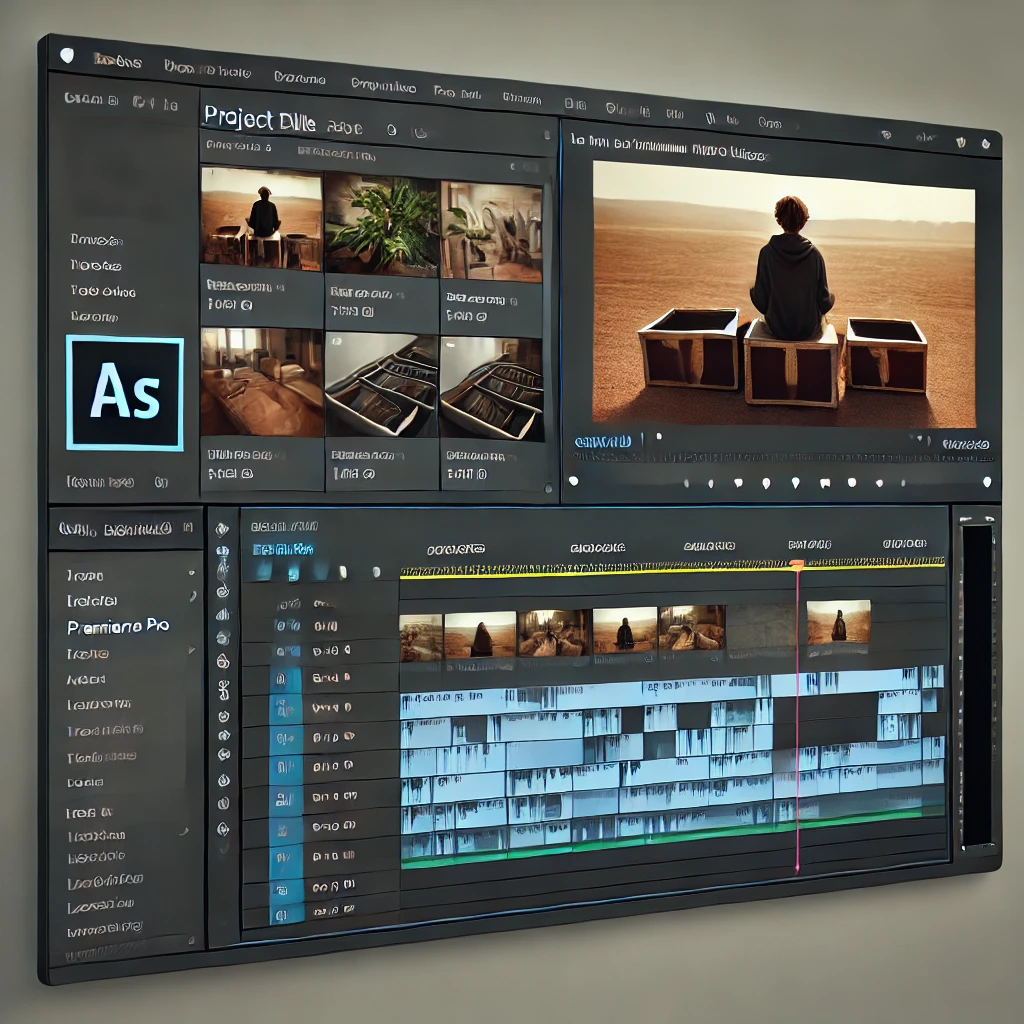
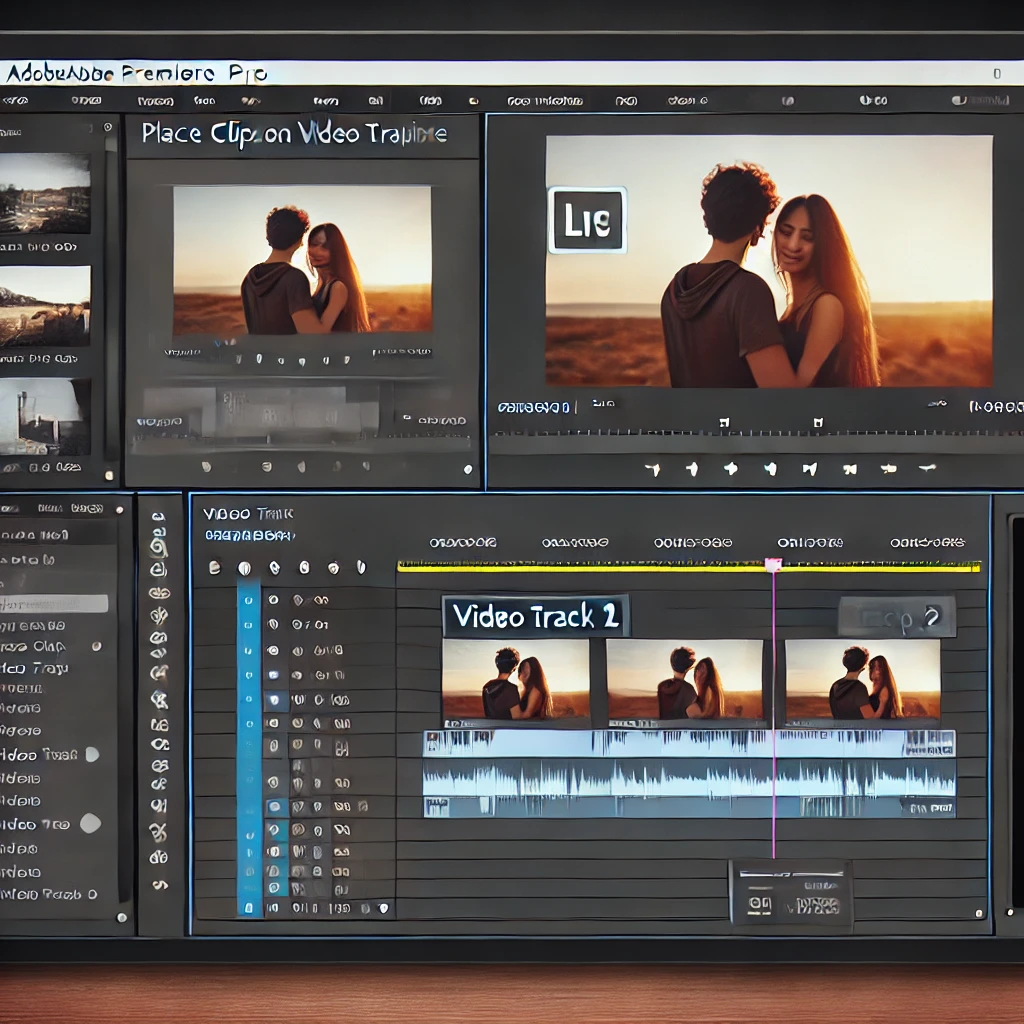
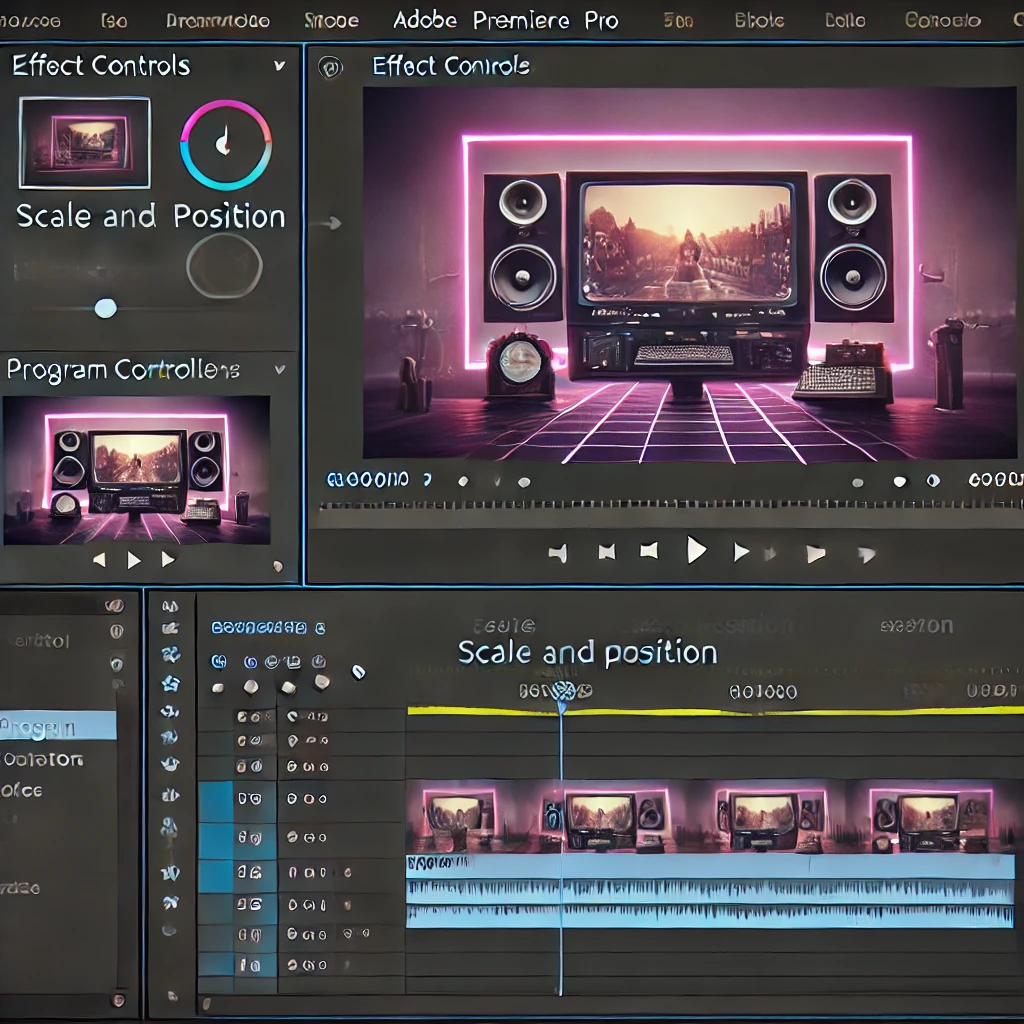
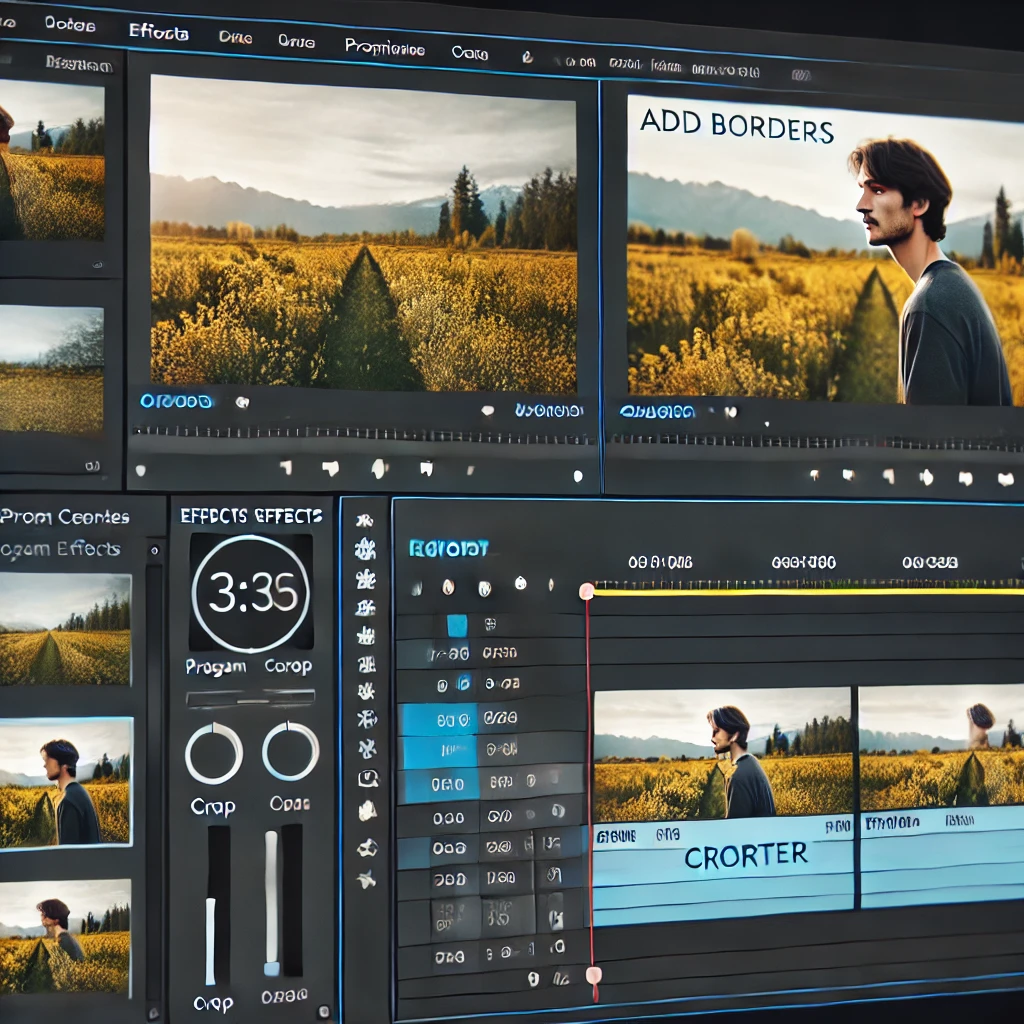
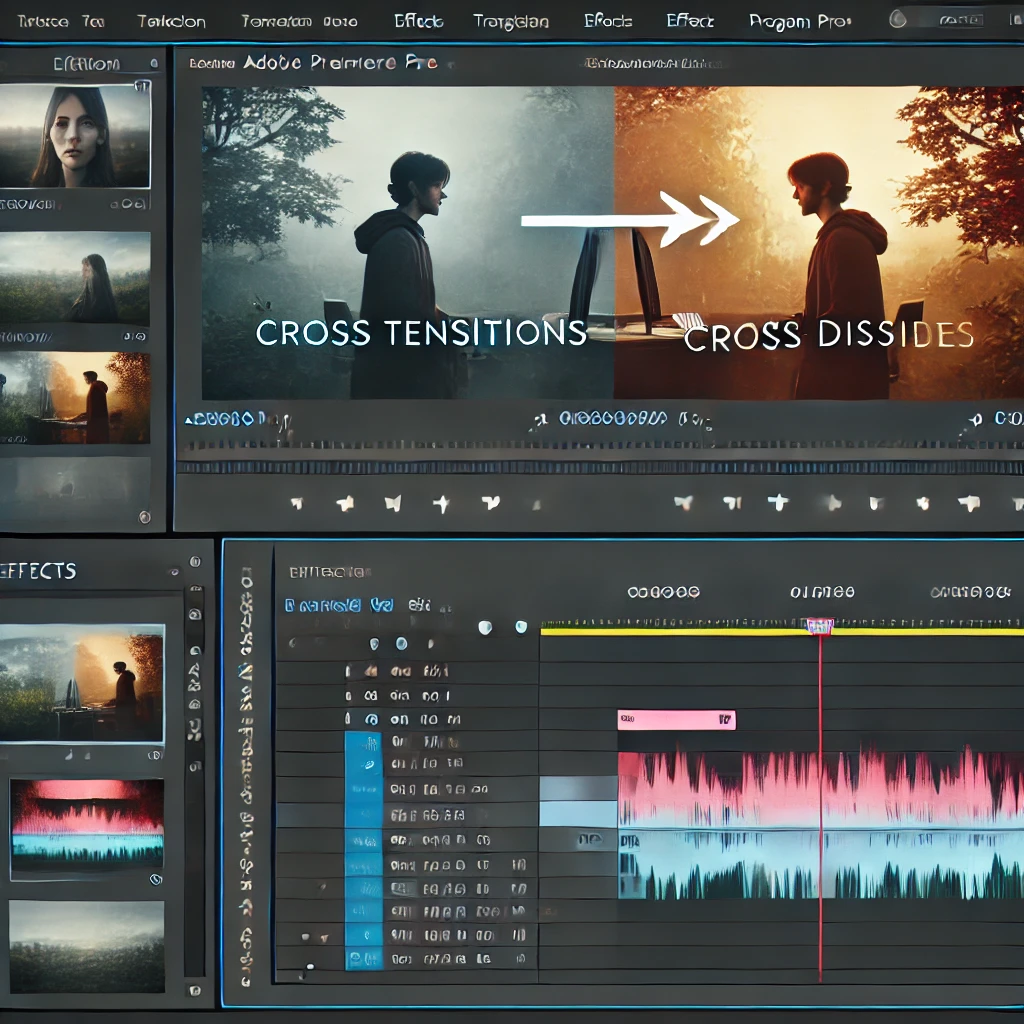
How to Create a Split-Screen Effect in Adobe Premiere Pro
The split-screen effect is a powerful way to display multiple video clips simultaneously, allowing for creative storytelling or comparisons. Adobe Premiere Pro provides a range of tools to create this effect seamlessly. Here’s a step-by-step guide.