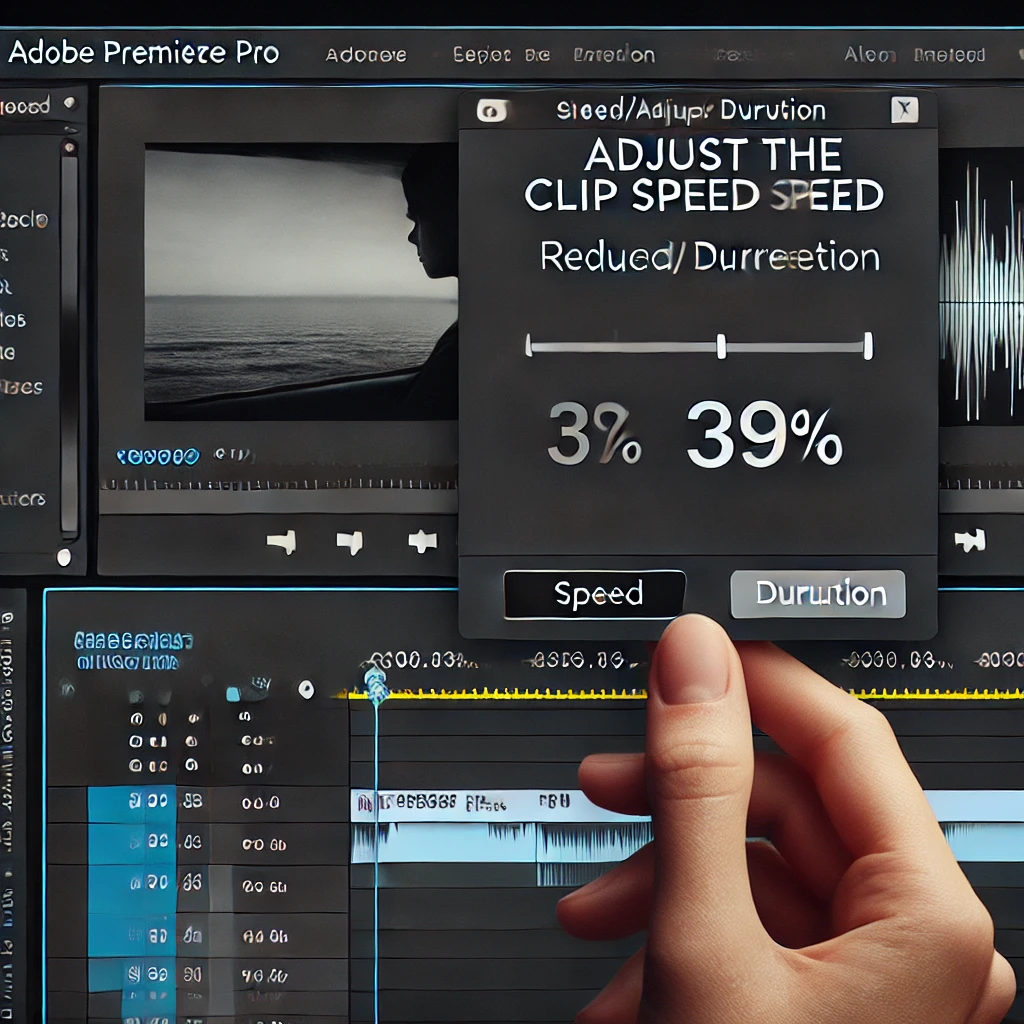
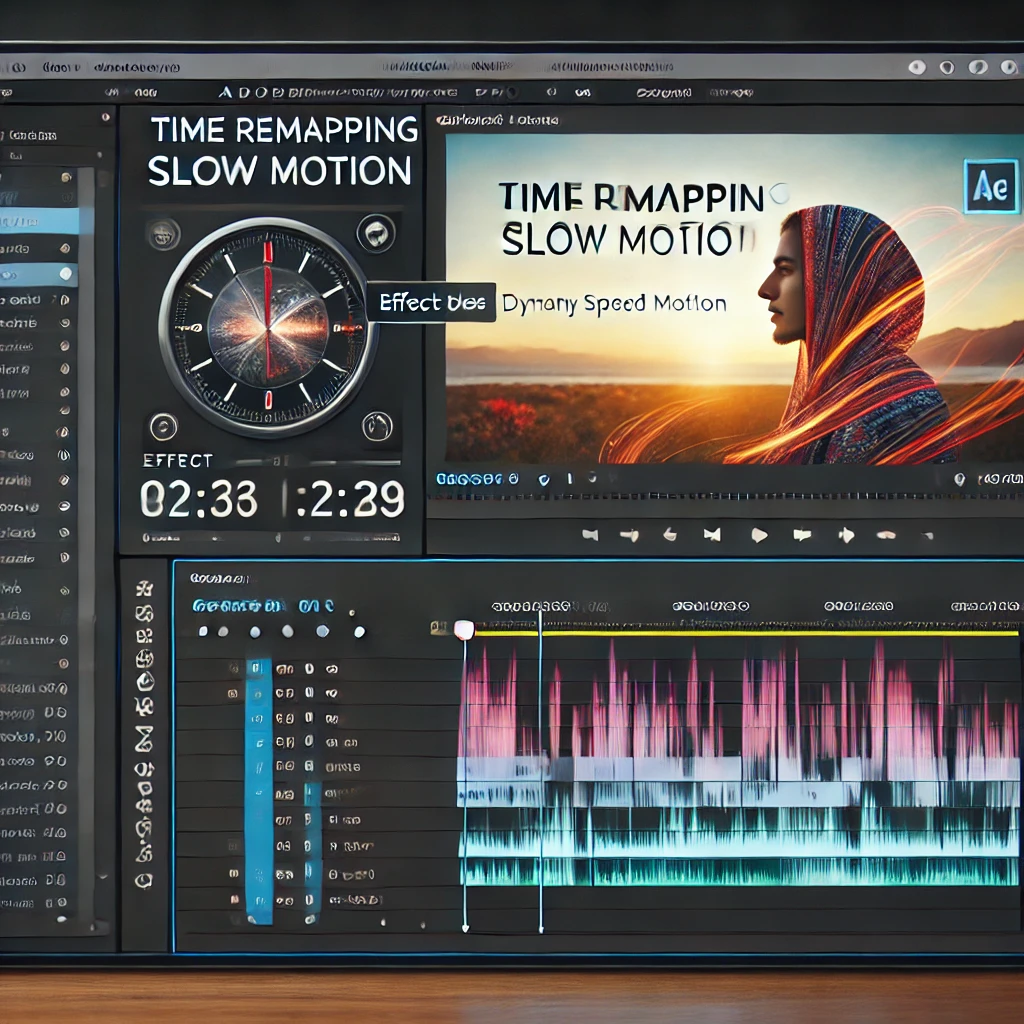
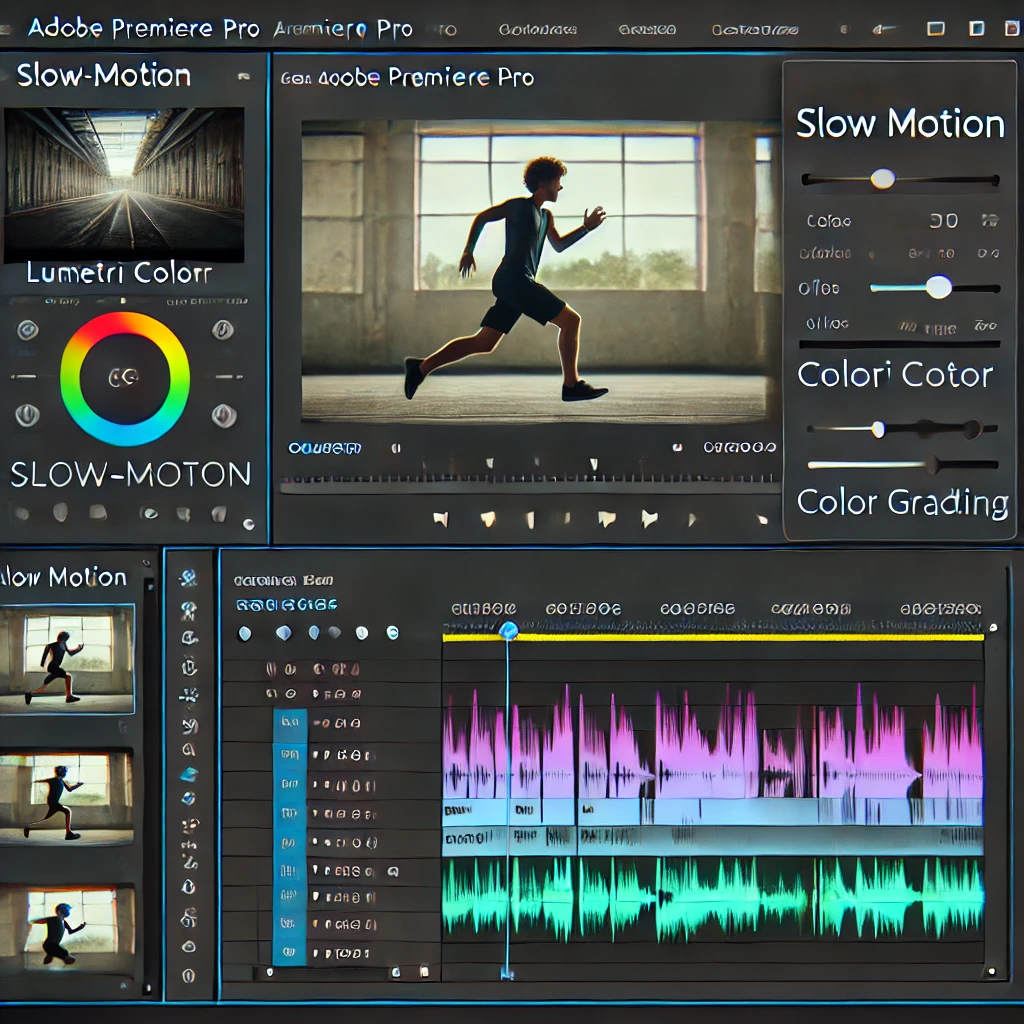
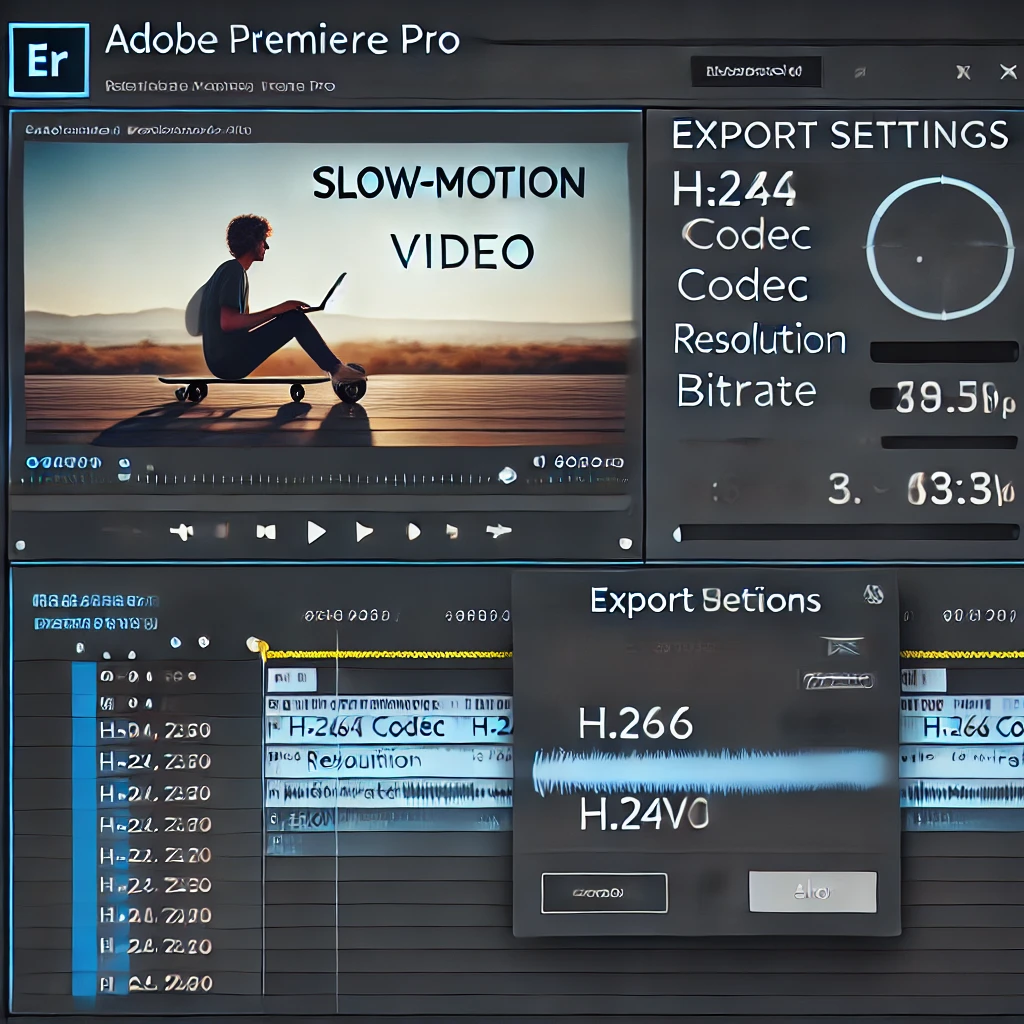
How to Create a Slow Motion Effect in Adobe Premiere Pro

Slow motion is a popular video effect that adds drama or emphasis to a scene. Adobe Premiere Pro provides multiple methods to create smooth and professional slow-motion effects. Here’s a step-by-step guide to mastering this technique.

A screenshot-style image of Adobe Premiere Pro's interface showcasing how to import video footage. The Project Panel displays a video file being imported and organized into bins. The timeline is ready for editing, and the layout is clean and professional.

Step 1: Import Your Footage

The first step is to import the video clip you want to apply the slow-motion effect to. Organize your footage into bins for better management.


A screenshot-style image of Adobe Premiere Pro's interface showcasing how to check the frame rate of a video. The Project Panel is open, and the right-click menu displays the Properties option. The layout is clean and professional.

Step 2: Check the Frame Rate

Ensure your footage has a high frame rate for smoother slow-motion effects. Use the Properties option in the Project Panel to check the frame rate.


A screenshot-style image of Adobe Premiere Pro's interface showcasing how to adjust the clip speed for slow motion. The Speed/Duration window is open, showing a reduced speed percentage, and the timeline displays the clip being adjusted. The layout is professional and clear.

Step 3: Adjust Clip Speed

Use the Speed/Duration settings to slow down your footage. Reduce the speed percentage and enable Optical Flow for smoother slow-motion effects.


A screenshot-style image of Adobe Premiere Pro's interface showcasing how to use Time Remapping for slow motion. The Effect Controls Panel shows Time Remapping with keyframes, and the timeline displays dynamic speed adjustments. The layout is professional and clean.

Step 4: Use Time Remapping

For more control, use Time Remapping to dynamically adjust speed. Add keyframes in the Effect Controls Panel and fine-tune the speed on the timeline.


A screenshot-style image of Adobe Premiere Pro's interface showcasing how to fine-tune slow motion with additional effects. The Lumetri Color Panel is open for color grading, and the timeline displays a clip with slow-motion adjustments. The layout is clean and professional.

Step 5: Fine-Tune with Effects

Enhance your slow-motion effect with color grading using the Lumetri Color Panel. Add a slight motion blur for a cinematic look.


A screenshot-style image of Adobe Premiere Pro's interface showcasing the export process for a slow-motion video. The Export Settings Panel displays H.264 codec, resolution, and bitrate settings, with the timeline showing a slow-motion clip. The layout is professional and clear.

Step 6: Export Your Slow-Motion Video

Render your slow-motion video for smooth playback. Use the Export Settings Panel to select H.264 codec, resolution, and bitrate for high-quality output.


Leave a Reply

Your email address will not be published. Required fields are marked *

Previous post How to Create a Split-Screen Effect in Adobe Premiere Pro
Next post How to Add and Sync Subtitles in Adobe Premiere Pro