How to Add Text and Titles in Adobe Premiere Pro

Text and titles are essential elements in video editing, used for introducing scenes, adding subtitles, or enhancing storytelling. Adobe Premiere Pro offers powerful tools to create and customize text and titles directly within your videos. Here’s how to do it step by step.

A screenshot-style image of Adobe Premiere Pro's interface showcasing the Essential Graphics Panel. The panel displays options for creating and customizing text, with a text box being edited on the Program Monitor. The timeline includes a text layer for the added text. The layout is clean and professional.

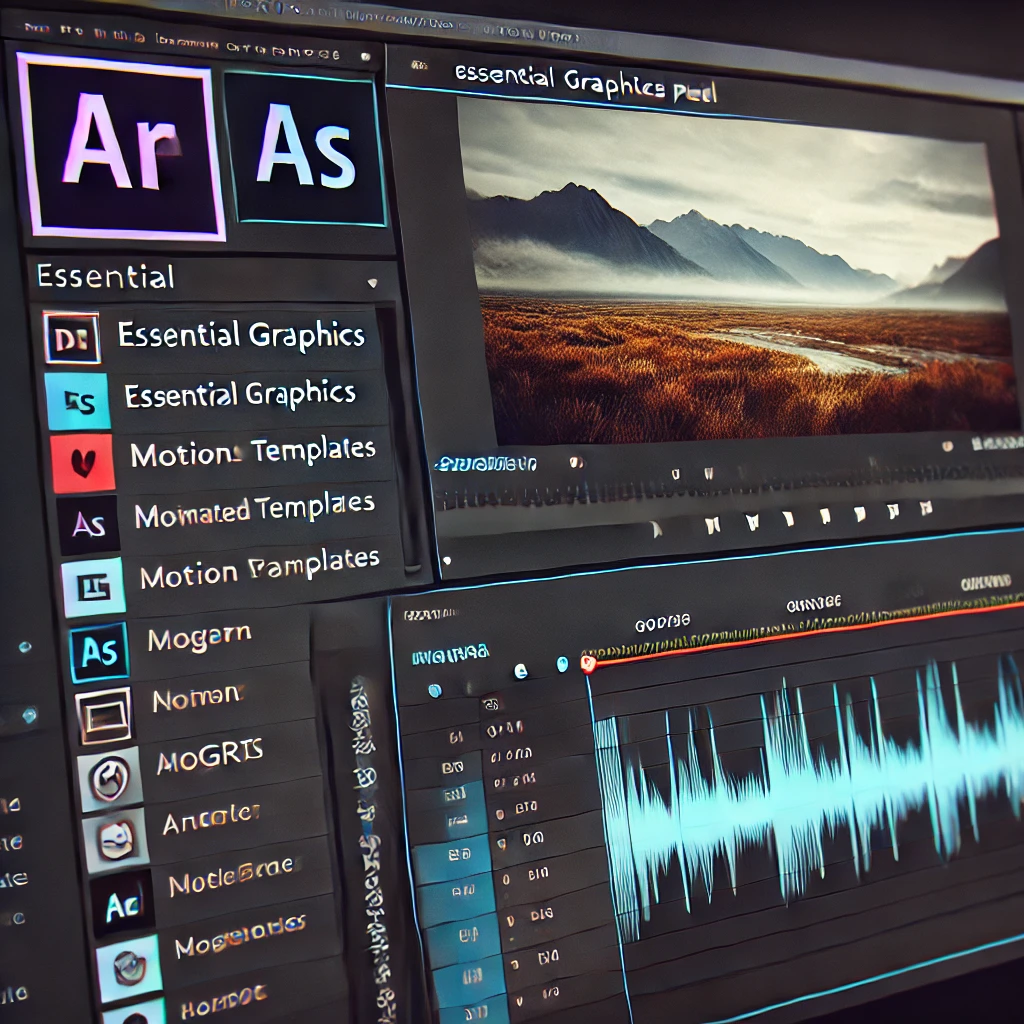
Step 1: Access the Essential Graphics Panel

The Essential Graphics Panel allows you to create and customize text and titles. Open the panel to start designing your text elements for the video.

A screenshot-style image of Adobe Premiere Pro's interface showcasing how to add text to the timeline. The Program Monitor shows a text box being typed, and the timeline displays a text layer added above video clips. The layout is professional and user-friendly.

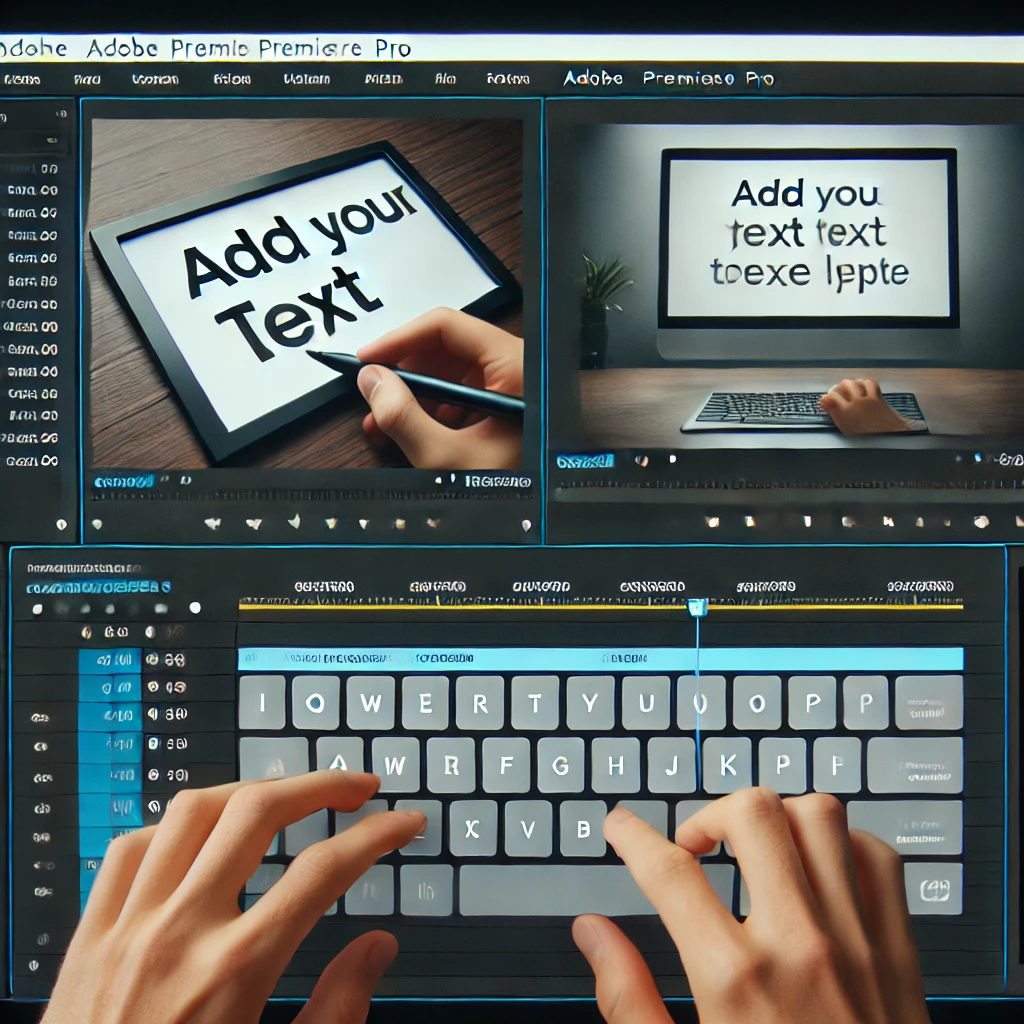
Step 2: Add Text to the Timeline

Use the Type Tool to add text to your project. The text will appear on the Program Monitor, and a new text layer will be added to the timeline above your video clips.

A screenshot-style image of Adobe Premiere Pro's interface showcasing how to customize text appearance. The Essential Graphics Panel displays options for changing font, size, color, and adding shadows or strokes. The Program Monitor shows styled text, and the timeline includes a text layer. The layout is professional and user-friendly.

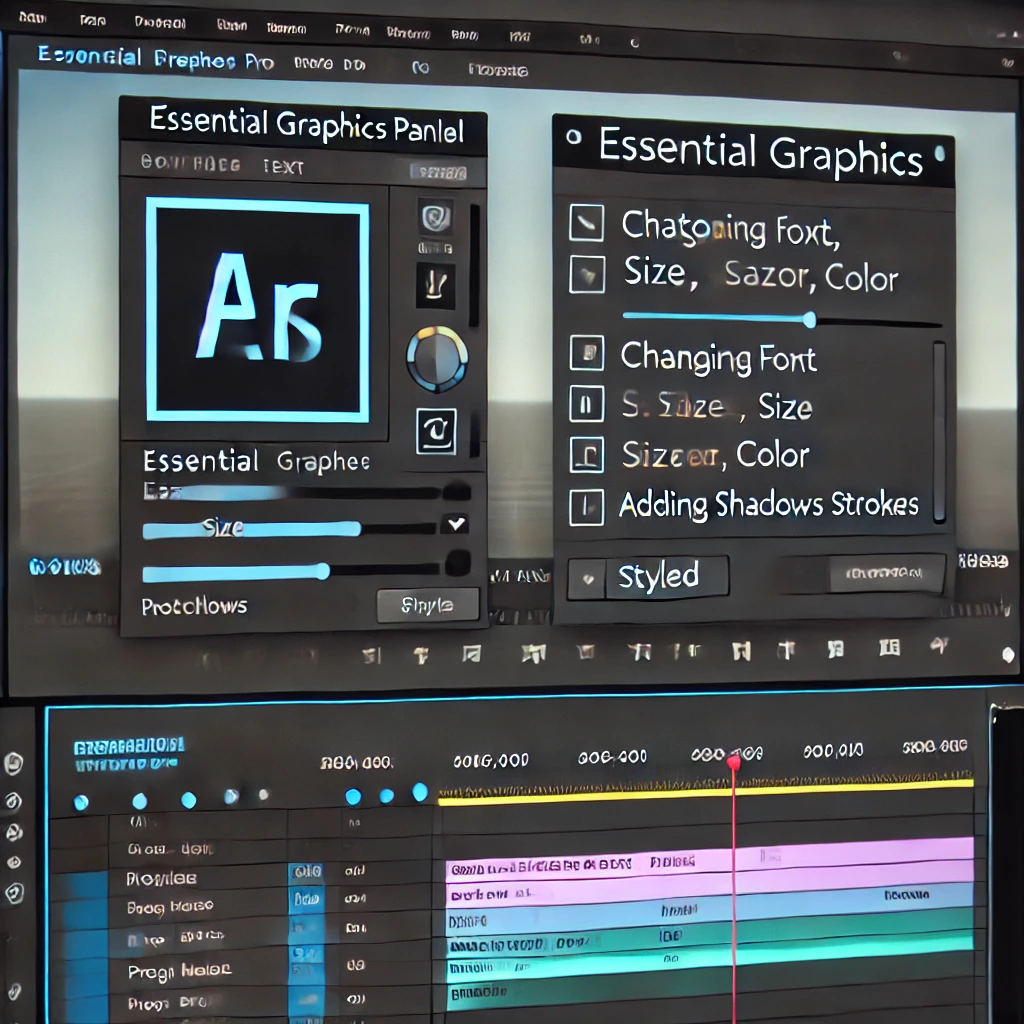
Step 3: Customize Text Appearance

Style your text to match the theme of your video using the Essential Graphics Panel. Adjust font, size, color, and add visual enhancements like shadows, strokes, or background boxes for better visibility.

A screenshot-style image of Adobe Premiere Pro's interface showcasing how to animate text. The Effects Controls Panel shows keyframes being added for position, scale, and opacity. The Program Monitor displays the text animation in progress, and the timeline shows the text layer with keyframe markers. The layout is professional and clean.

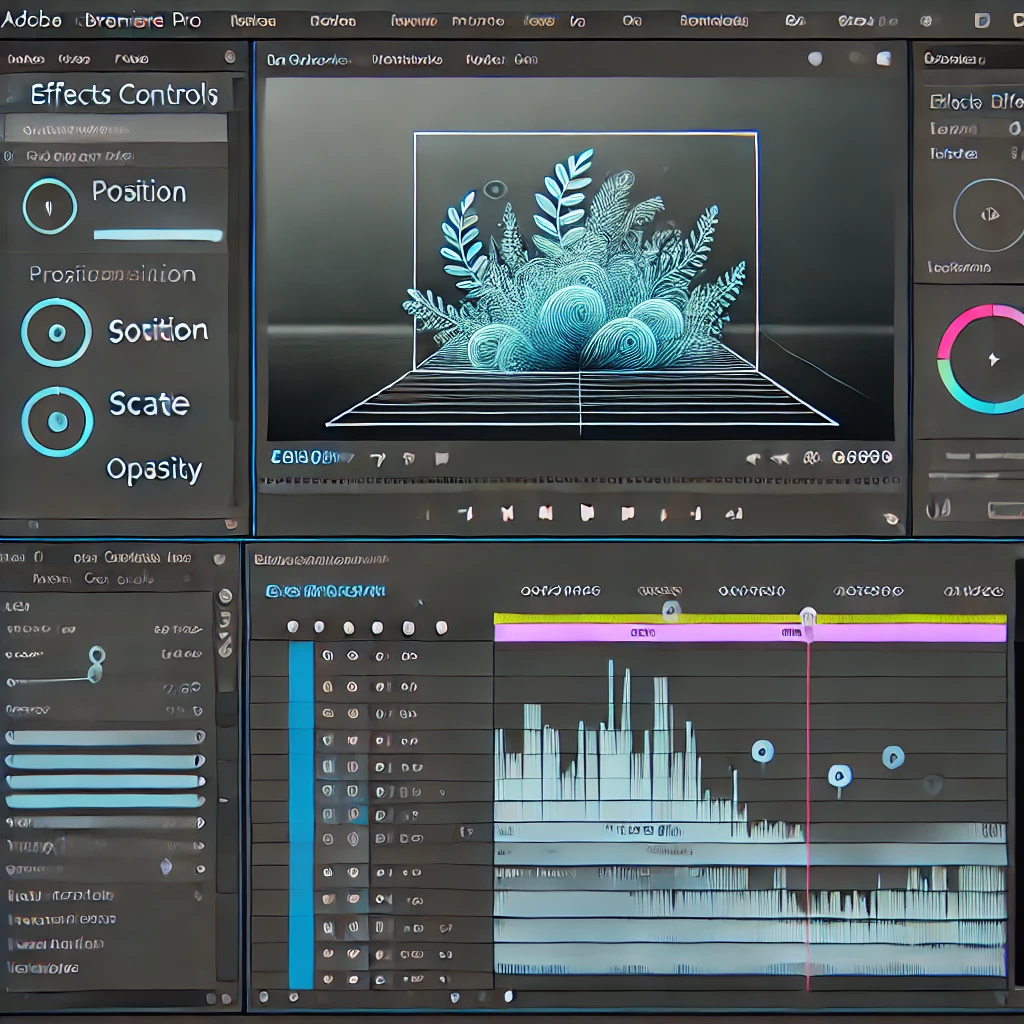
Step 4: Animate Text

Add movement to your text by animating properties like position, scale, and opacity using keyframes in the Effects Controls Panel. Combine animations with effects like fade-ins and fade-outs for a polished look.

A screenshot-style image of Adobe Premiere Pro's interface showcasing how to use Motion Graphics Templates (MOGRTs). The Essential Graphics Panel displays a list of MOGRT templates, with one dragged onto the timeline. The Program Monitor shows the animated template being customized. The layout is professional and user-friendly.

Step 5: Use Motion Graphics Templates (MOGRTs)

Enhance your titles with pre-designed motion graphics templates from the Essential Graphics Panel. Drag and drop a template onto the timeline, then customize the text and animations to suit your video.

A screenshot-style image of Adobe Premiere Pro's interface showcasing the export process with text and titles. The Export Settings Panel displays options for resolution, bitrate, and codec settings. The timeline includes text and video layers, and the Program Monitor shows the final video preview. The layout is professional and clean.

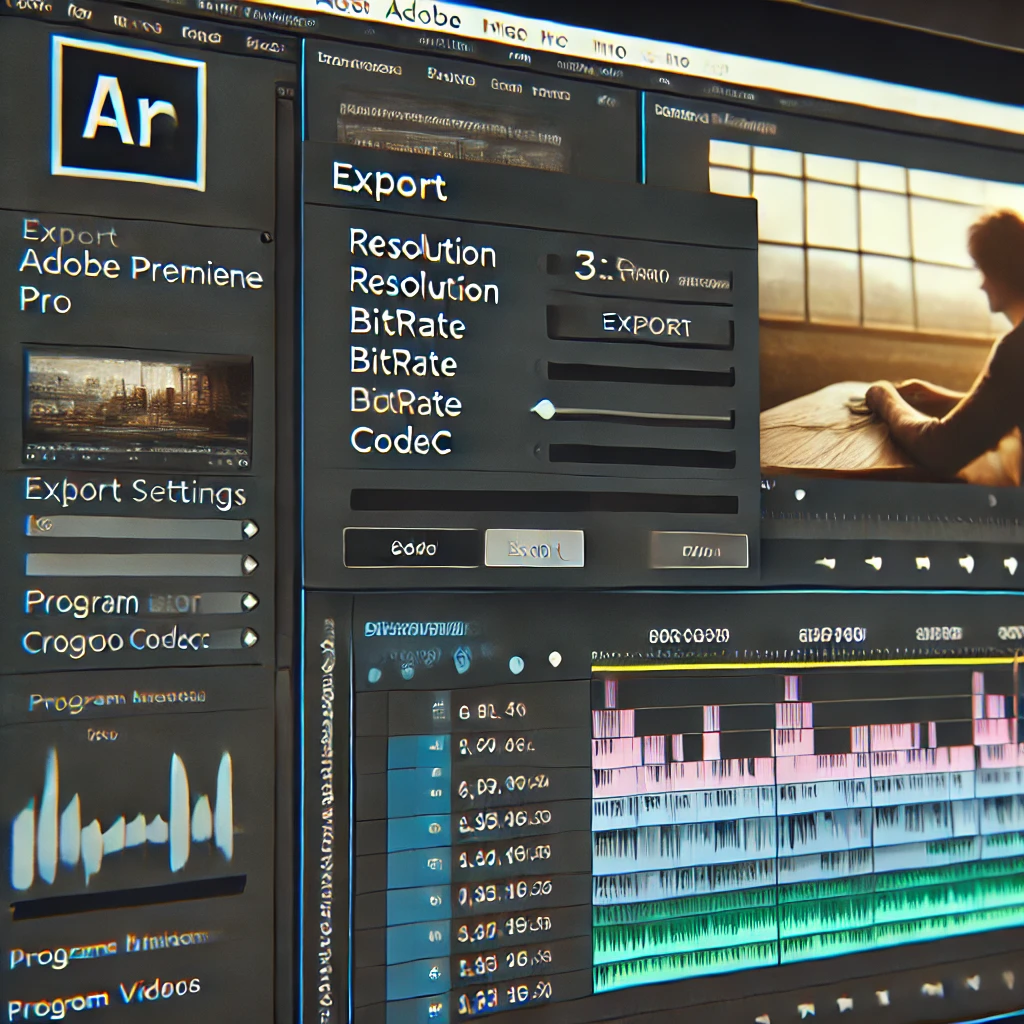
Step 6: Export Titles with the Video

Ensure your text and titles are rendered correctly during export. Use high-resolution settings and an appropriate bitrate for crisp text quality. Preview the final video in the Program Monitor to confirm everything is aligned.

Leave a Reply

Your email address will not be published. Required fields are marked *

Previous post How to Create Smooth Transitions in Adobe Premiere Pro
Next post How to Edit Audio in Adobe Premiere Pro