How to Add and Sync Subtitles in Adobe Premiere Pro
Subtitles are an essential part of video editing, improving accessibility and engagement for a global audience. Adobe Premiere Pro offers tools to add and sync subtitles seamlessly. Here’s a step-by-step guide.
Step 1: Create a New Subtitle Track
Start by creating a dedicated subtitle track for your video. Use the Text Panel to set up a captions track.
Step 2: Add Subtitle Entries
Insert individual subtitle entries and align them with the dialogue. Use the Text Panel to type subtitles and adjust their in and out points on the timeline.

Step 3: Customize Subtitle Appearance
Make your subtitles visually appealing by customizing their style. Use the Essential Graphics Panel to adjust font, size, color, and add visual elements like a background box or shadow.
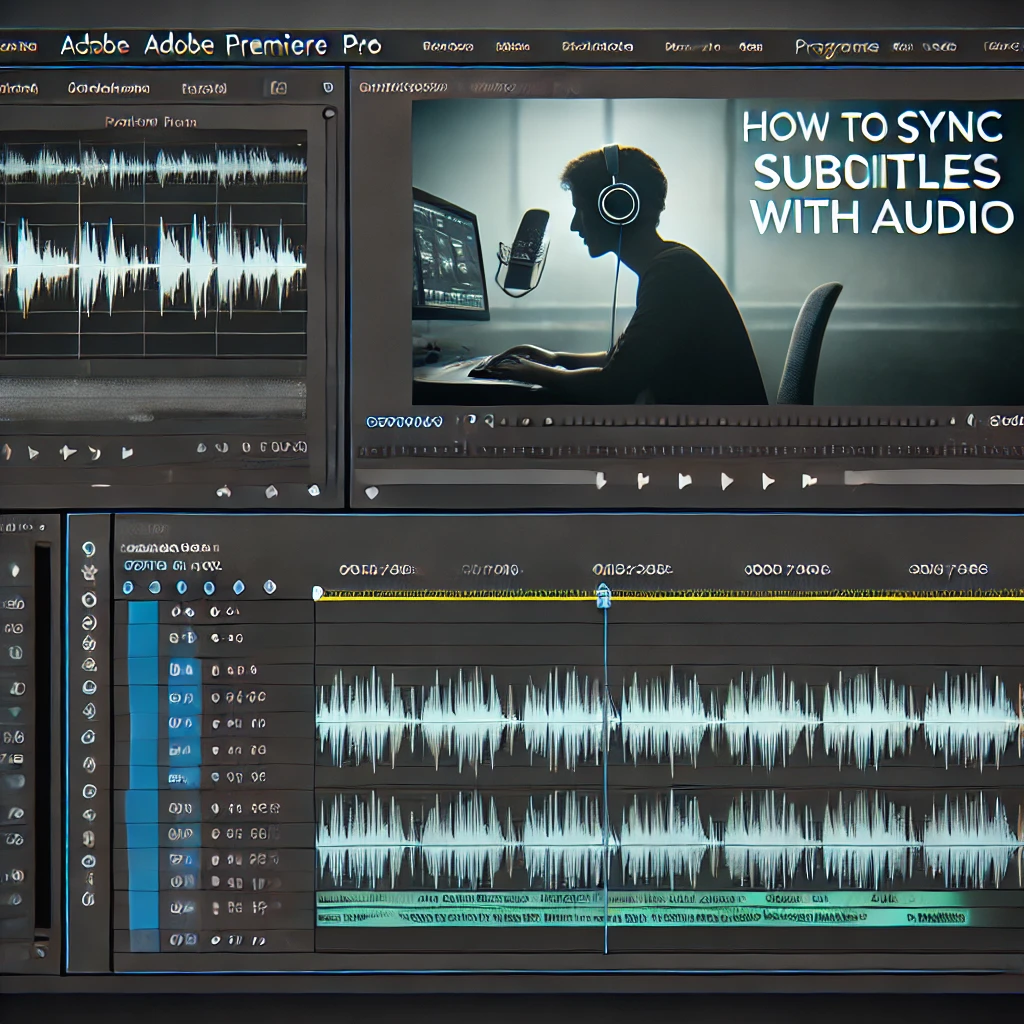
Step 4: Sync Subtitles with Audio
Ensure your subtitles are perfectly synced with the dialogue. Use the waveform in the timeline as a reference and align subtitle entries to match the audio.

Step 5: Export Subtitles with the Video
Export your subtitles as part of the video or as a separate file. Use the Export Settings Panel to enable the Captions tab and configure export options.
Conclusion
Adding and syncing subtitles in Adobe Premiere Pro enhances the accessibility and professionalism of your videos. By following these steps, you can create accurate and visually appealing subtitles for your audience.