How to Stabilize Shaky Footage in Adobe Premiere Pro

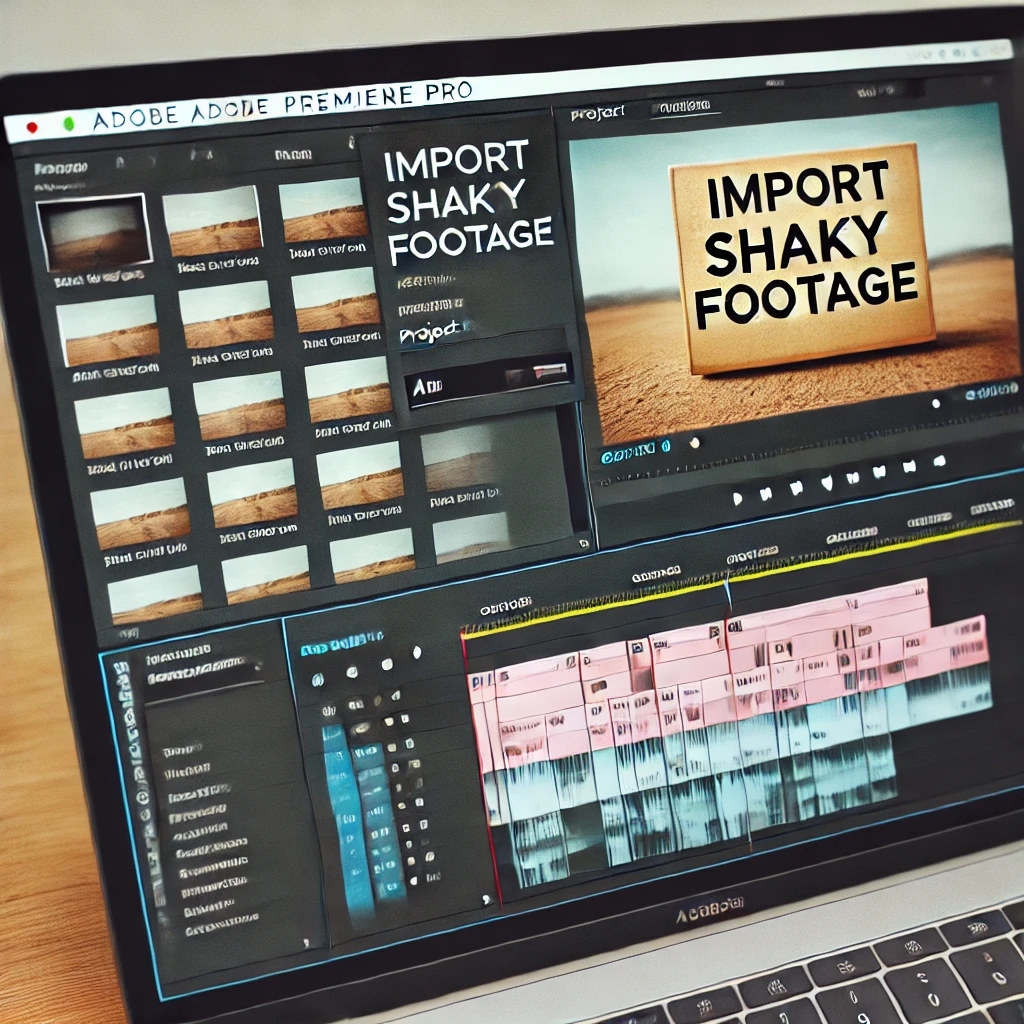
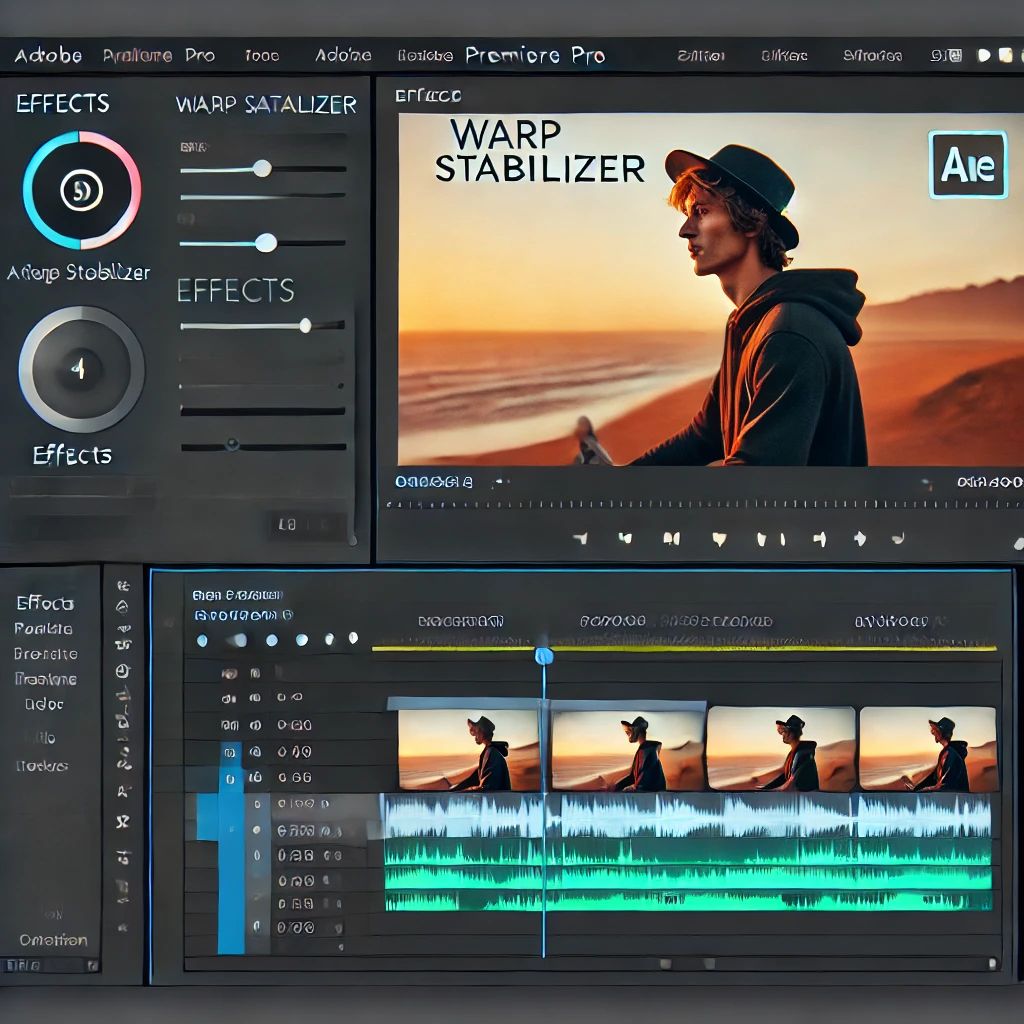
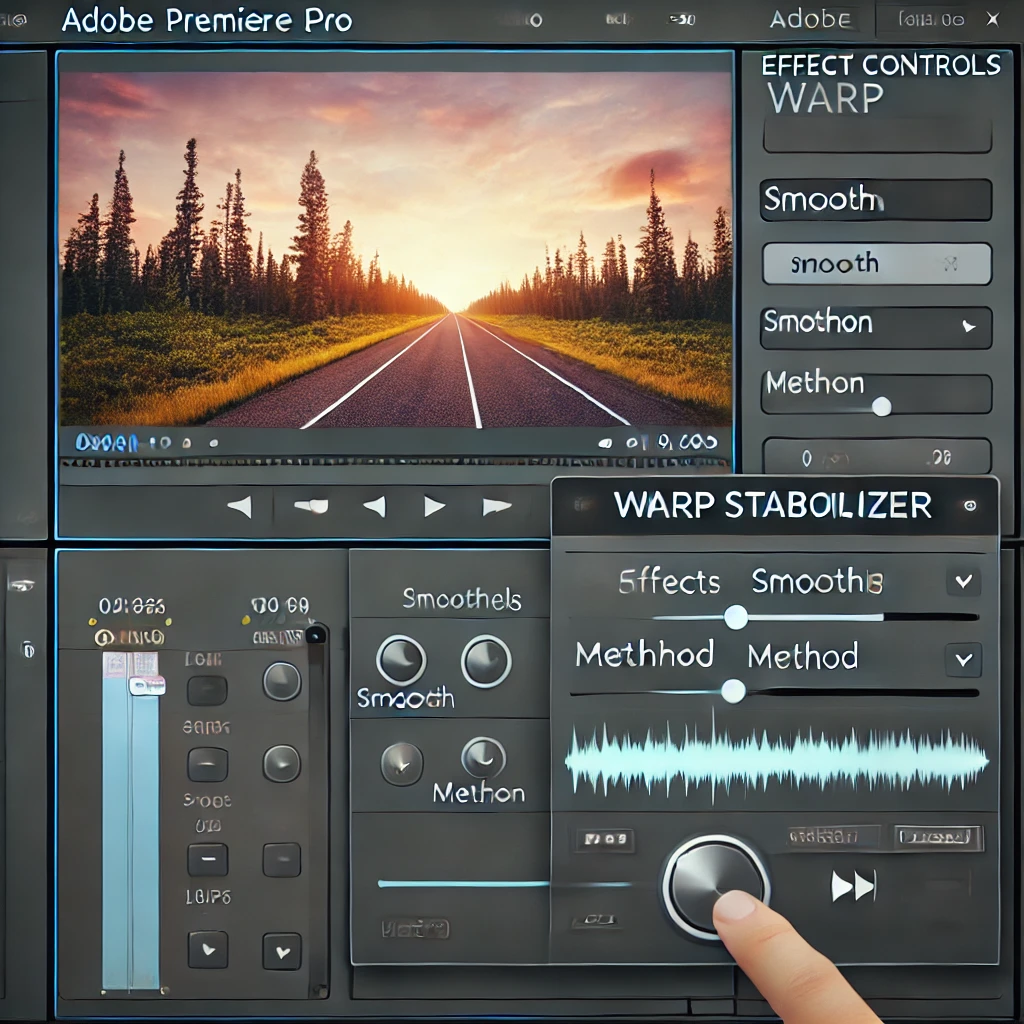
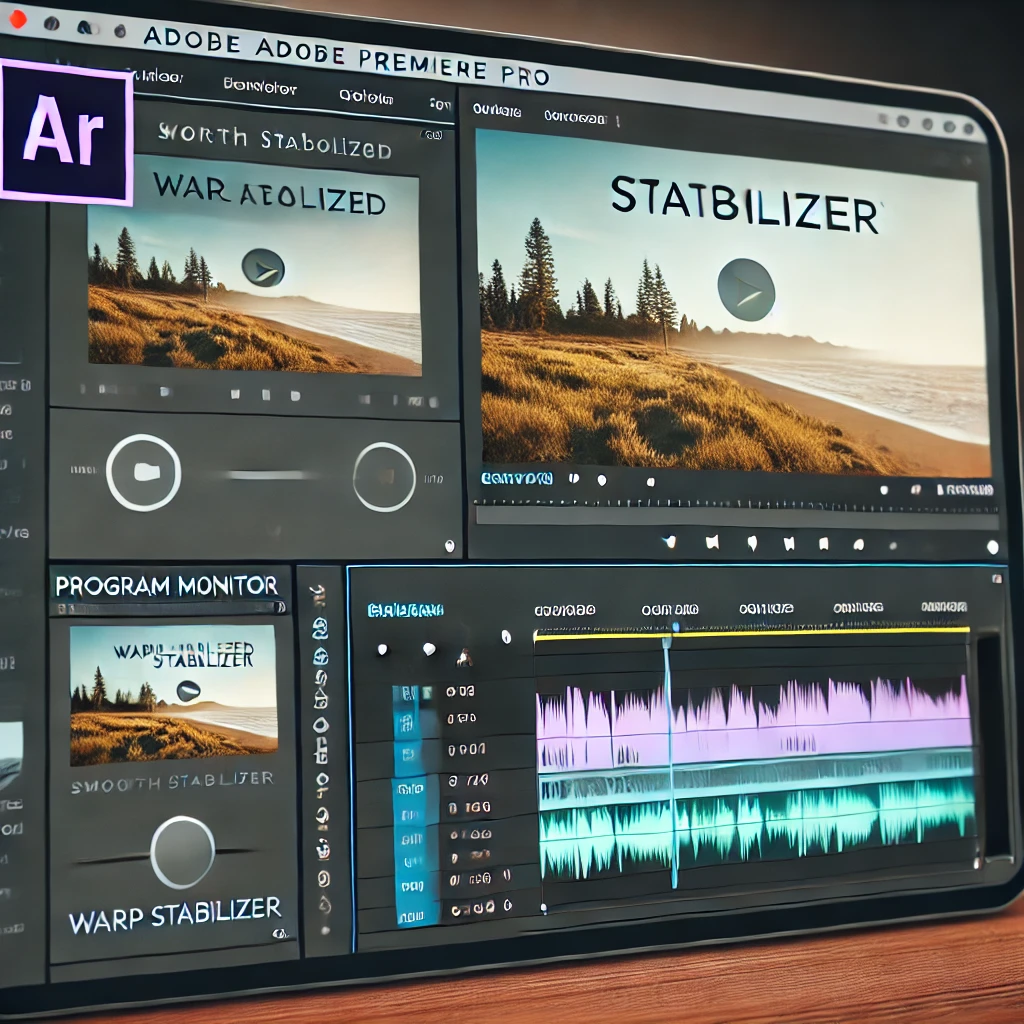
Shaky footage can distract viewers and reduce the quality of your video. Adobe Premiere Pro provides an excellent tool, Warp Stabilizer, to fix shaky clips and make them smooth and professional. Here’s a step-by-step guide.

A screenshot-style image of Adobe Premiere Pro's interface showcasing how to import shaky footage. The Project Panel displays imported video files organized into bins, and the timeline is empty, ready for editing. The layout is clean and professional.

Step 1: Import Your Footage

Start by importing the shaky footage into your Premiere Pro project. Organize the footage into bins for better management.

A screenshot-style image of Adobe Premiere Pro's interface showcasing how to add footage to the timeline. The timeline displays a video clip placed on a video track, ready for editing. The layout is clean and professional.

Step 2: Add the Footage to the Timeline

Drag the imported video onto the timeline to begin editing. Ensure the clip is trimmed if necessary to include only the desired portion.

A screenshot-style image of Adobe Premiere Pro's interface showcasing how to apply the Warp Stabilizer effect. The Effects Panel shows the Warp Stabilizer effect being selected, and the timeline includes a video clip with the effect applied. The layout is clean and professional.

Step 3: Apply the Warp Stabilizer Effect

Fix the shakiness by applying the Warp Stabilizer effect. Use the Effects Panel to drag and drop the effect onto the clip in the timeline. Premiere Pro will analyze the clip automatically.

A screenshot-style image of Adobe Premiere Pro's interface showcasing how to adjust Warp Stabilizer settings. The Effect Controls Panel displays options like Smoothness and Method, and the timeline includes a stabilized video clip. The layout is professional and clear.

Step 4: Adjust Warp Stabilizer Settings

Fine-tune the effect to achieve the desired stabilization. Adjust settings like Smoothness and Method in the Effect Controls Panel for optimal results.

A screenshot-style image of Adobe Premiere Pro's interface showcasing a preview of stabilized footage. The Program Monitor displays smooth playback, and the timeline includes a video clip with Warp Stabilizer applied. The layout is clean and professional.

Step 5: Preview and Refine

Play back the stabilized footage in the Program Monitor to ensure it meets your expectations. Adjust Smoothness or Method settings as needed for better results.

A screenshot-style image of Adobe Premiere Pro's interface showcasing the export process for stabilized footage. The Export Settings Panel is open, displaying options for H.264 codec, resolution, and bitrate, with the timeline showing a stabilized video clip. The layout is clean and professional.

Step 6: Export the Stabilized Footage

Render the stabilized video for final use. Use the Export Settings Panel to choose H.264 codec, resolution, and bitrate for optimal quality.

Conclusion

Stabilizing footage in Adobe Premiere Pro is quick and easy using the Warp Stabilizer effect. By adjusting the settings, you can achieve professional-looking videos, even from shaky clips.

Leave a Reply

Your email address will not be published. Required fields are marked *

Previous post How to Add and Sync Subtitles in Adobe Premiere Pro
Next post How to Add Transitions Between Clips in Adobe Premiere Pro