How to Add Transitions Between Clips in Adobe Premiere Pro
Transitions are a great way to make your video edits seamless and visually engaging. Adobe Premiere Pro provides a variety of transitions that can be customized to suit your project. Here’s how to effectively add and adjust transitions between clips.
Step 1: Import and Arrange Clips
Start by importing your video clips and arranging them on the timeline in the desired sequence.
Step 2: Open the Effects Panel
Access the Effects Panel to browse available transitions like Cross Dissolve and Wipe.
Step 3: Apply a Transition
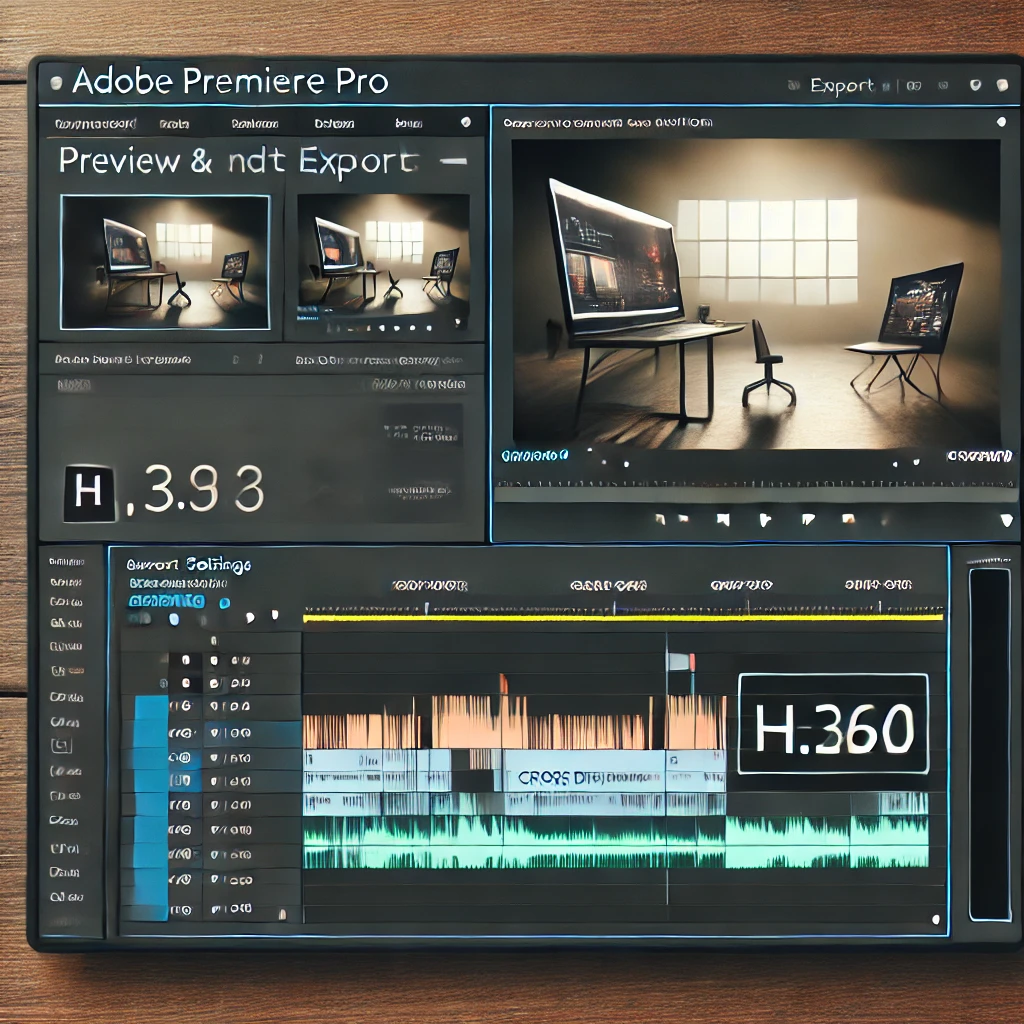
Drag and drop a transition, such as Cross Dissolve, between two clips on the timeline. Preview the transition in the Program Monitor.

Step 4: Adjust Transition Duration
Customize the duration of the transition by dragging its edges on the timeline. Preview the effect in the Program Monitor to ensure it fits your pacing.

Step 5: Customize Transition Properties
Fine-tune the transition’s appearance using the Effect Controls Panel. Adjust properties like alignment, direction, and timing for a polished effect.

Step 6: Preview and Export
Preview the transitions in the Program Monitor to ensure smooth playback. Use the Export Settings Panel to render the video in a high-quality format like H.264.
Conclusion
Adding transitions in Adobe Premiere Pro is an easy and effective way to elevate the quality of your videos. By experimenting with different transitions and customizations, you can create a visually stunning project.
More Stories
How to Stabilize Shaky Footage in Adobe Premiere Pro
Shaky footage can distract viewers and reduce the quality of your video. Adobe Premiere Pro provides an excellent tool, Warp...
How to Add and Sync Subtitles in Adobe Premiere Pro
Subtitles are an essential part of video editing, improving accessibility and engagement for a global audience. Adobe Premiere Pro offers...
How to Create a Slow Motion Effect in Adobe Premiere Pro
Slow motion is a popular video effect that adds drama or emphasis to a scene. Adobe Premiere Pro provides multiple...
How to Create a Split-Screen Effect in Adobe Premiere Pro
The split-screen effect is a powerful way to display multiple video clips simultaneously, allowing for creative storytelling or comparisons. Adobe...
How to Edit Audio in Adobe Premiere Pro
Audio editing is a crucial part of video production. Adobe Premiere Pro provides powerful tools for editing audio to ensure...
How to Add Text and Titles in Adobe Premiere Pro
Text and titles are essential elements in video editing, used for introducing scenes, adding subtitles, or enhancing storytelling. Adobe Premiere...


