How to Edit Audio in Adobe Premiere Pro
Audio editing is a crucial part of video production. Adobe Premiere Pro provides powerful tools for editing audio to ensure your videos have clean, professional-quality sound. Here’s a step-by-step guide to editing audio in Premiere Pro.
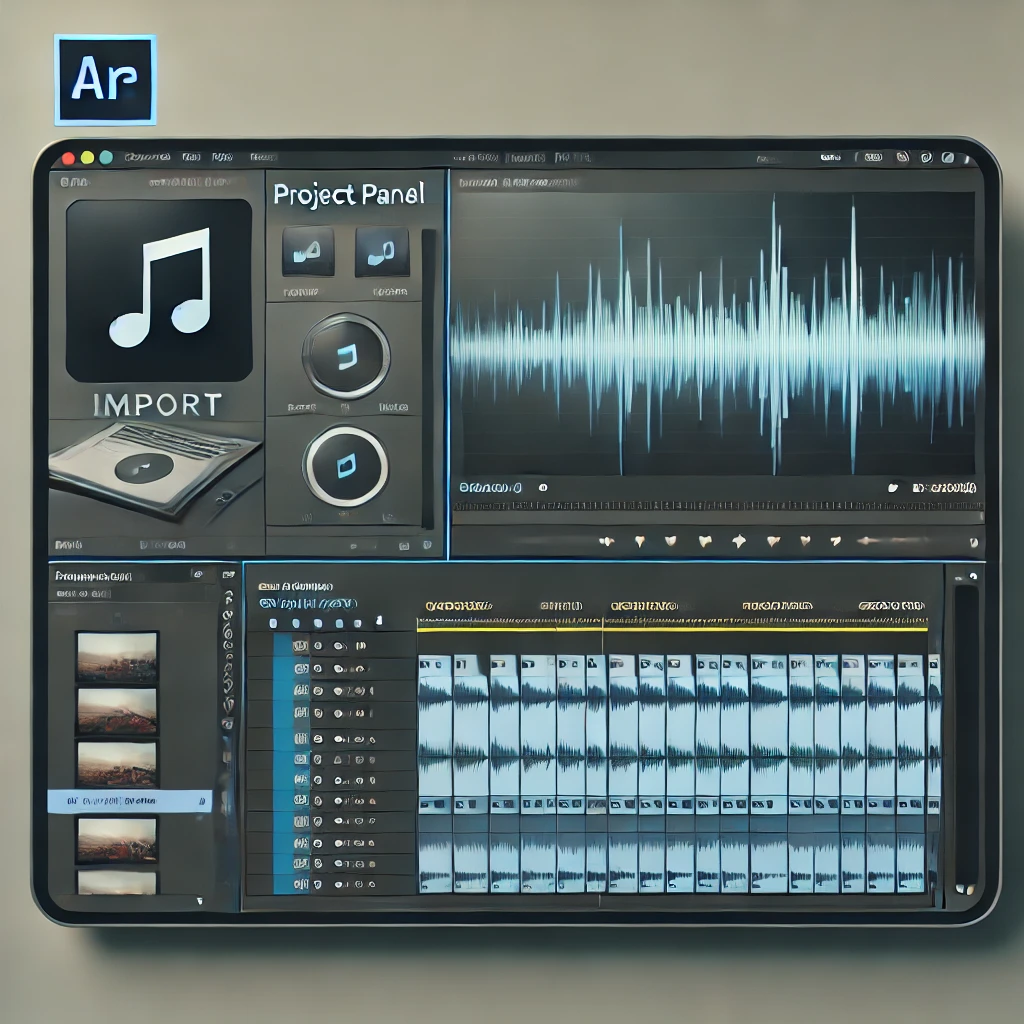
Step 1: Import Audio Files
Before editing, import your audio files into the project. Organize them in bins for better management.
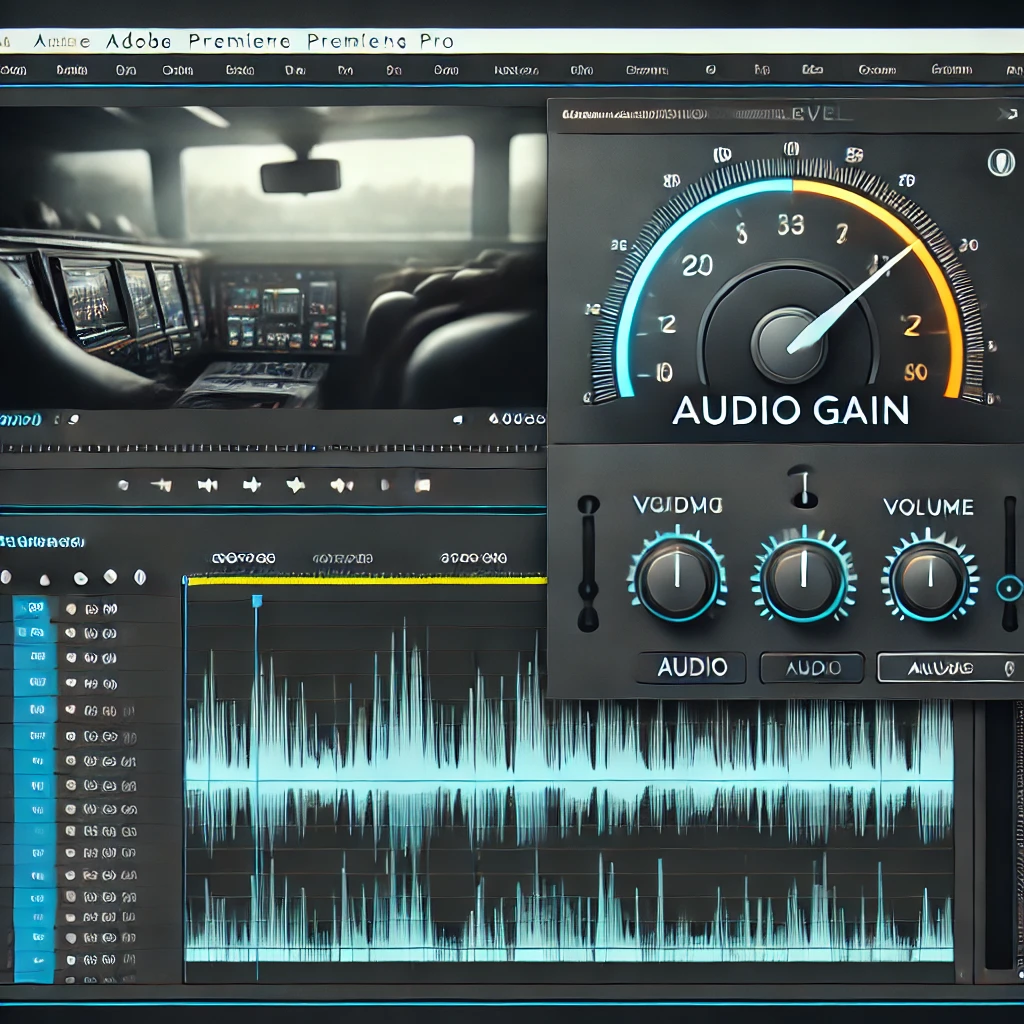
Step 2: Adjust Audio Levels
Balance the audio levels to ensure clarity and avoid distortion. Use the Audio Gain window and monitor real-time levels in the Audio Meter Panel to keep audio below -6dB.
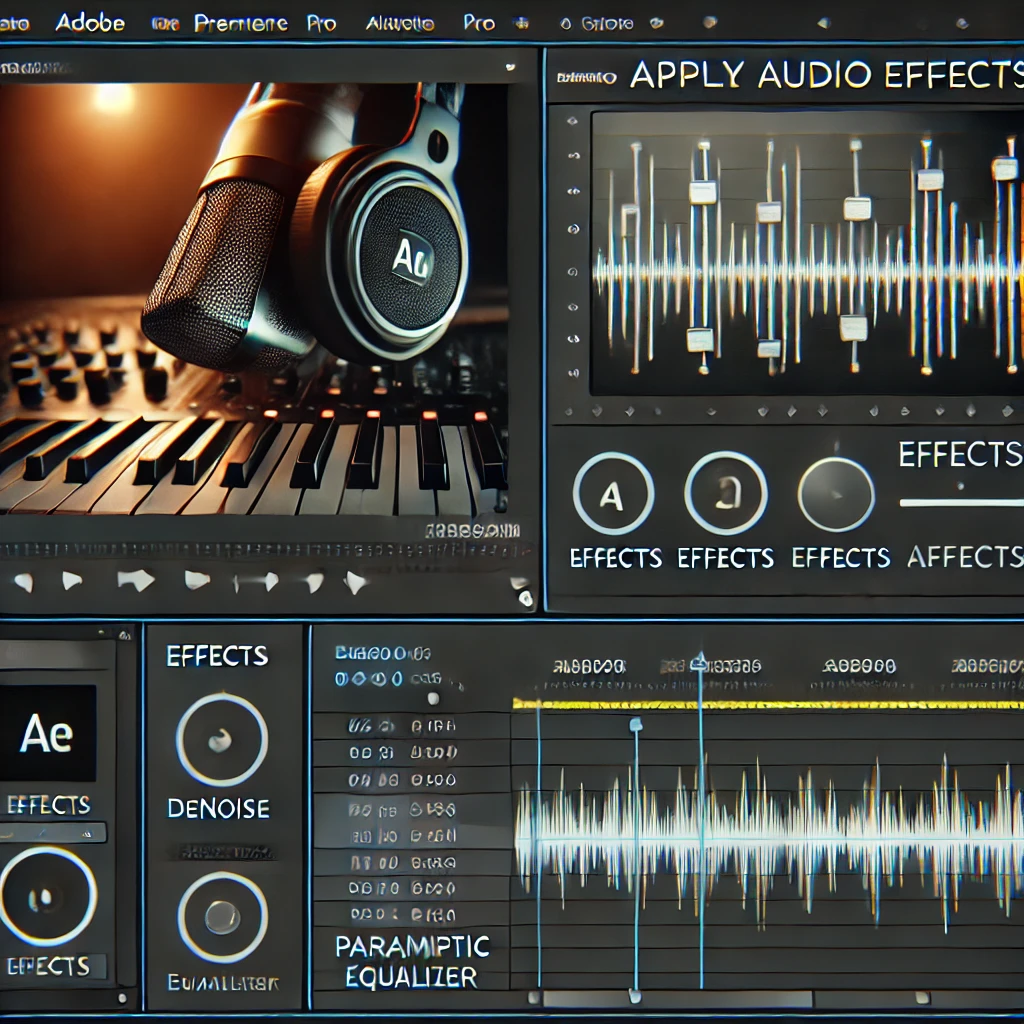
Step 3: Apply Audio Effects
Enhance your audio with effects like DeNoise, DeReverb, and Parametric Equalizer. Use the Effects Controls Panel to adjust the settings for each effect and improve sound quality.

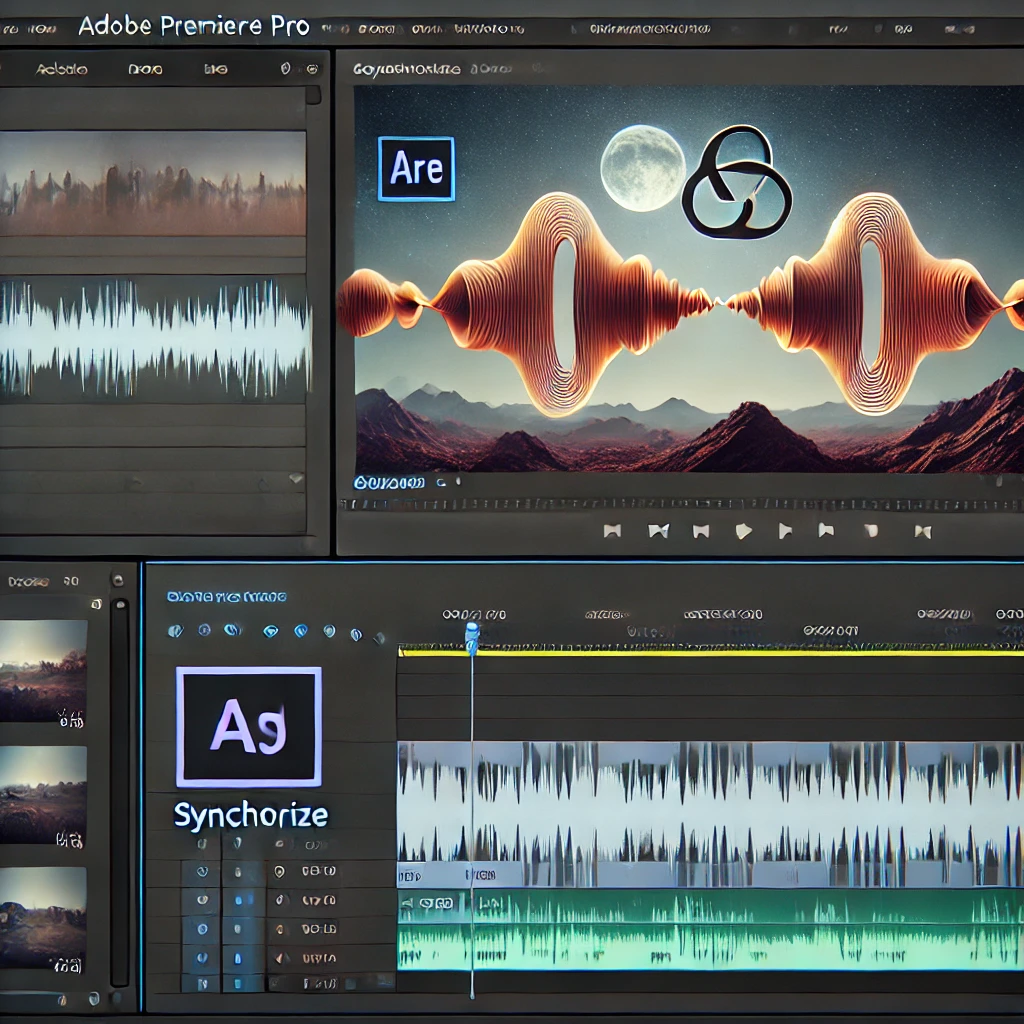
Step 4: Sync Audio with Video
Ensure audio and video are perfectly aligned by using the Synchronize option. Align audio waveforms for precise synchronization between the video and audio tracks.
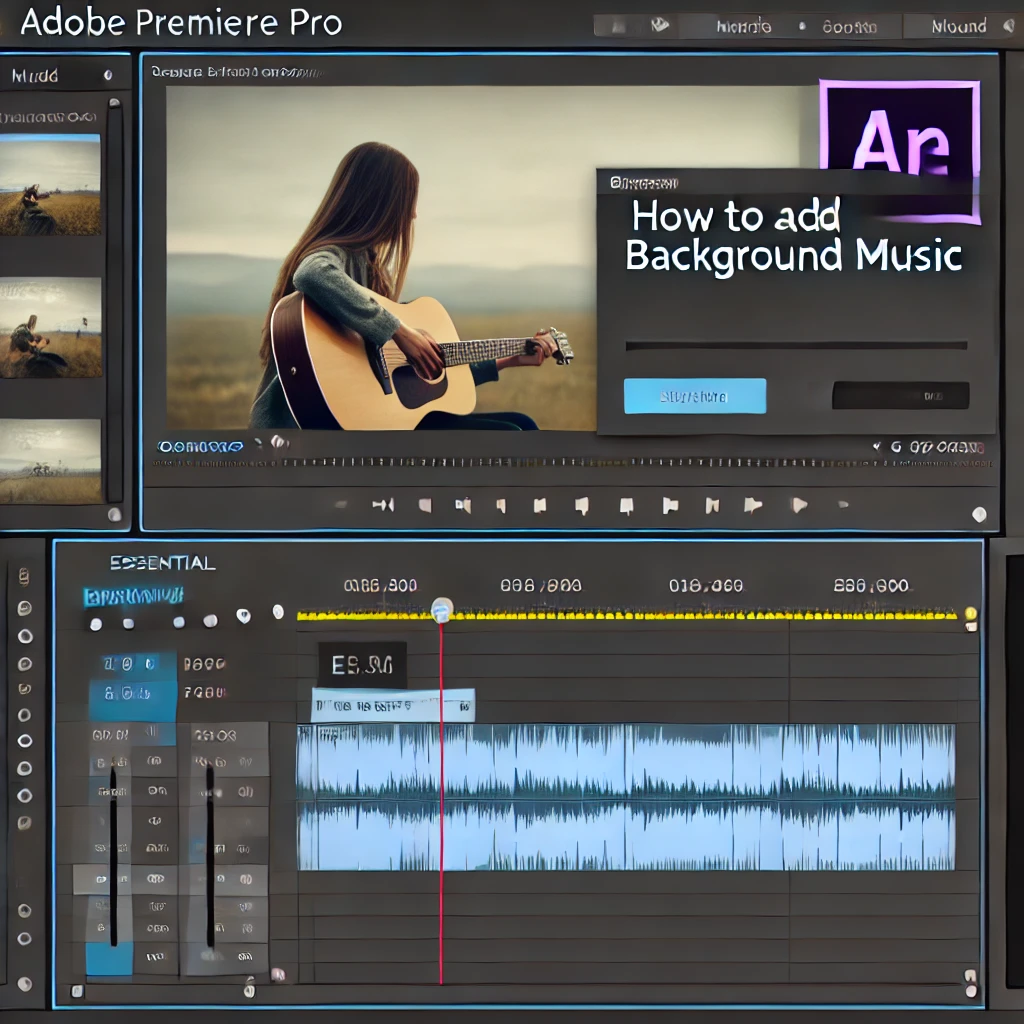
Step 5: Add Background Music
Enhance your video by adding a music track below the main audio clip. Use the Essential Sound Panel to tag it as background music and adjust the levels for a balanced mix.
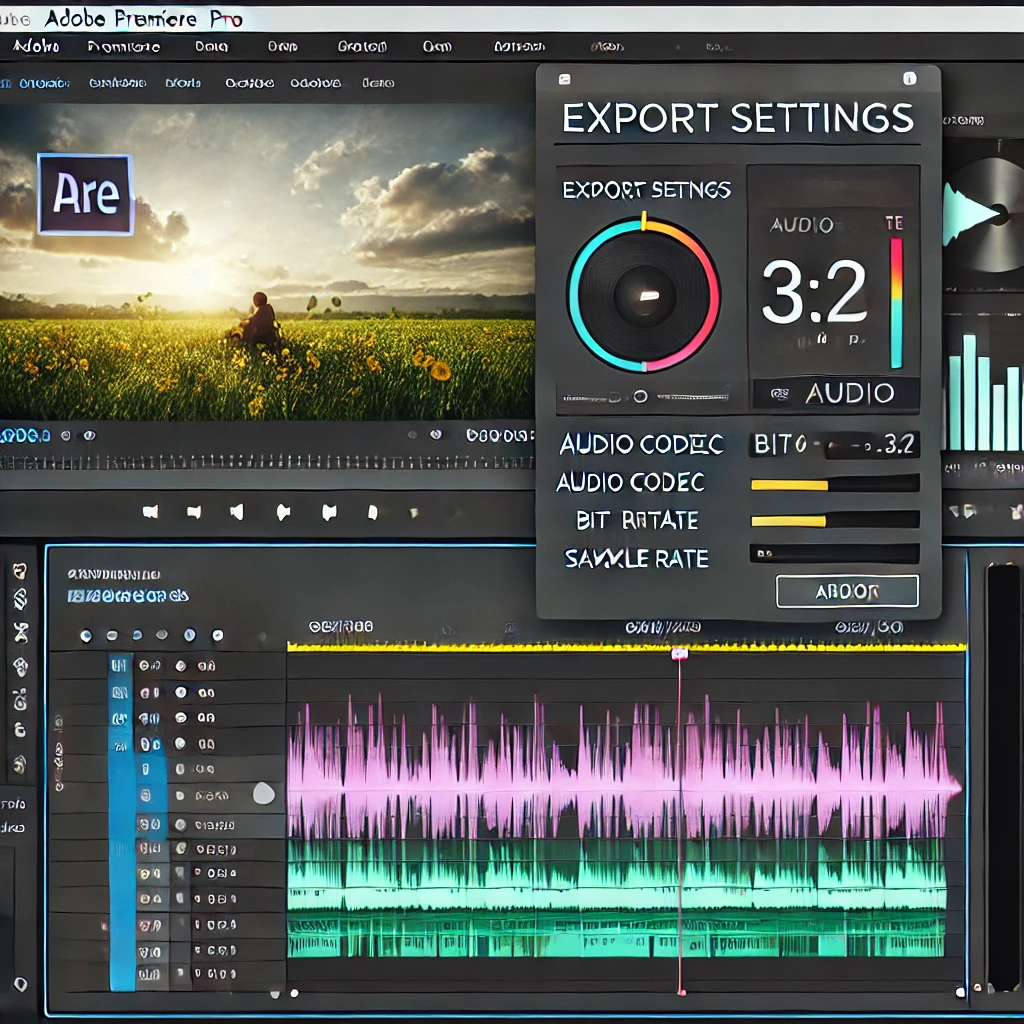
Step 6: Export Audio with the Video
Ensure your audio is included during the export process. Use high-quality audio settings in the Export Settings Panel, such as an appropriate bitrate and sample rate, for professional sound quality.
More Stories
How to Add Transitions Between Clips in Adobe Premiere Pro
Transitions are a great way to make your video edits seamless and visually engaging. Adobe Premiere Pro provides a variety...
How to Stabilize Shaky Footage in Adobe Premiere Pro
Shaky footage can distract viewers and reduce the quality of your video. Adobe Premiere Pro provides an excellent tool, Warp...
How to Add and Sync Subtitles in Adobe Premiere Pro
Subtitles are an essential part of video editing, improving accessibility and engagement for a global audience. Adobe Premiere Pro offers...
How to Create a Slow Motion Effect in Adobe Premiere Pro
Slow motion is a popular video effect that adds drama or emphasis to a scene. Adobe Premiere Pro provides multiple...
How to Create a Split-Screen Effect in Adobe Premiere Pro
The split-screen effect is a powerful way to display multiple video clips simultaneously, allowing for creative storytelling or comparisons. Adobe...
How to Add Text and Titles in Adobe Premiere Pro
Text and titles are essential elements in video editing, used for introducing scenes, adding subtitles, or enhancing storytelling. Adobe Premiere...

