Advanced Editing Techniques in Adobe Premiere Pro

A screenshot-style image of Adobe Premiere Pro's interface showcasing multicam editing. The workspace includes multiple camera angles displayed in a grid view with active switching between angles on the timeline. The layout is professional and clean.

Step 1: Multicam Editing

Use multicam editing to seamlessly edit footage from multiple cameras. The grid view in Premiere Pro allows you to actively switch between angles while editing, offering a professional and dynamic workflow.

A screenshot-style image of Adobe Premiere Pro's interface showcasing keyframe animation. The workspace includes the Effects Controls Panel with keyframes applied to position and scale properties of a video clip. The timeline shows animation markers. The layout is professional and clean.

Step 2: Keyframe Animation

Animate elements like text, images, or video clips for dynamic effects using Premiere Pro’s keyframe animation tools. The Effects Controls Panel allows precise adjustments to position, scale, and opacity with smooth transitions.

A screenshot-style image of Adobe Premiere Pro's interface showcasing the Lumetri Color Panel. The workspace displays color grading adjustments such as exposure, contrast, and creative LUTs being applied to a video clip. The timeline shows the graded clip. The design is clean and professional.

Step 3: Lumetri Color Grading

Enhance the look of your footage with advanced color grading using the Lumetri Color Panel. Adjust exposure, contrast, and apply creative LUTs to achieve a polished and cinematic visual style.

A screenshot-style image of Adobe Premiere Pro's interface showcasing audio ducking in the Essential Sound Panel. The workspace displays dialogue and music tracks, with auto-ducking settings applied to reduce music volume during dialogue playback. The design is clean and professional.

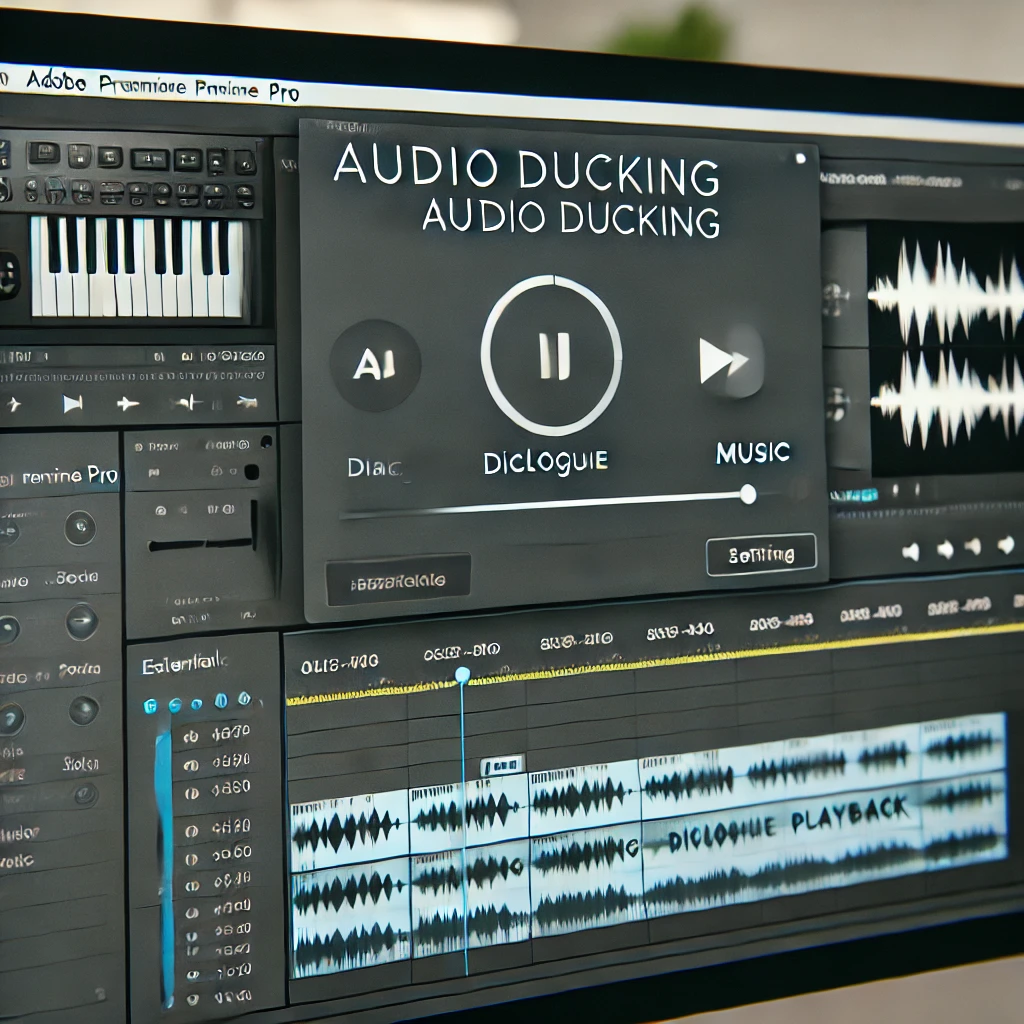
Step 4: Audio Ducking

Automatically reduce background music volume when dialogue is present by using the Essential Sound Panel’s auto-ducking feature. Adjust sensitivity and fade settings for a balanced audio mix.

A screenshot-style image of Adobe Premiere Pro's interface showcasing nesting sequences. The workspace includes multiple video clips grouped into a single nested sequence on the timeline. The timeline displays nested layers, and the interface shows how to double-click to edit nested clips. The layout is clear and professional.

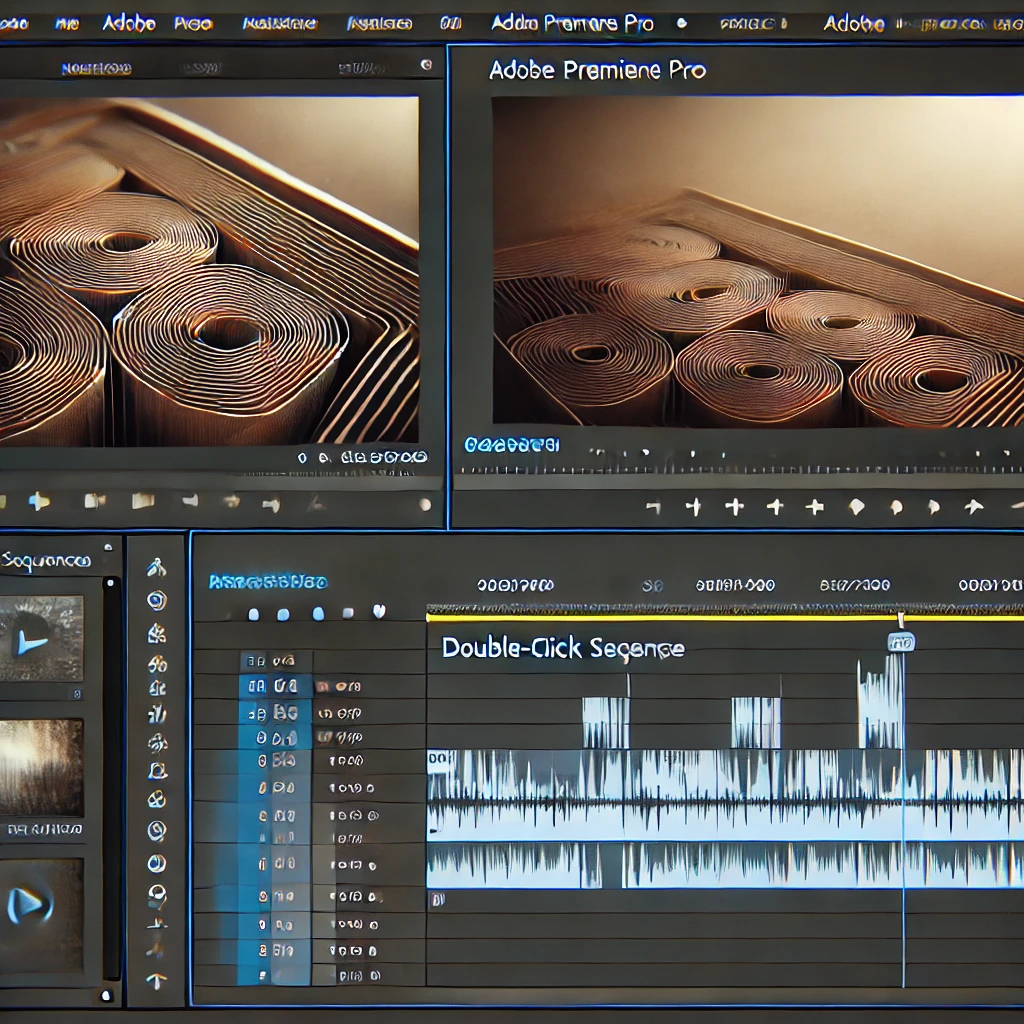
Step 5: Nesting Sequences

Organize complex projects by grouping multiple video clips into a single nested sequence. This simplifies editing and allows you to apply effects or transitions to the entire sequence.

A screenshot-style image of Adobe Premiere Pro's interface showcasing speed ramping. The timeline displays a video clip with time remapping keyframes, and the playback speed changes smoothly from slow motion to normal speed. The layout is professional and clean.

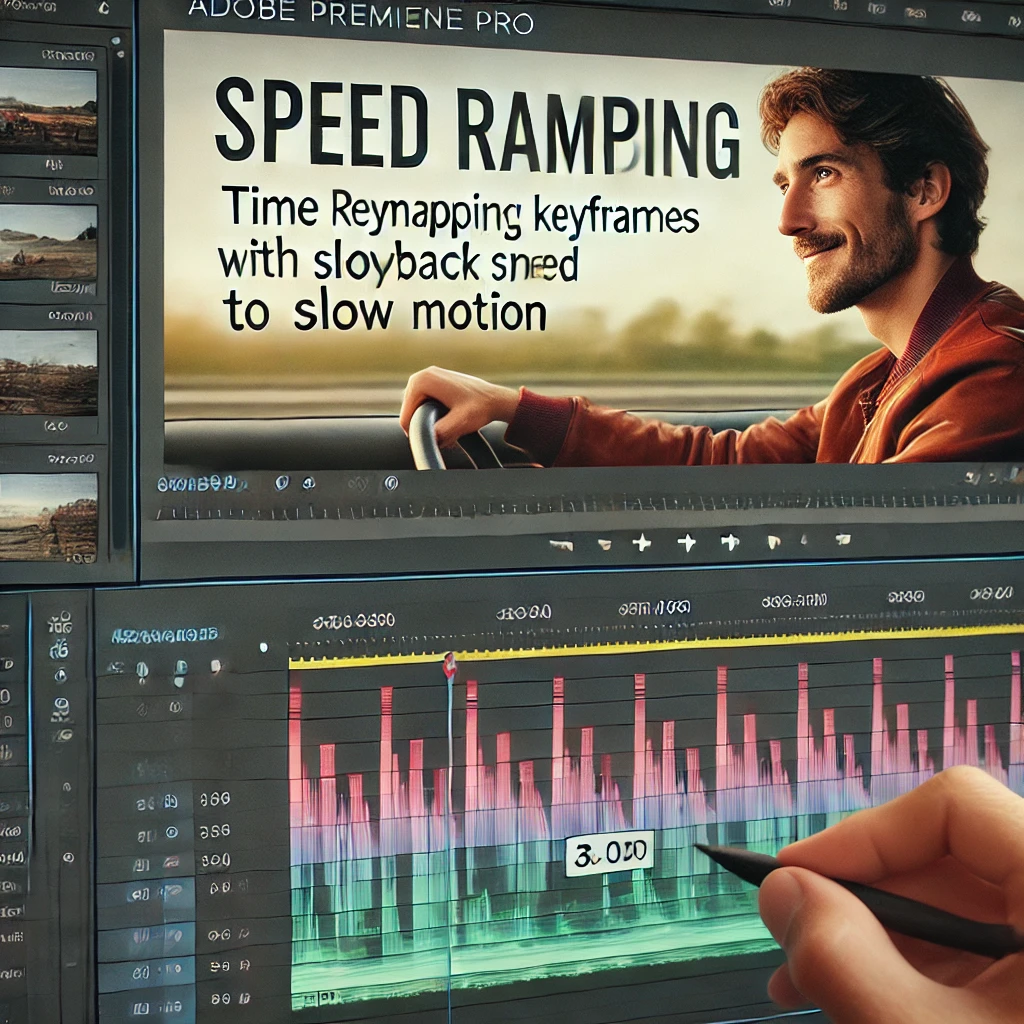
Step 6: Speed Ramping

Create dramatic effects by adjusting the playback speed of a video clip. Use keyframes to transition smoothly between slow motion and normal speed for a dynamic visual impact.

A screenshot-style image of Adobe Premiere Pro's interface showcasing advanced masking. The Effects Controls Panel shows a Gaussian Blur applied to a video clip with a custom mask drawn around a specific area. The mask is animated to follow the subject. The layout is professional and detailed.

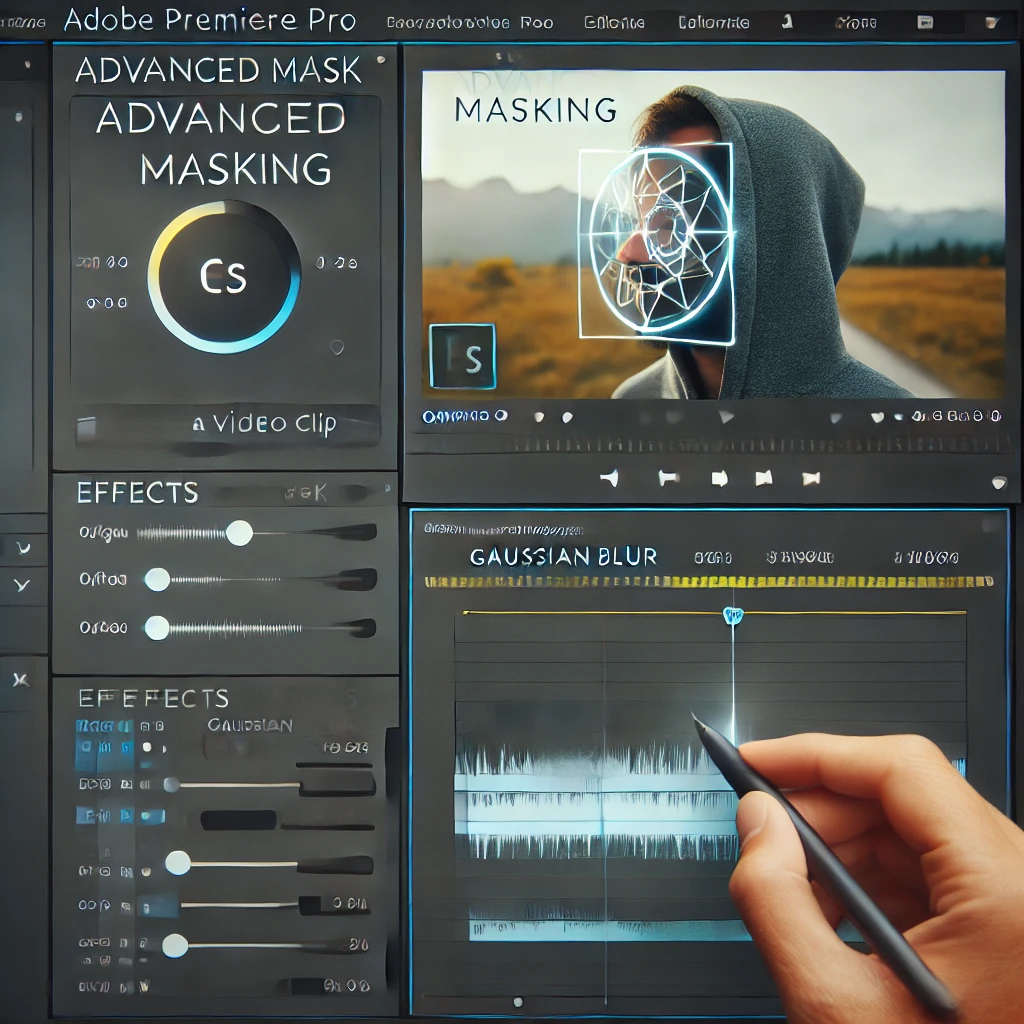
Step 7: Advanced Masking

Use advanced masking techniques to apply custom effects, such as blurring a specific area of the video. Animate the mask to follow the subject for a professional look.

Leave a Reply

Your email address will not be published. Required fields are marked *

Previous post How to Get Started with Video Editing in Adobe Premiere Pro
Next post How to Create Smooth Transitions in Adobe Premiere Pro