How to Create Smooth Transitions in Adobe Premiere Pro

A screenshot-style image of Adobe Premiere Pro's interface showcasing a Cross Dissolve transition applied between two video clips. The Effects Panel is open, showing the list of transitions, and the timeline displays the transition between clips. The layout is professional and clear.

Step 1: Understanding the Types of Transitions

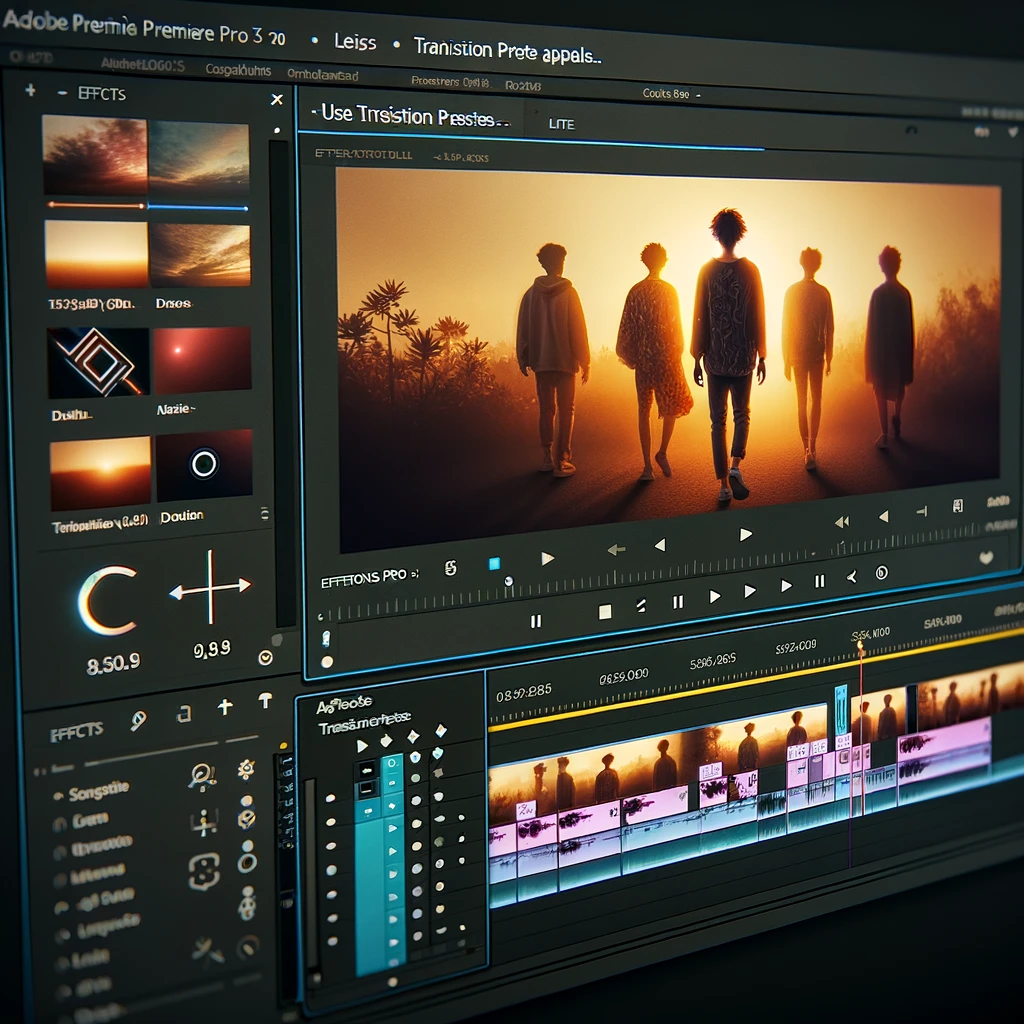
Adobe Premiere Pro provides several types of transitions, such as Cross Dissolve, Wipe, and Dip to Black/White. These can help create smooth and visually appealing cuts between scenes.

A screenshot-style image of Adobe Premiere Pro's interface showcasing how to apply transitions. The timeline displays two clips with a Cross Dissolve transition applied, and the Program Monitor previews the transition. The Effects Controls Panel is visible for adjustment. The layout is clear and professional.

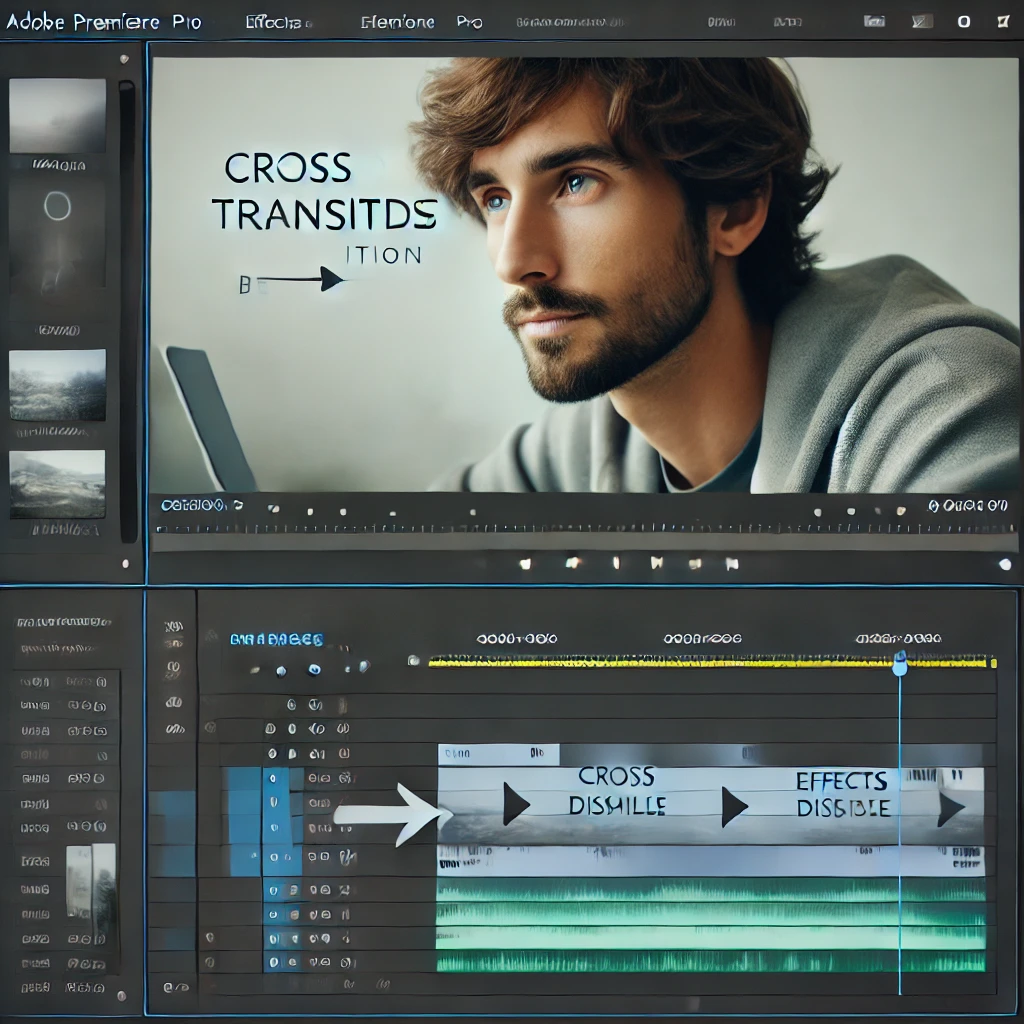
Step 2: Applying Basic Transitions

Drag and drop a transition (e.g., Cross Dissolve) from the Effects Panel onto the timeline between two clips. Use the Program Monitor to preview the transition and fine-tune its duration in the Effects Controls Panel.

A screenshot-style image of Adobe Premiere Pro's interface showcasing how to fine-tune transitions. The timeline displays a Cross Dissolve transition with its duration adjusted, and the Effects Controls Panel shows detailed settings for the transition. The layout is clean and professional.

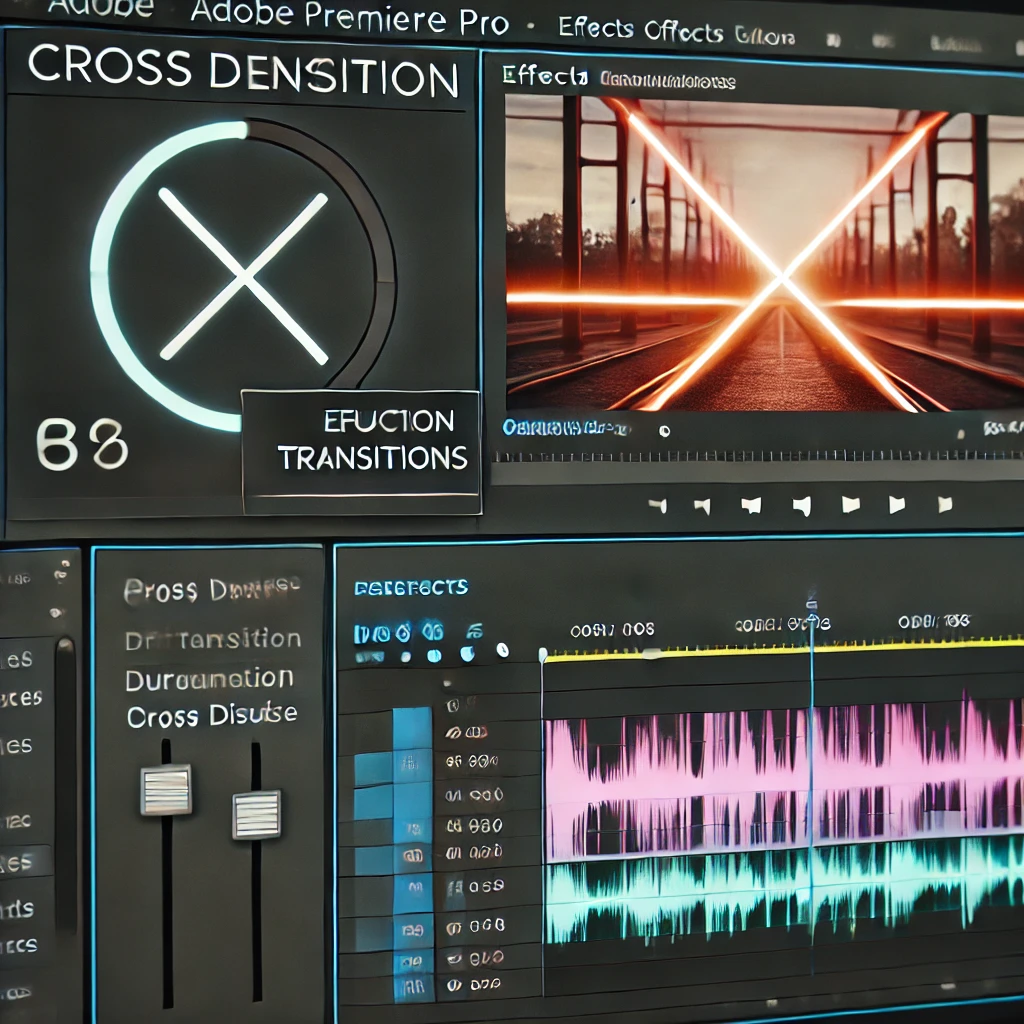
Step 3: Fine-Tuning Transitions

Adjust the properties of a transition, such as duration and blending, in the Effects Controls Panel. This allows for precise customization to match the pacing and mood of your video.

A screenshot-style image of Adobe Premiere Pro's interface showcasing how to create custom transitions. The timeline displays two video clips, and keyframes for opacity and position are applied in the Effects Controls Panel. The Program Monitor shows a smooth custom transition effect. The layout is clean and professional.

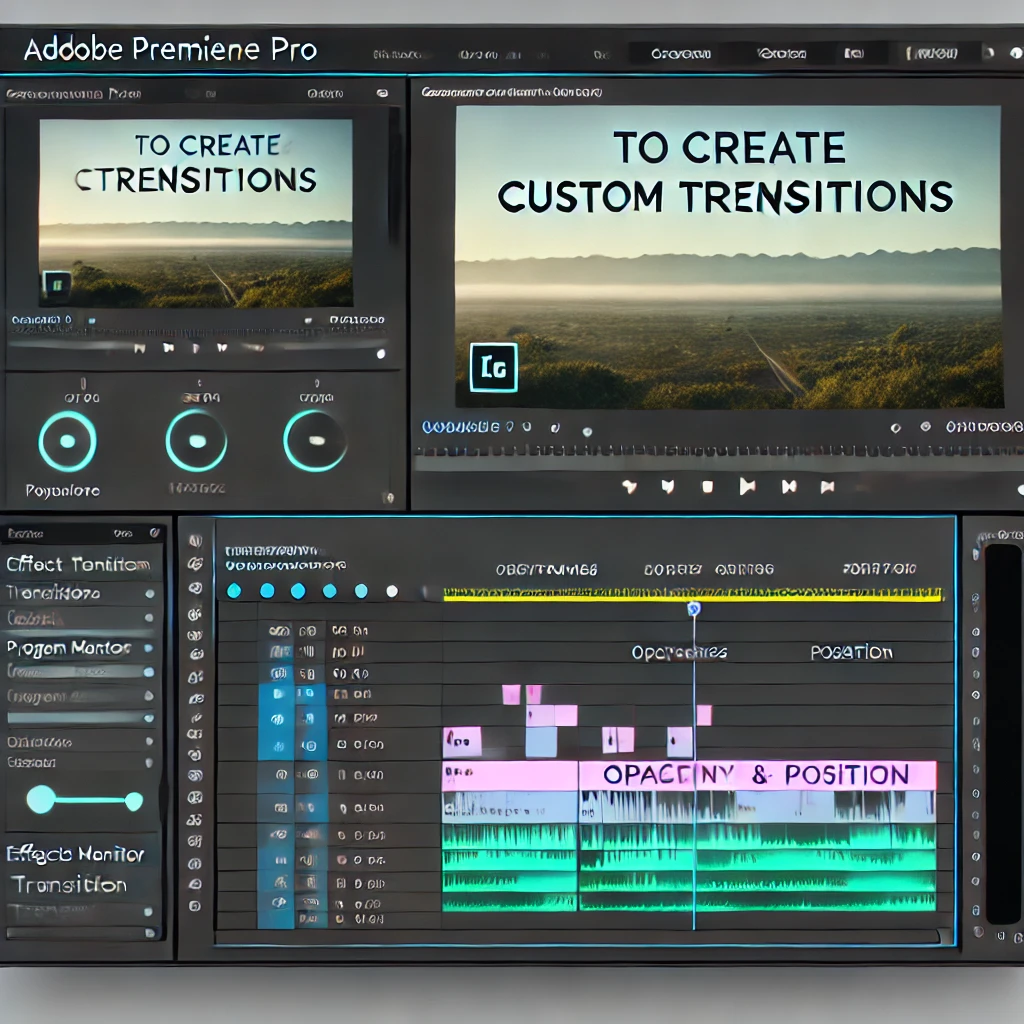
Step 4: Creating Custom Transitions

Design custom transitions by adding keyframes to properties like opacity and position in the Effects Controls Panel. Use smooth animations to blend clips seamlessly for a unique visual effect.

A screenshot-style image of Adobe Premiere Pro's interface showcasing how to use transition presets. The Effects Panel displays a list of transition presets, and the timeline includes clips with a preset applied. The layout is professional and user-friendly.

Step 5: Using Presets and Plugins

Simplify your workflow by applying transition presets from the Effects Panel. Explore third-party plugins to expand your options and save custom transitions for future use.

A screenshot-style image of Adobe Premiere Pro's interface showcasing the export process with seamless transitions. The Export Settings Panel displays H.264 codec selection, resolution, and bitrate options for smooth playback. The timeline includes clips with applied transitions. The design is professional and clear.

Step 6: Exporting with Seamless Transitions

Ensure smooth playback of your transitions by exporting with high-quality settings. Select H.264 codec, maintain the original resolution, and adjust bitrate for optimal performance.

Leave a Reply

Your email address will not be published. Required fields are marked *

Previous post Advanced Editing Techniques in Adobe Premiere Pro
Next post How to Add Text and Titles in Adobe Premiere Pro